
mokuhanga studies #6
I am so, so pleased that things worked out in this session!
To be honest, I was pretty bummed after last time. The prints weren’t coming out as I had envisioned, I wasted some of my good paper because of bad inking, and I was starting to wonder if I’d have to start all over again with a new block because of this grain.
But thankfully, not all hope was lost!
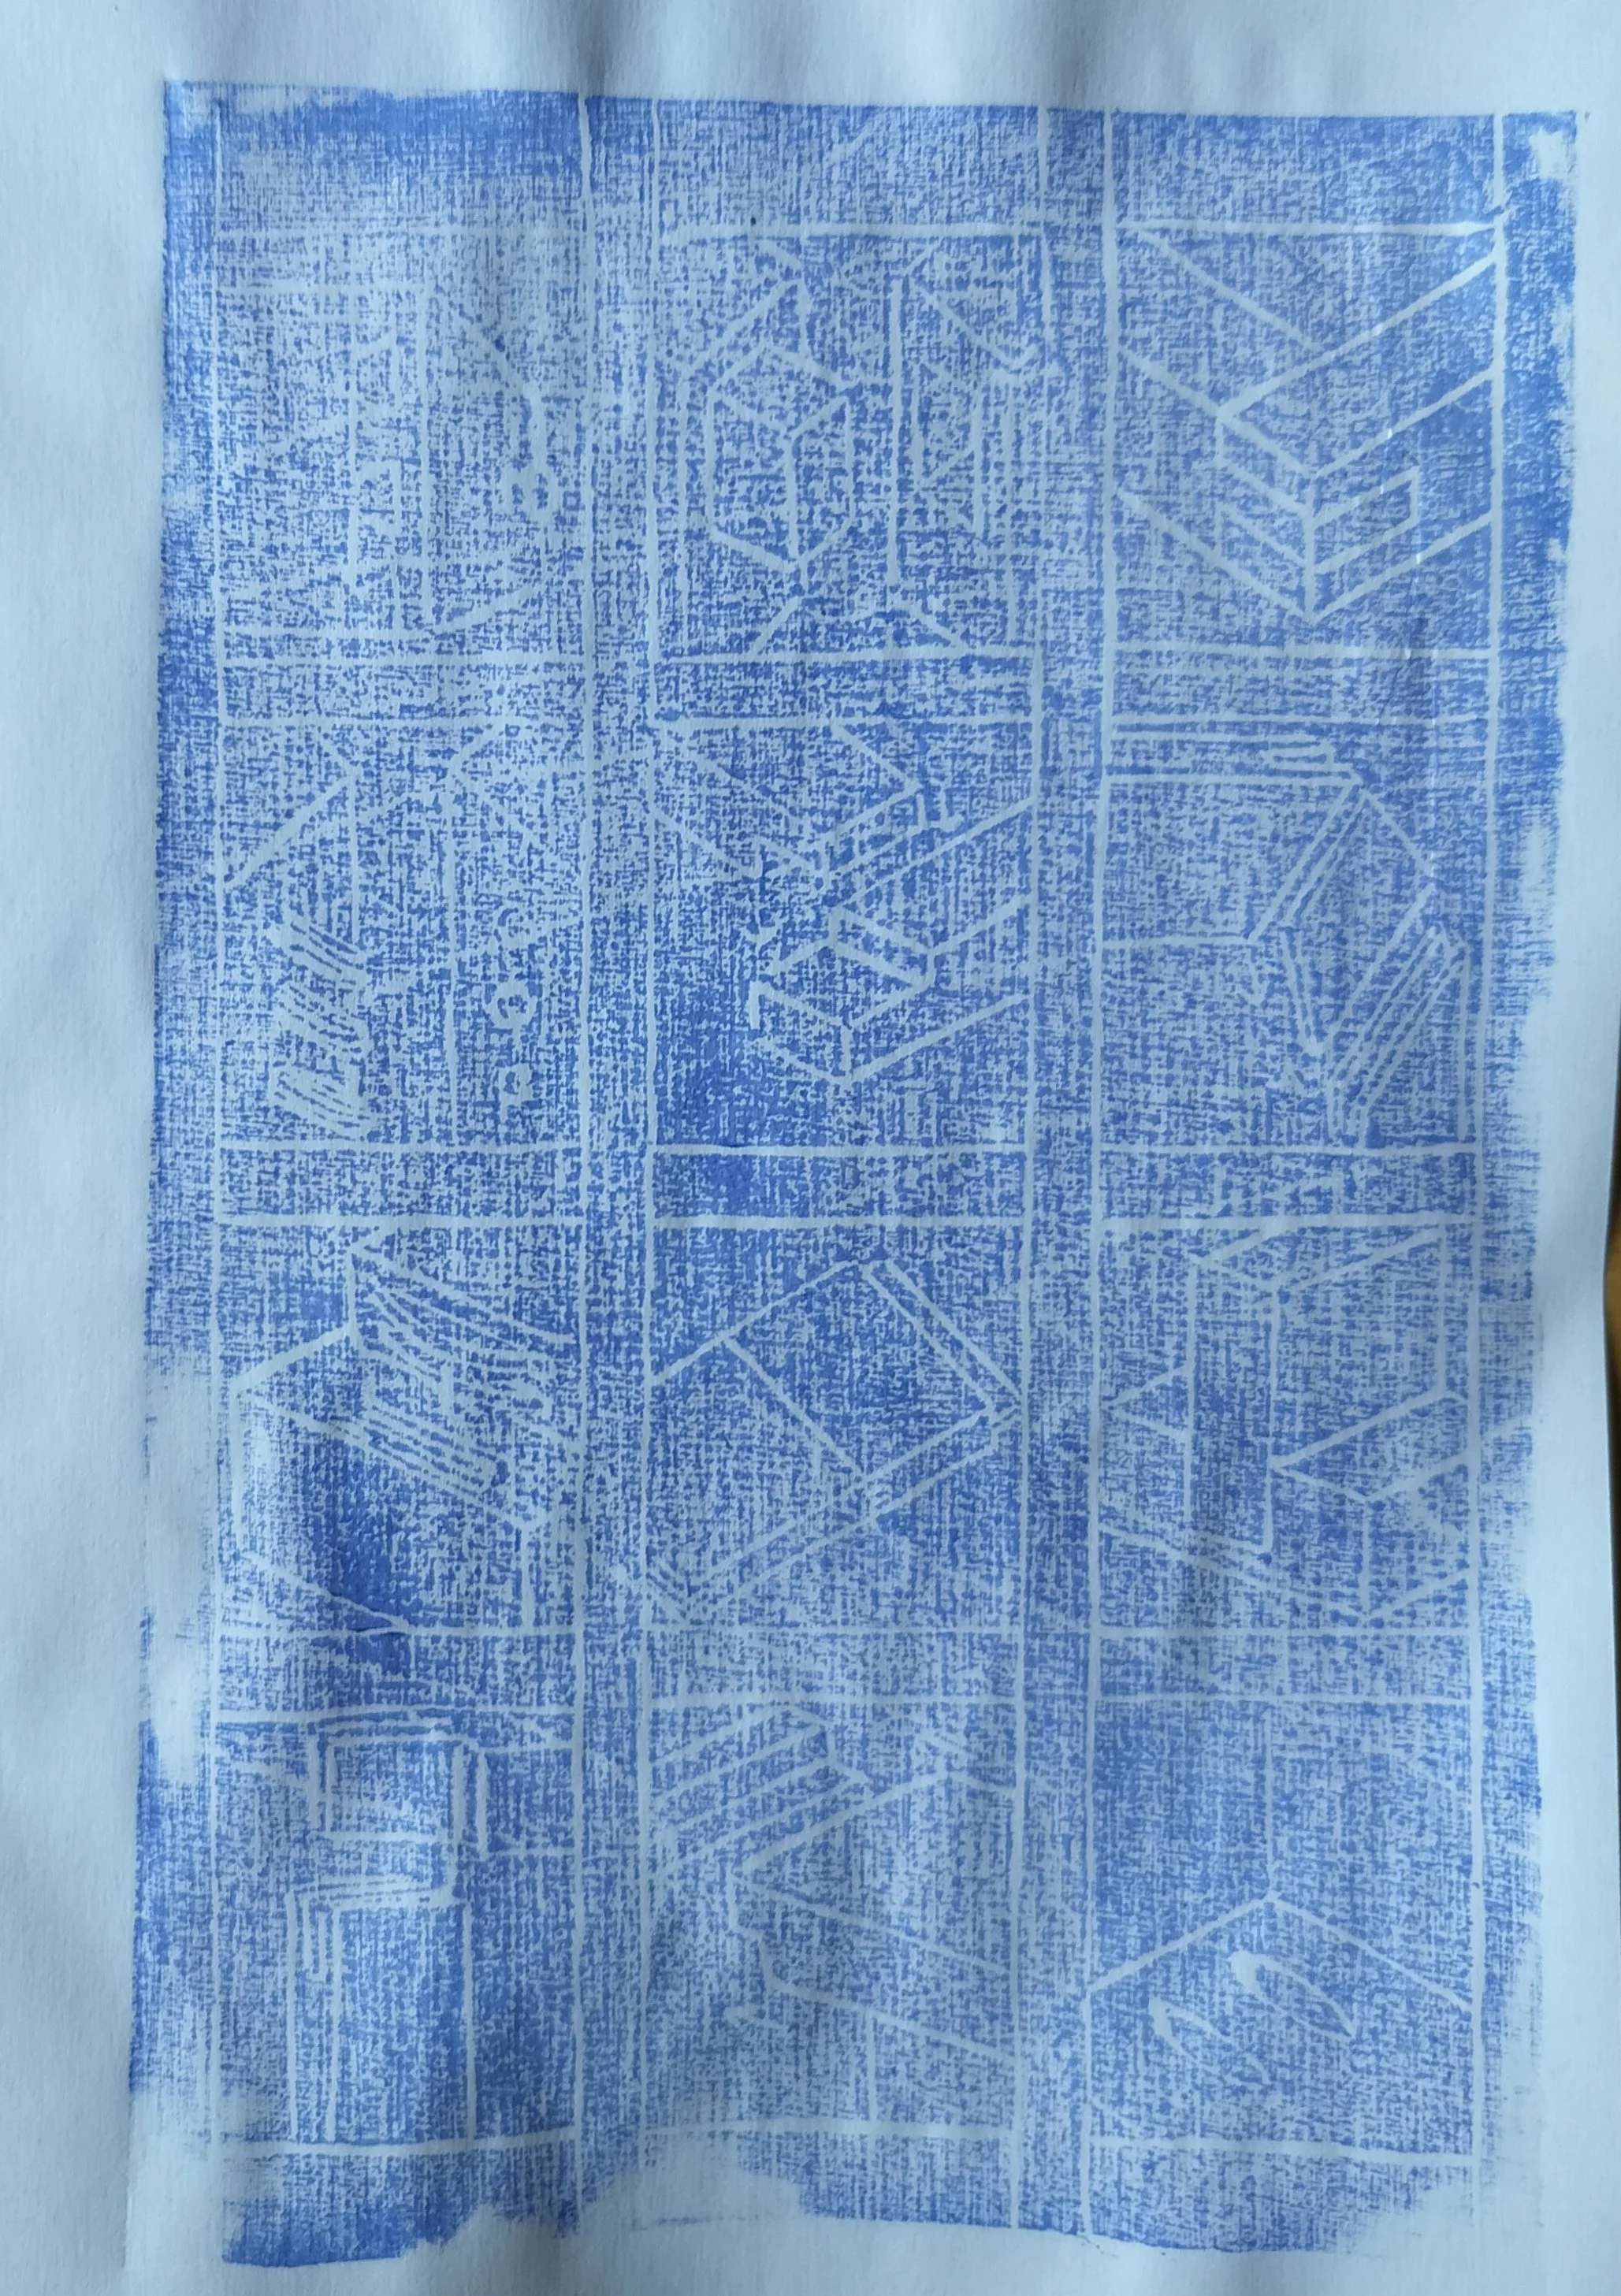
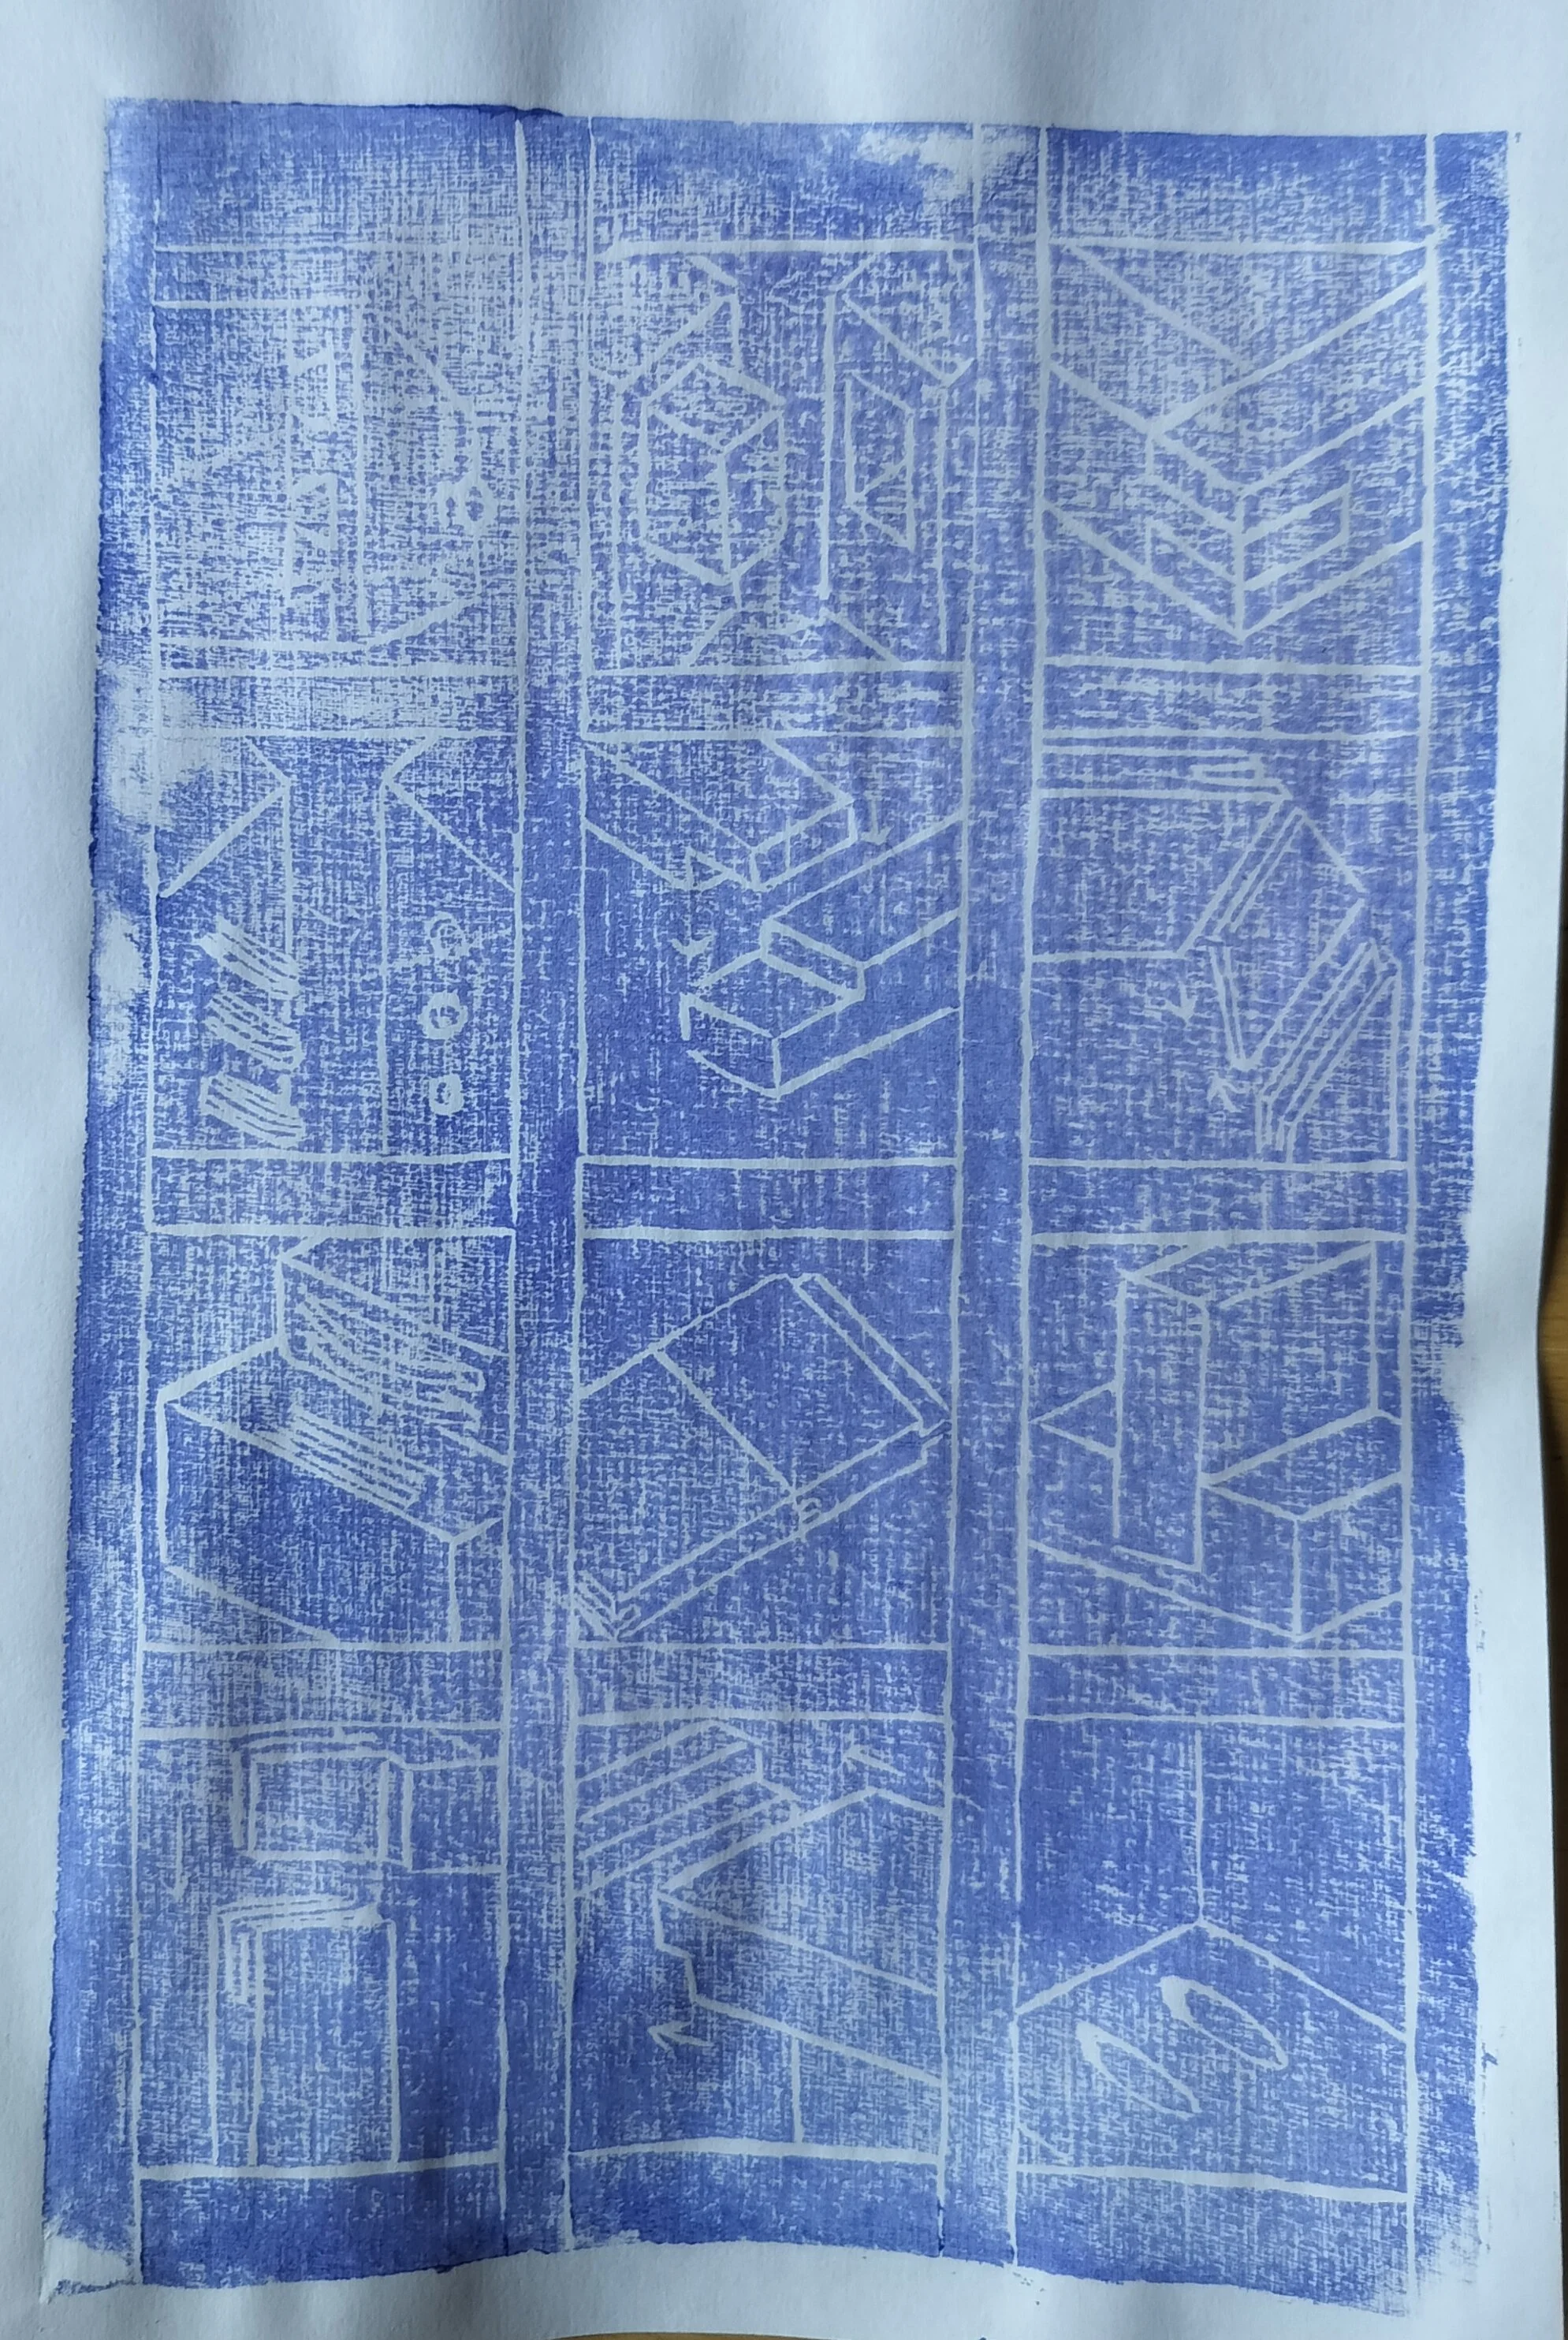
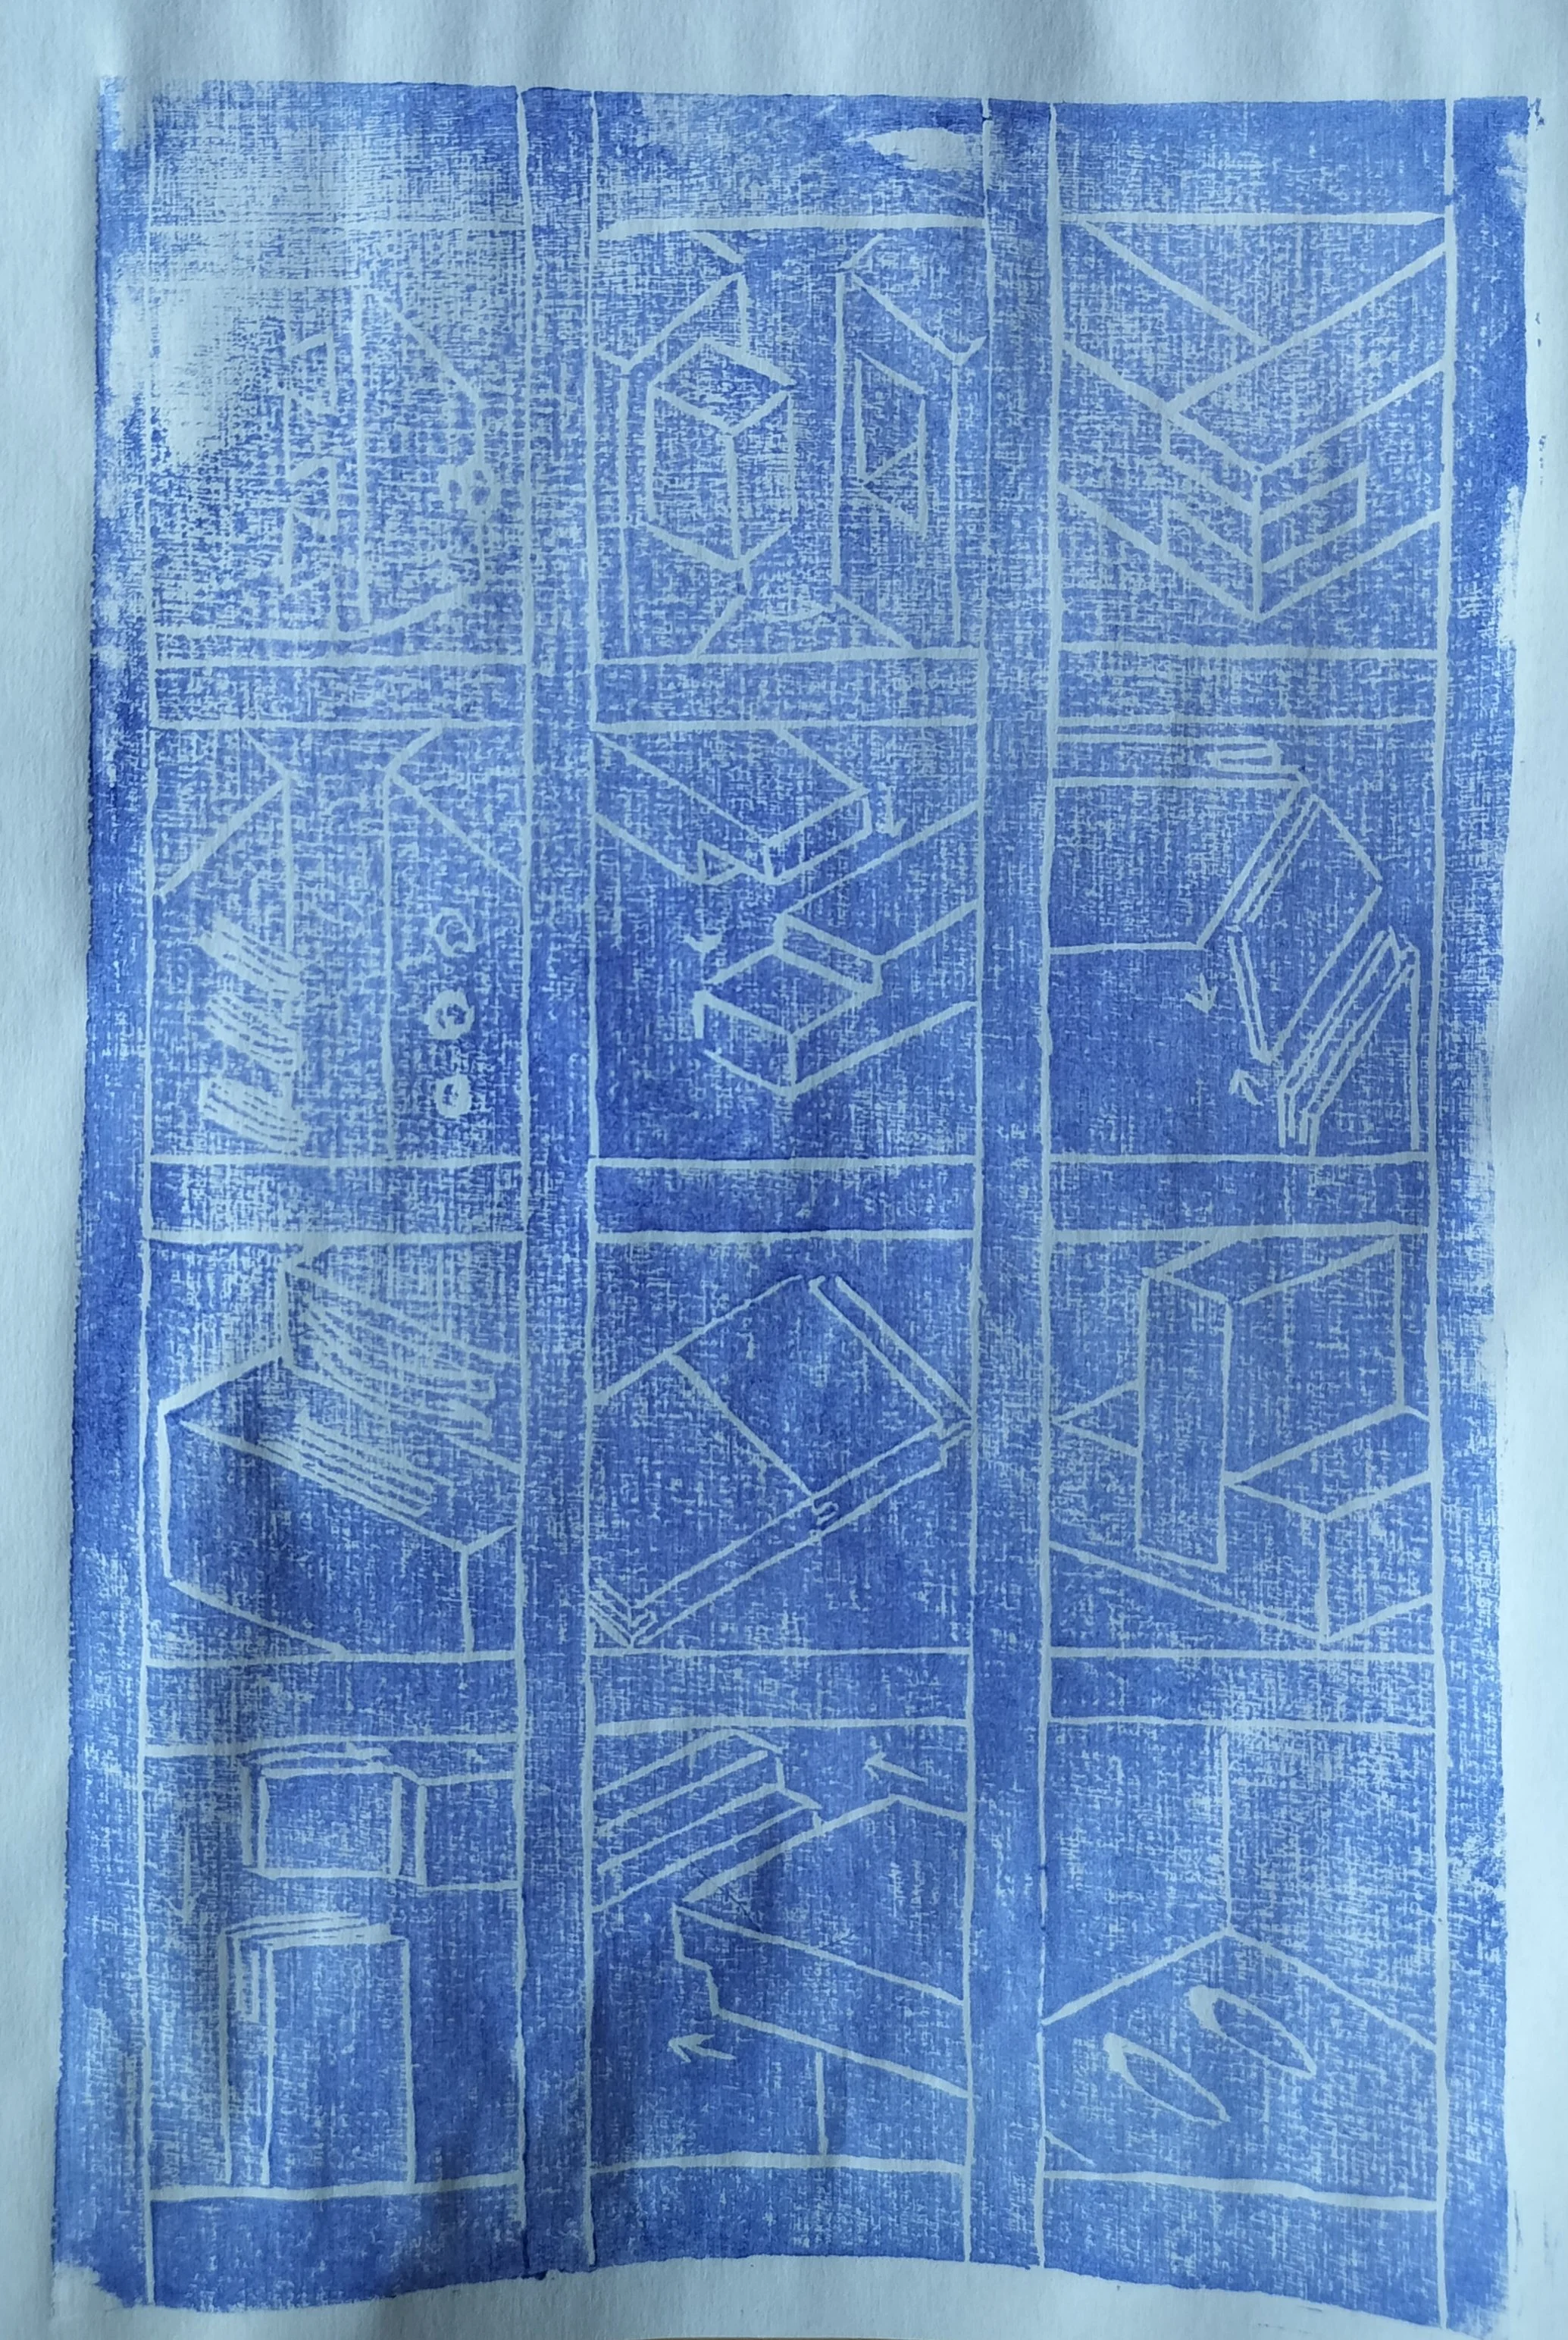
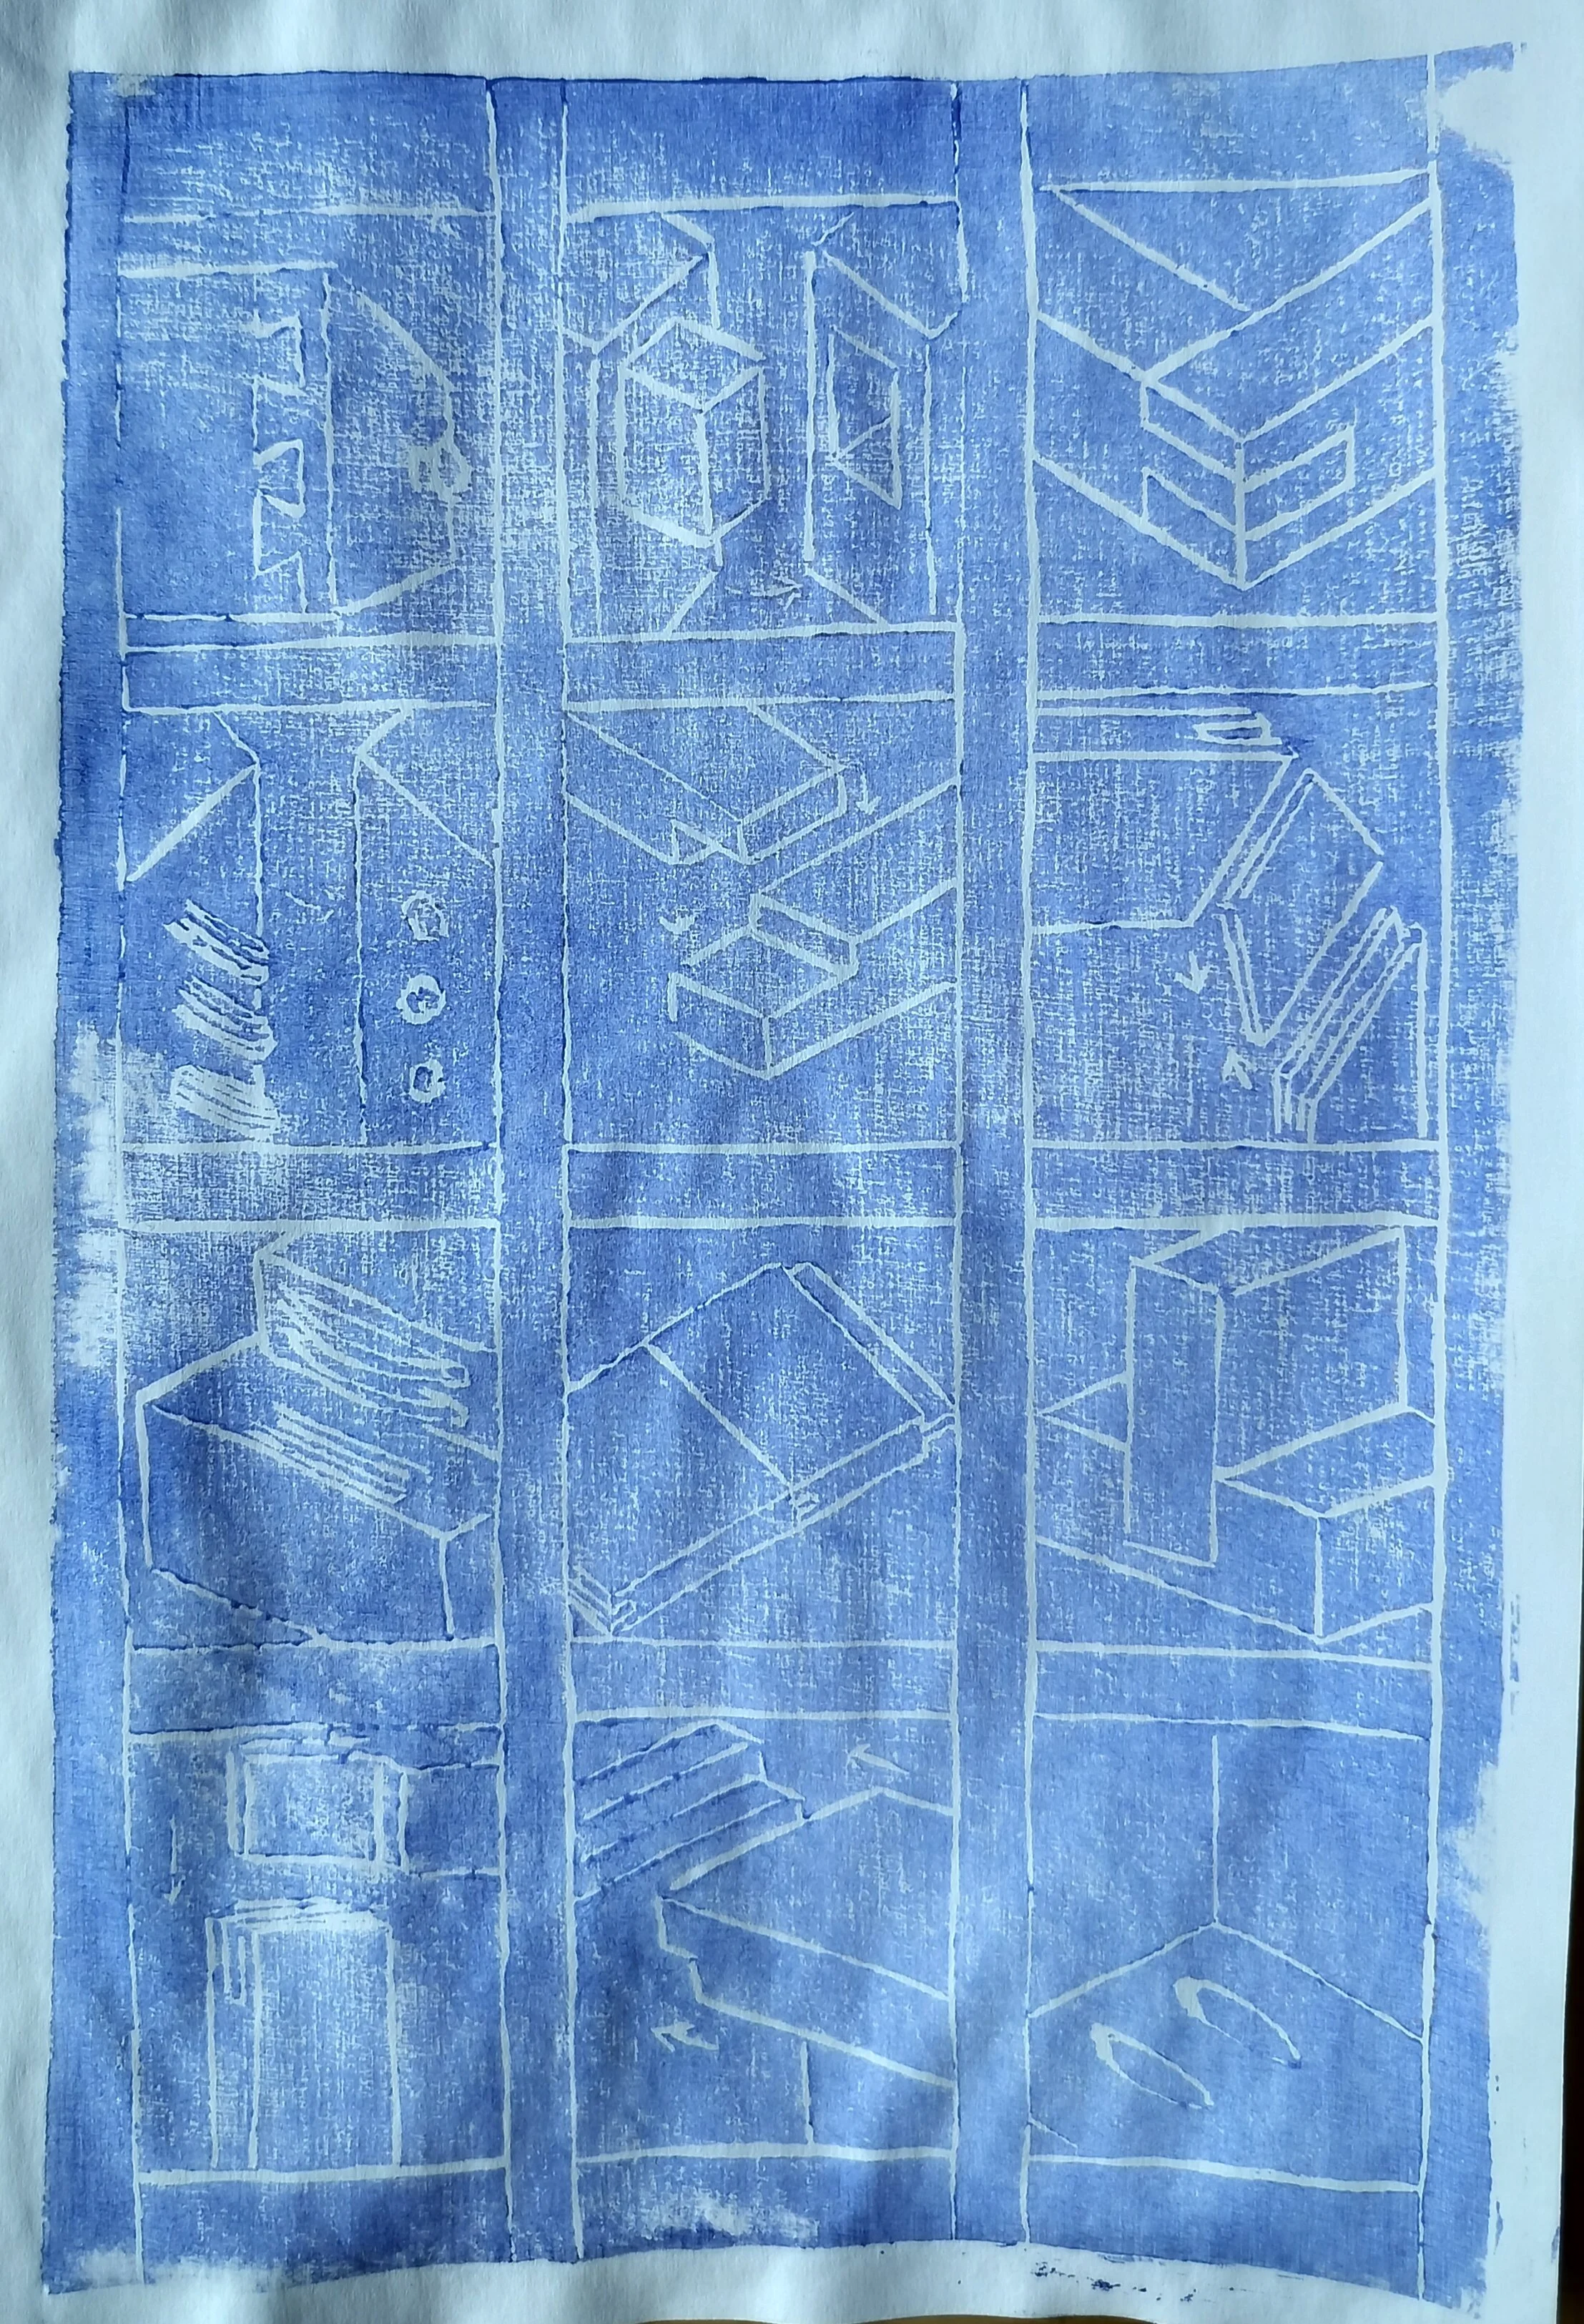
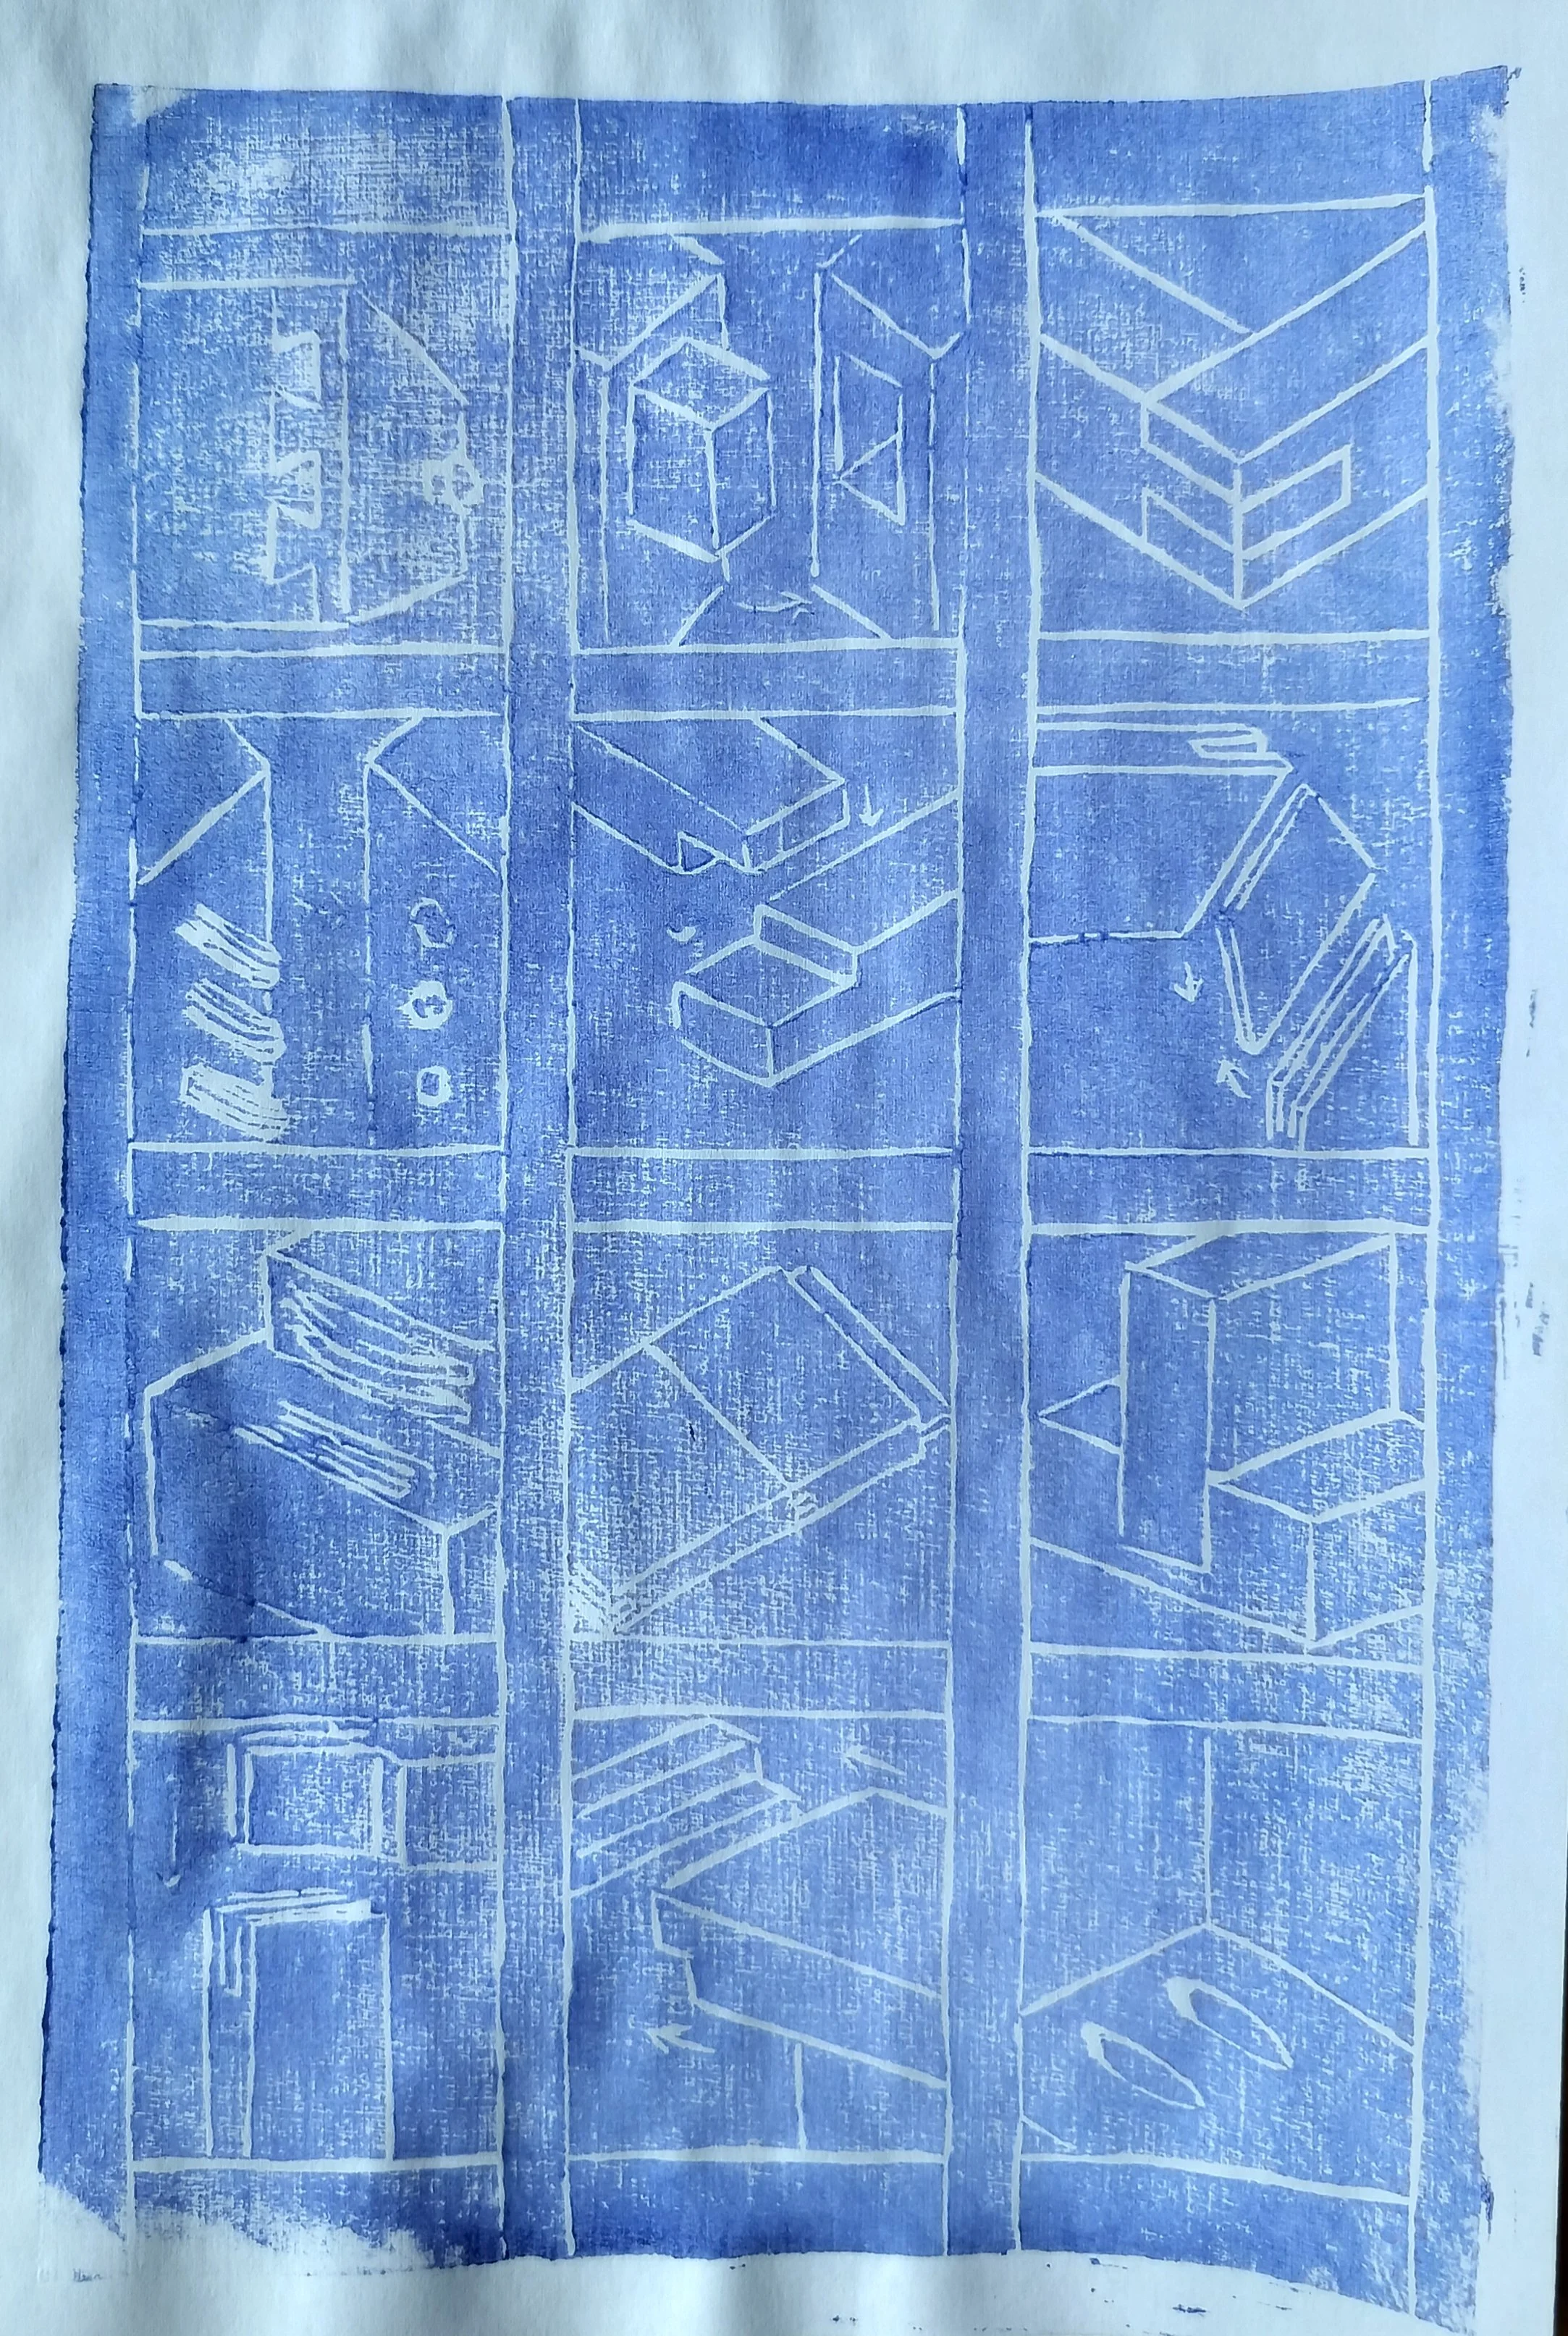
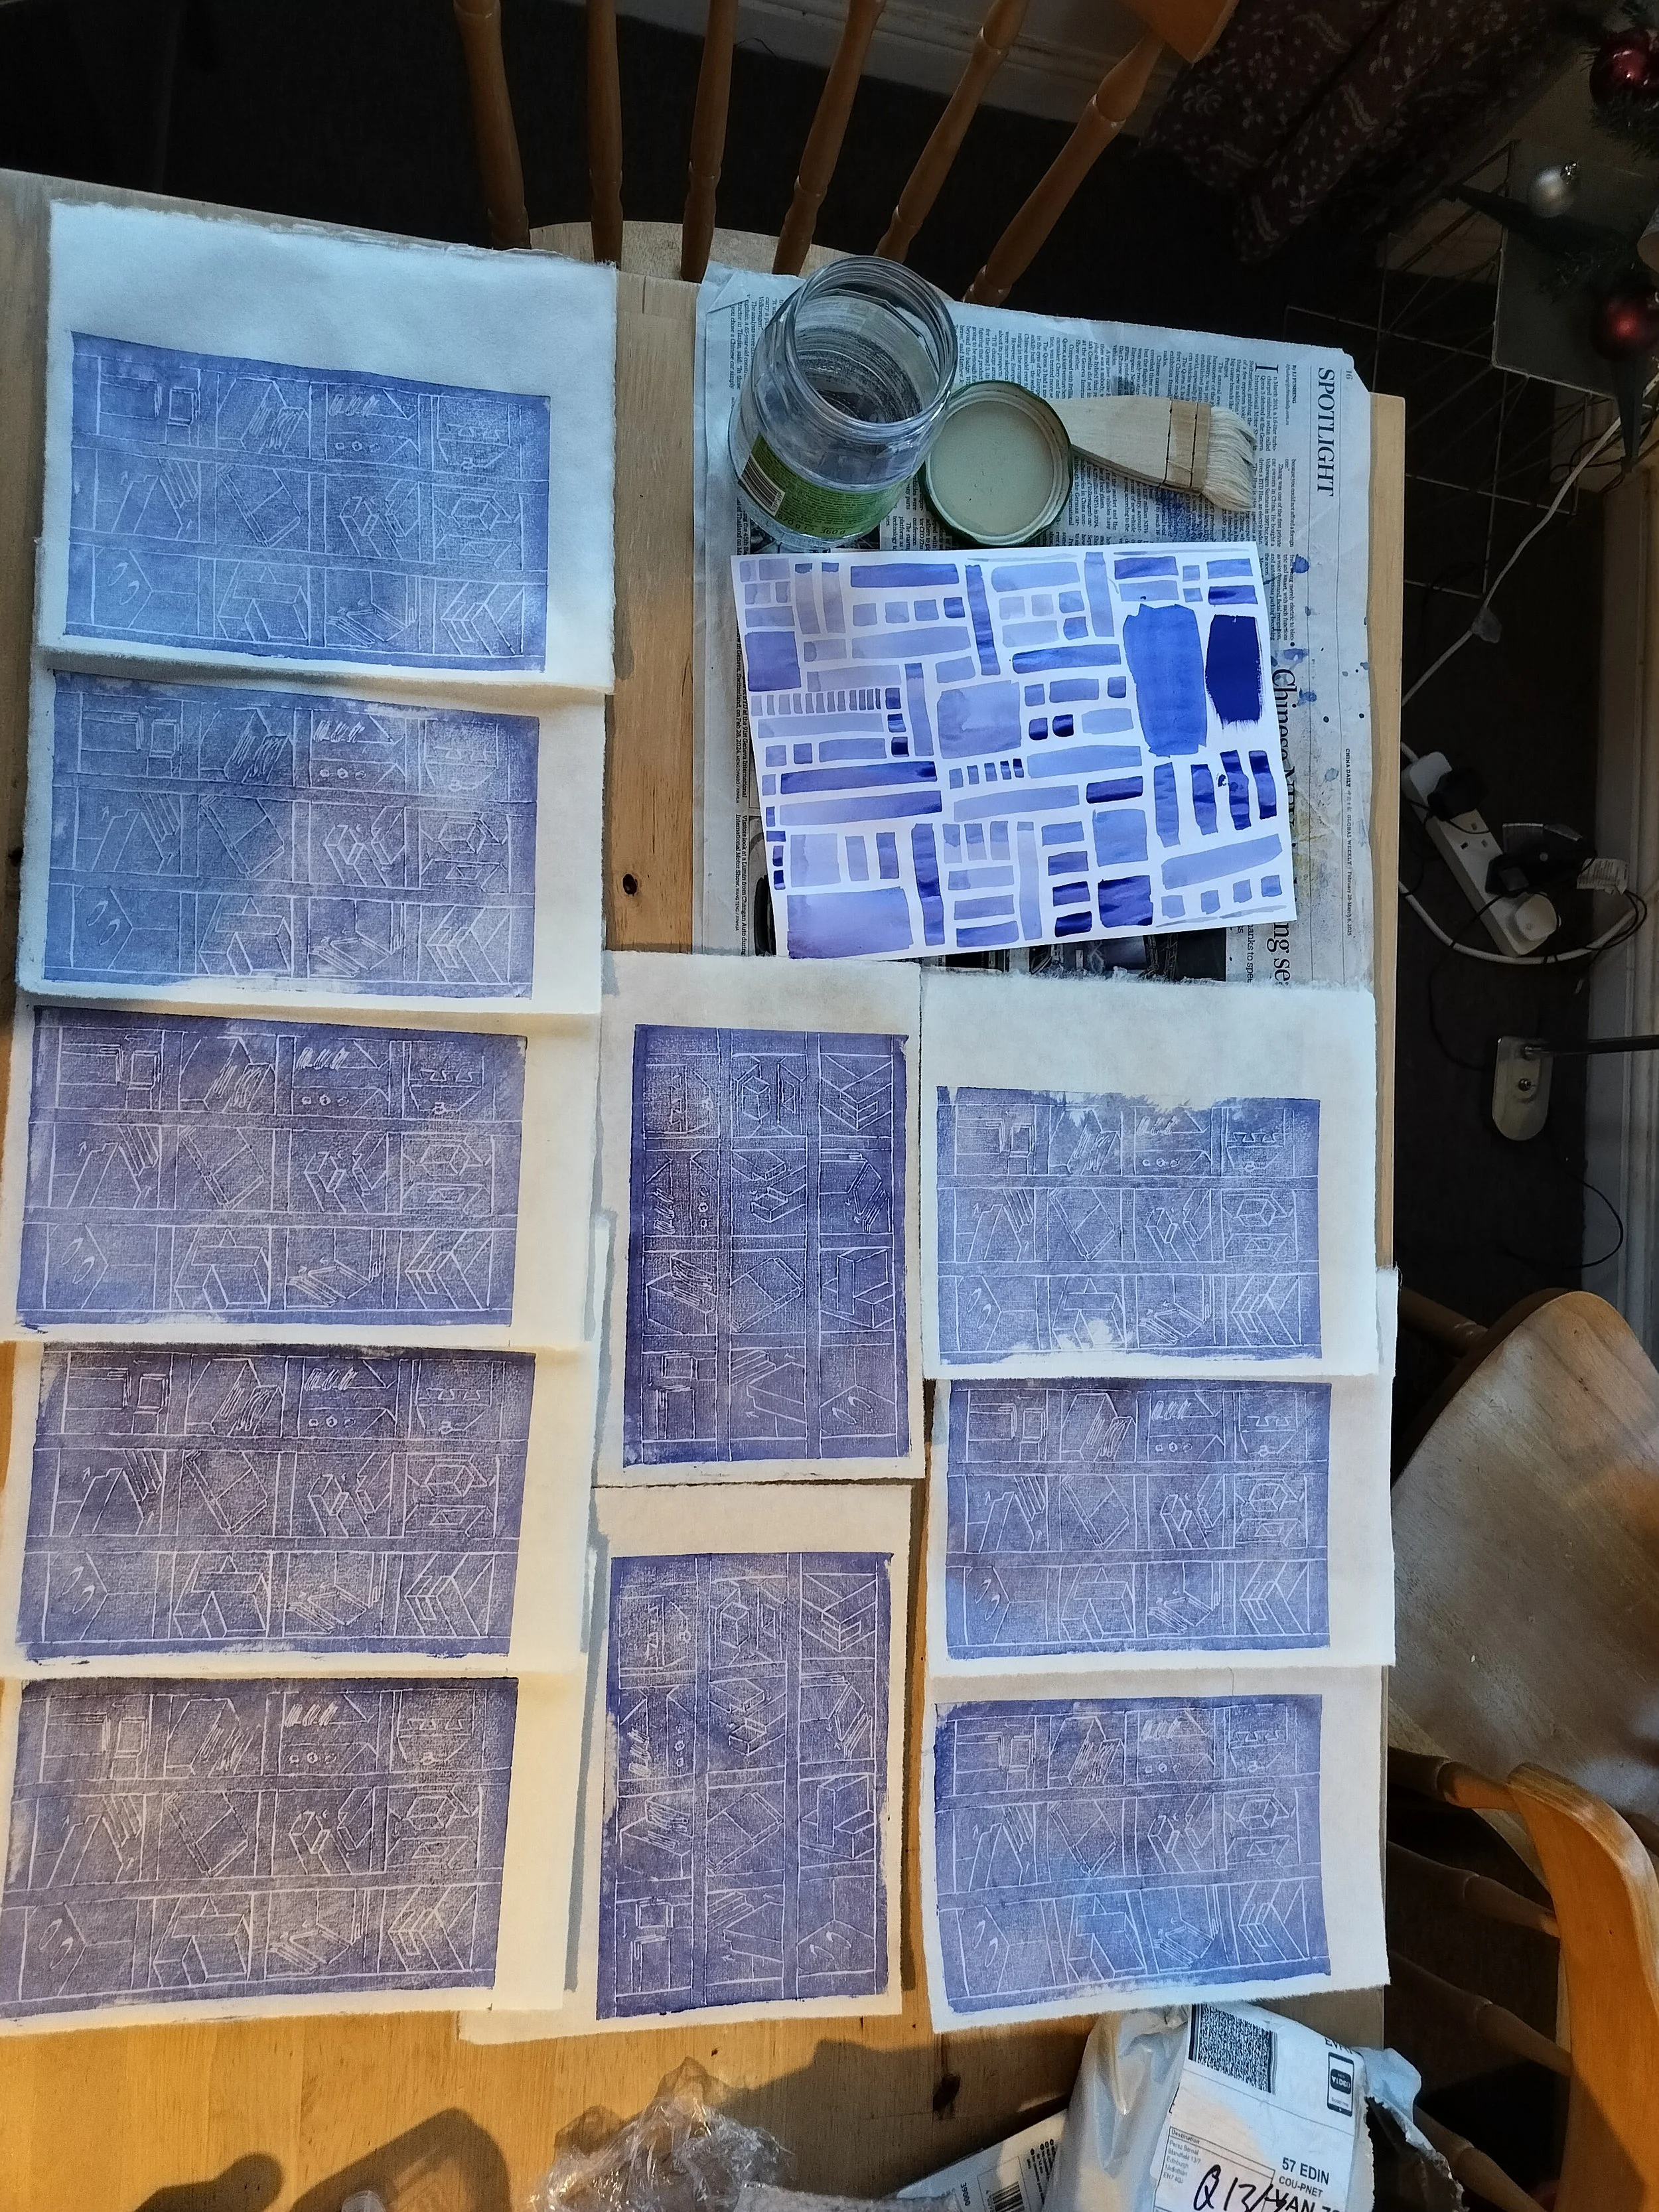
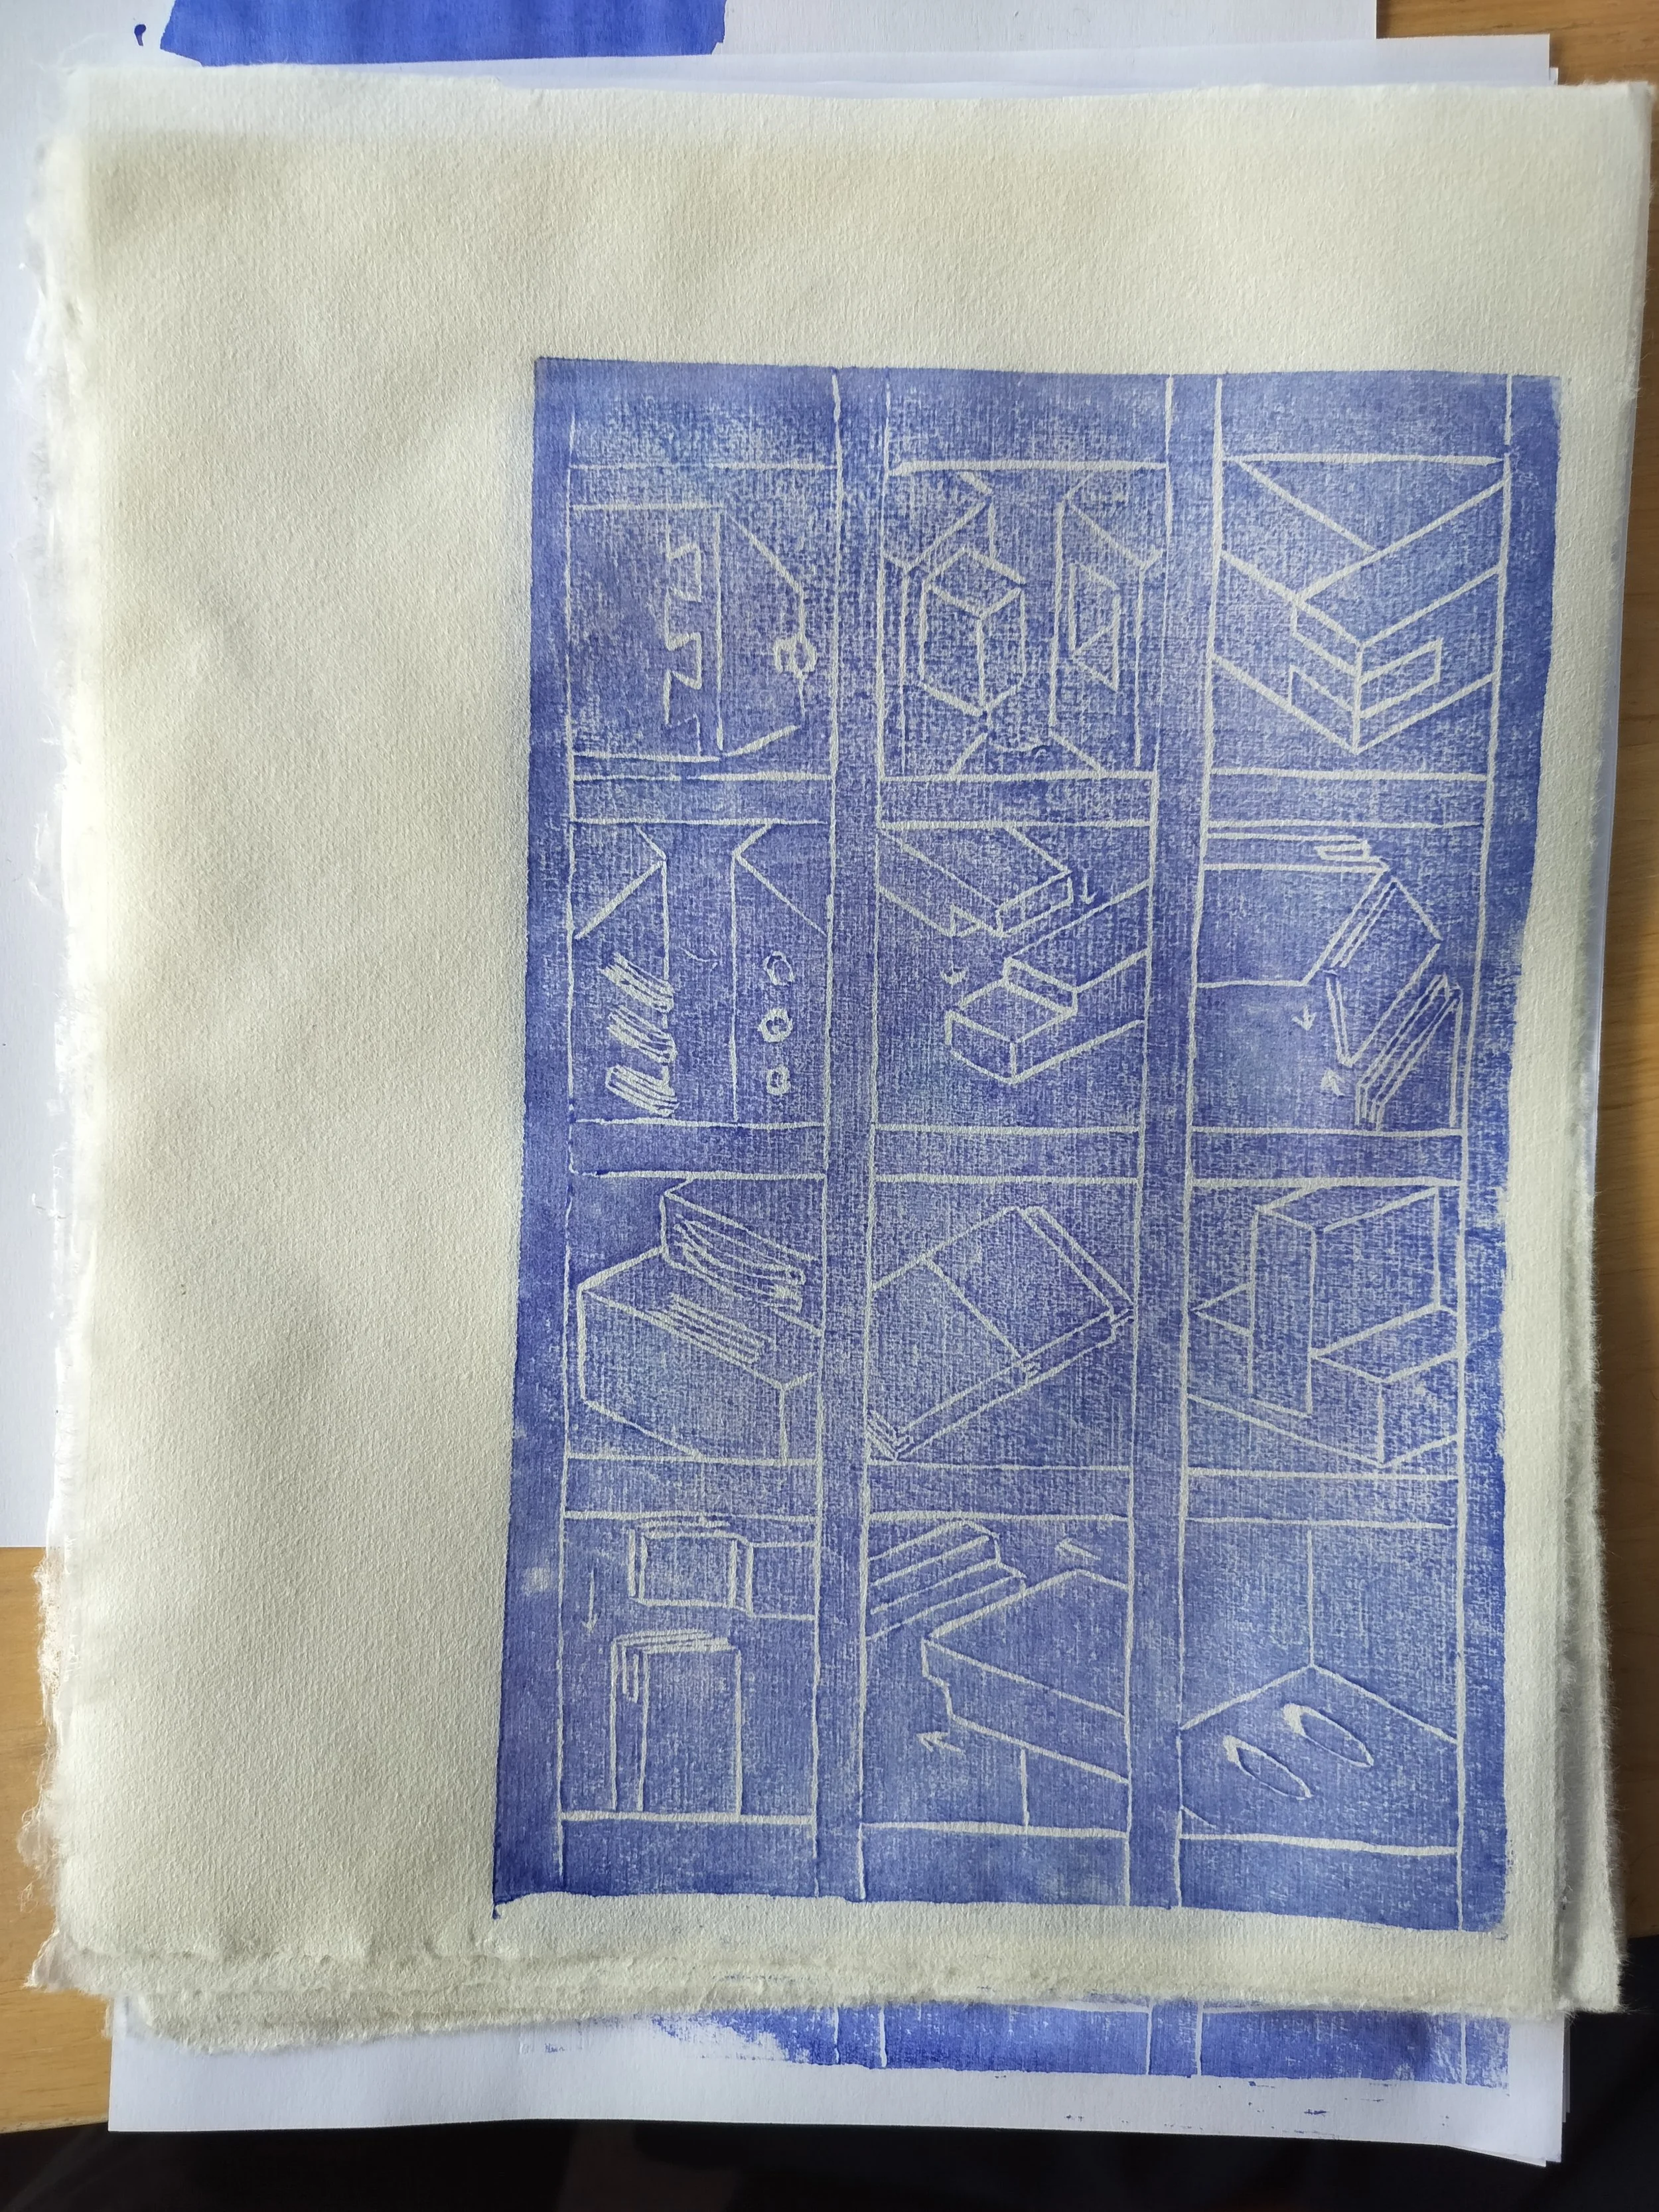
The above images that you can scroll through are some of the test prints I pulled. Learning my lesson from the last session notes, I made sure to get a few clean prints on the photo copier paper before switching to the higher quality paper and boy am I glad I did!
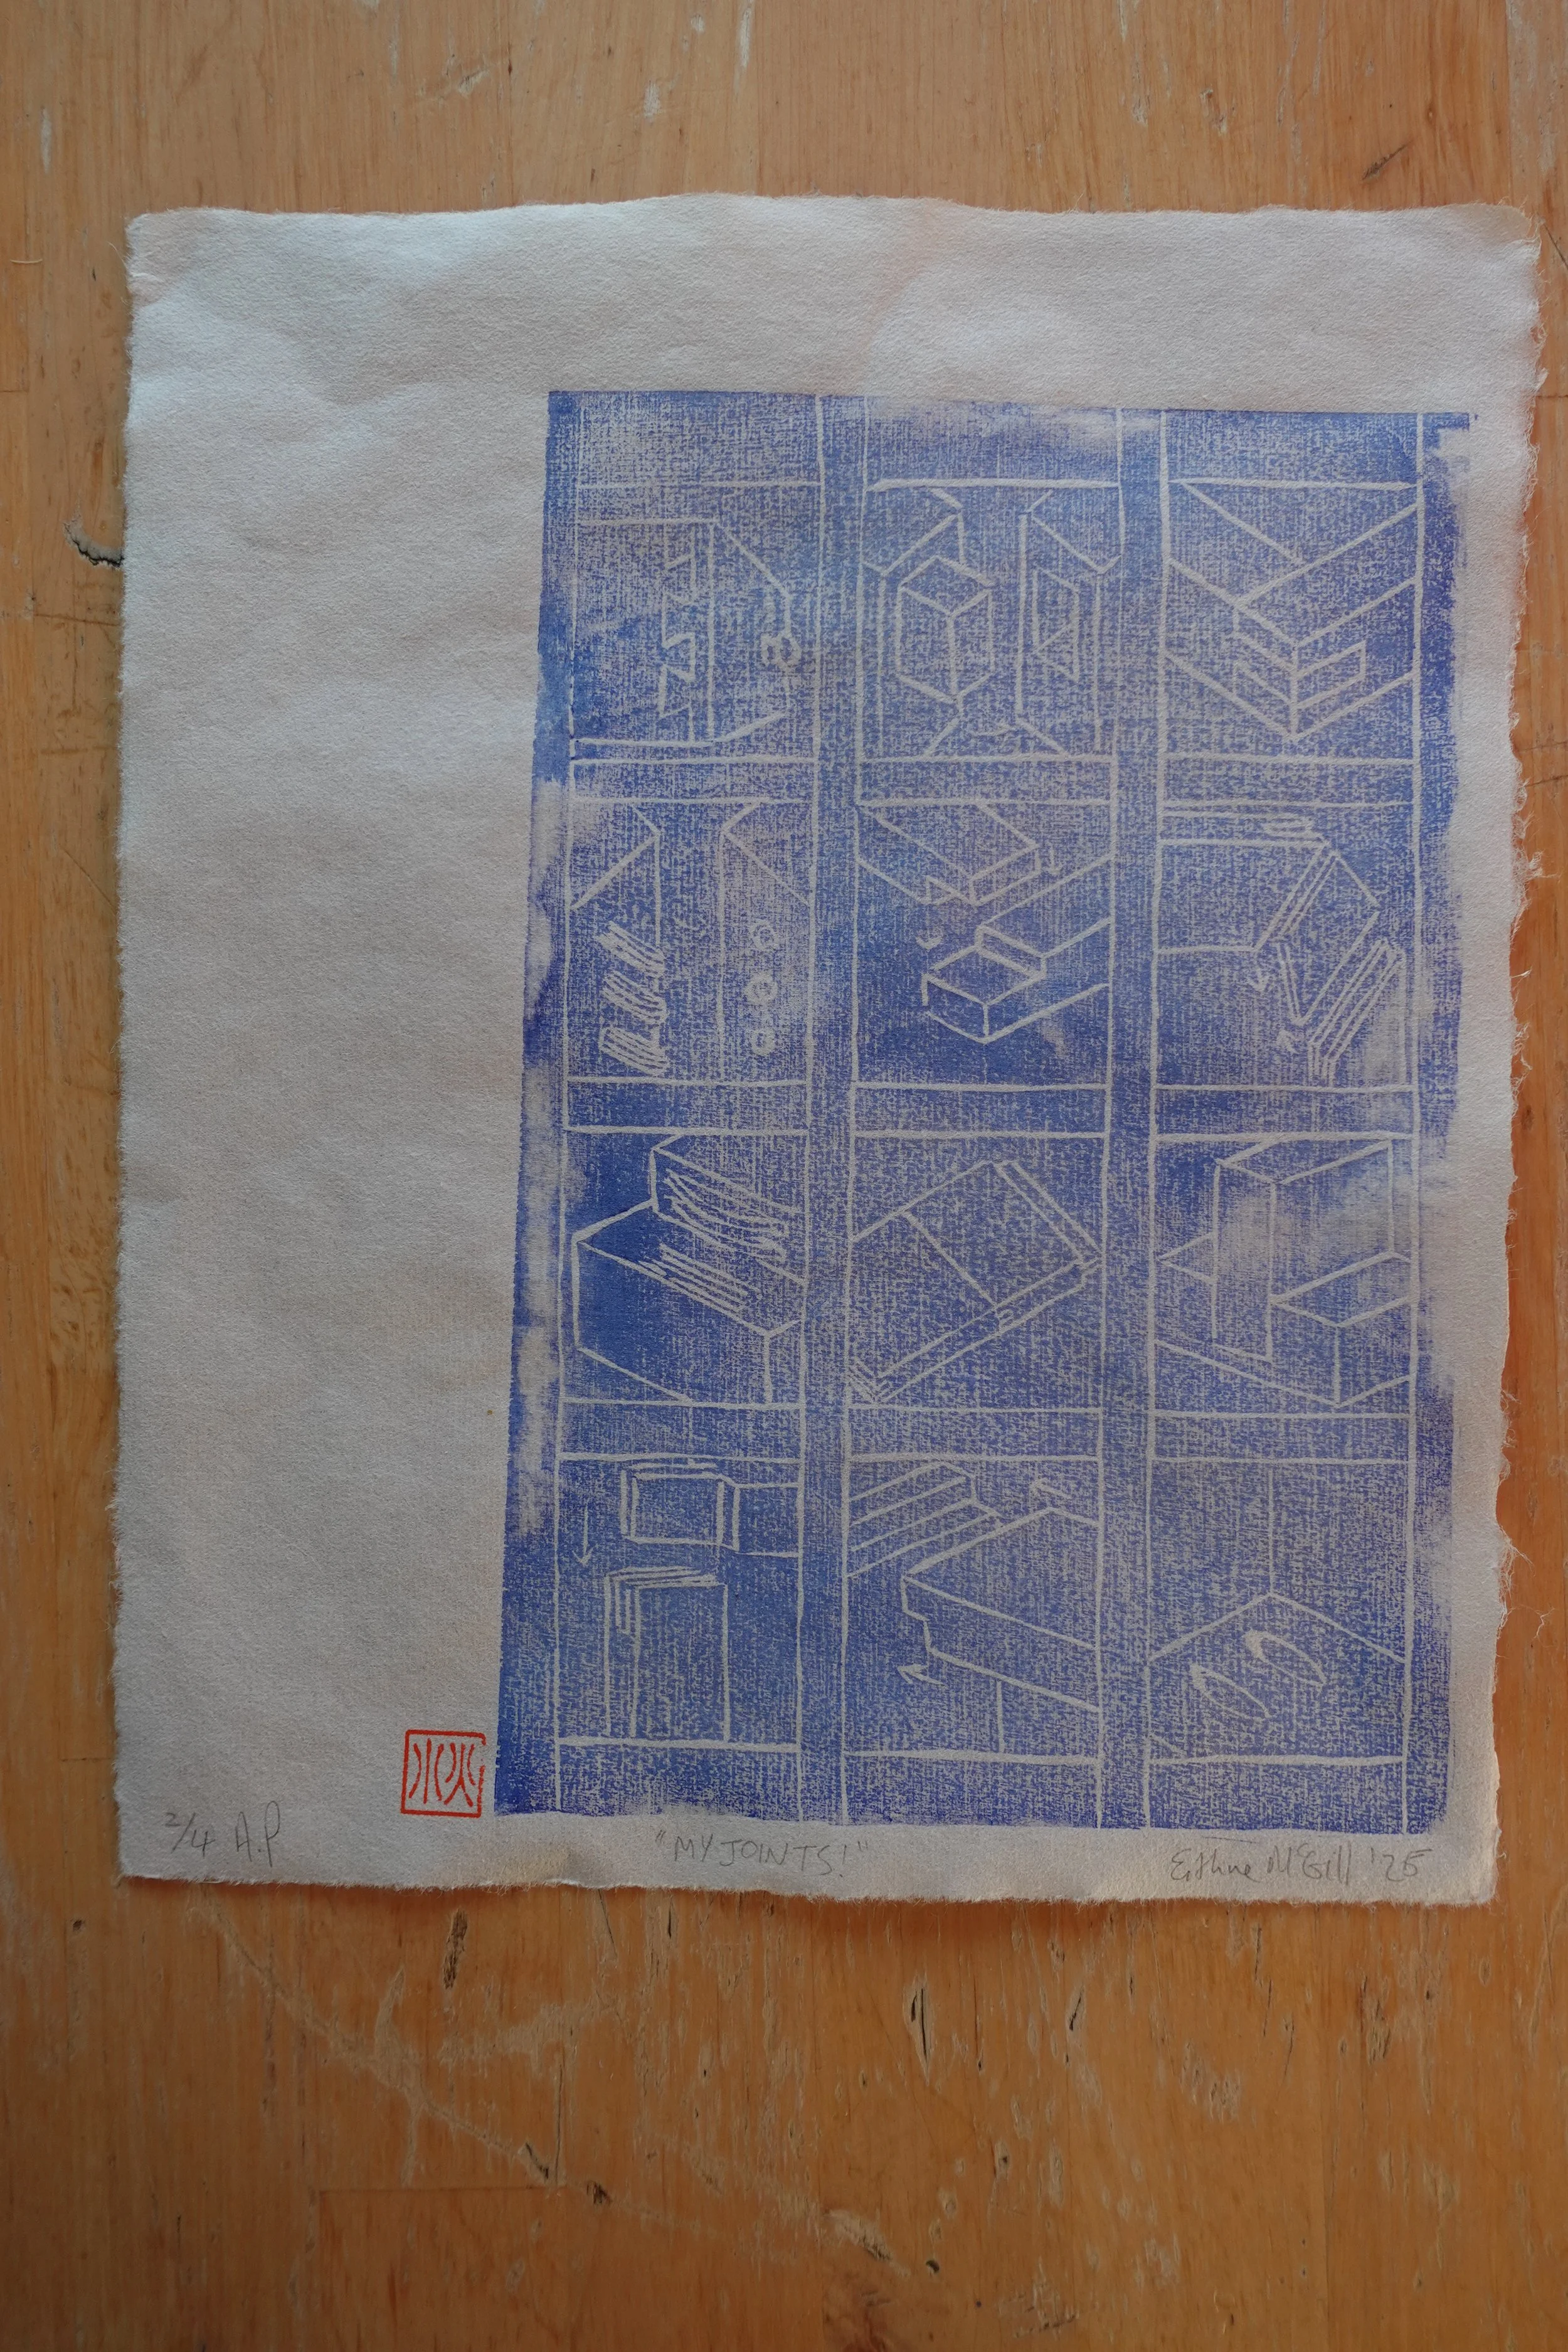
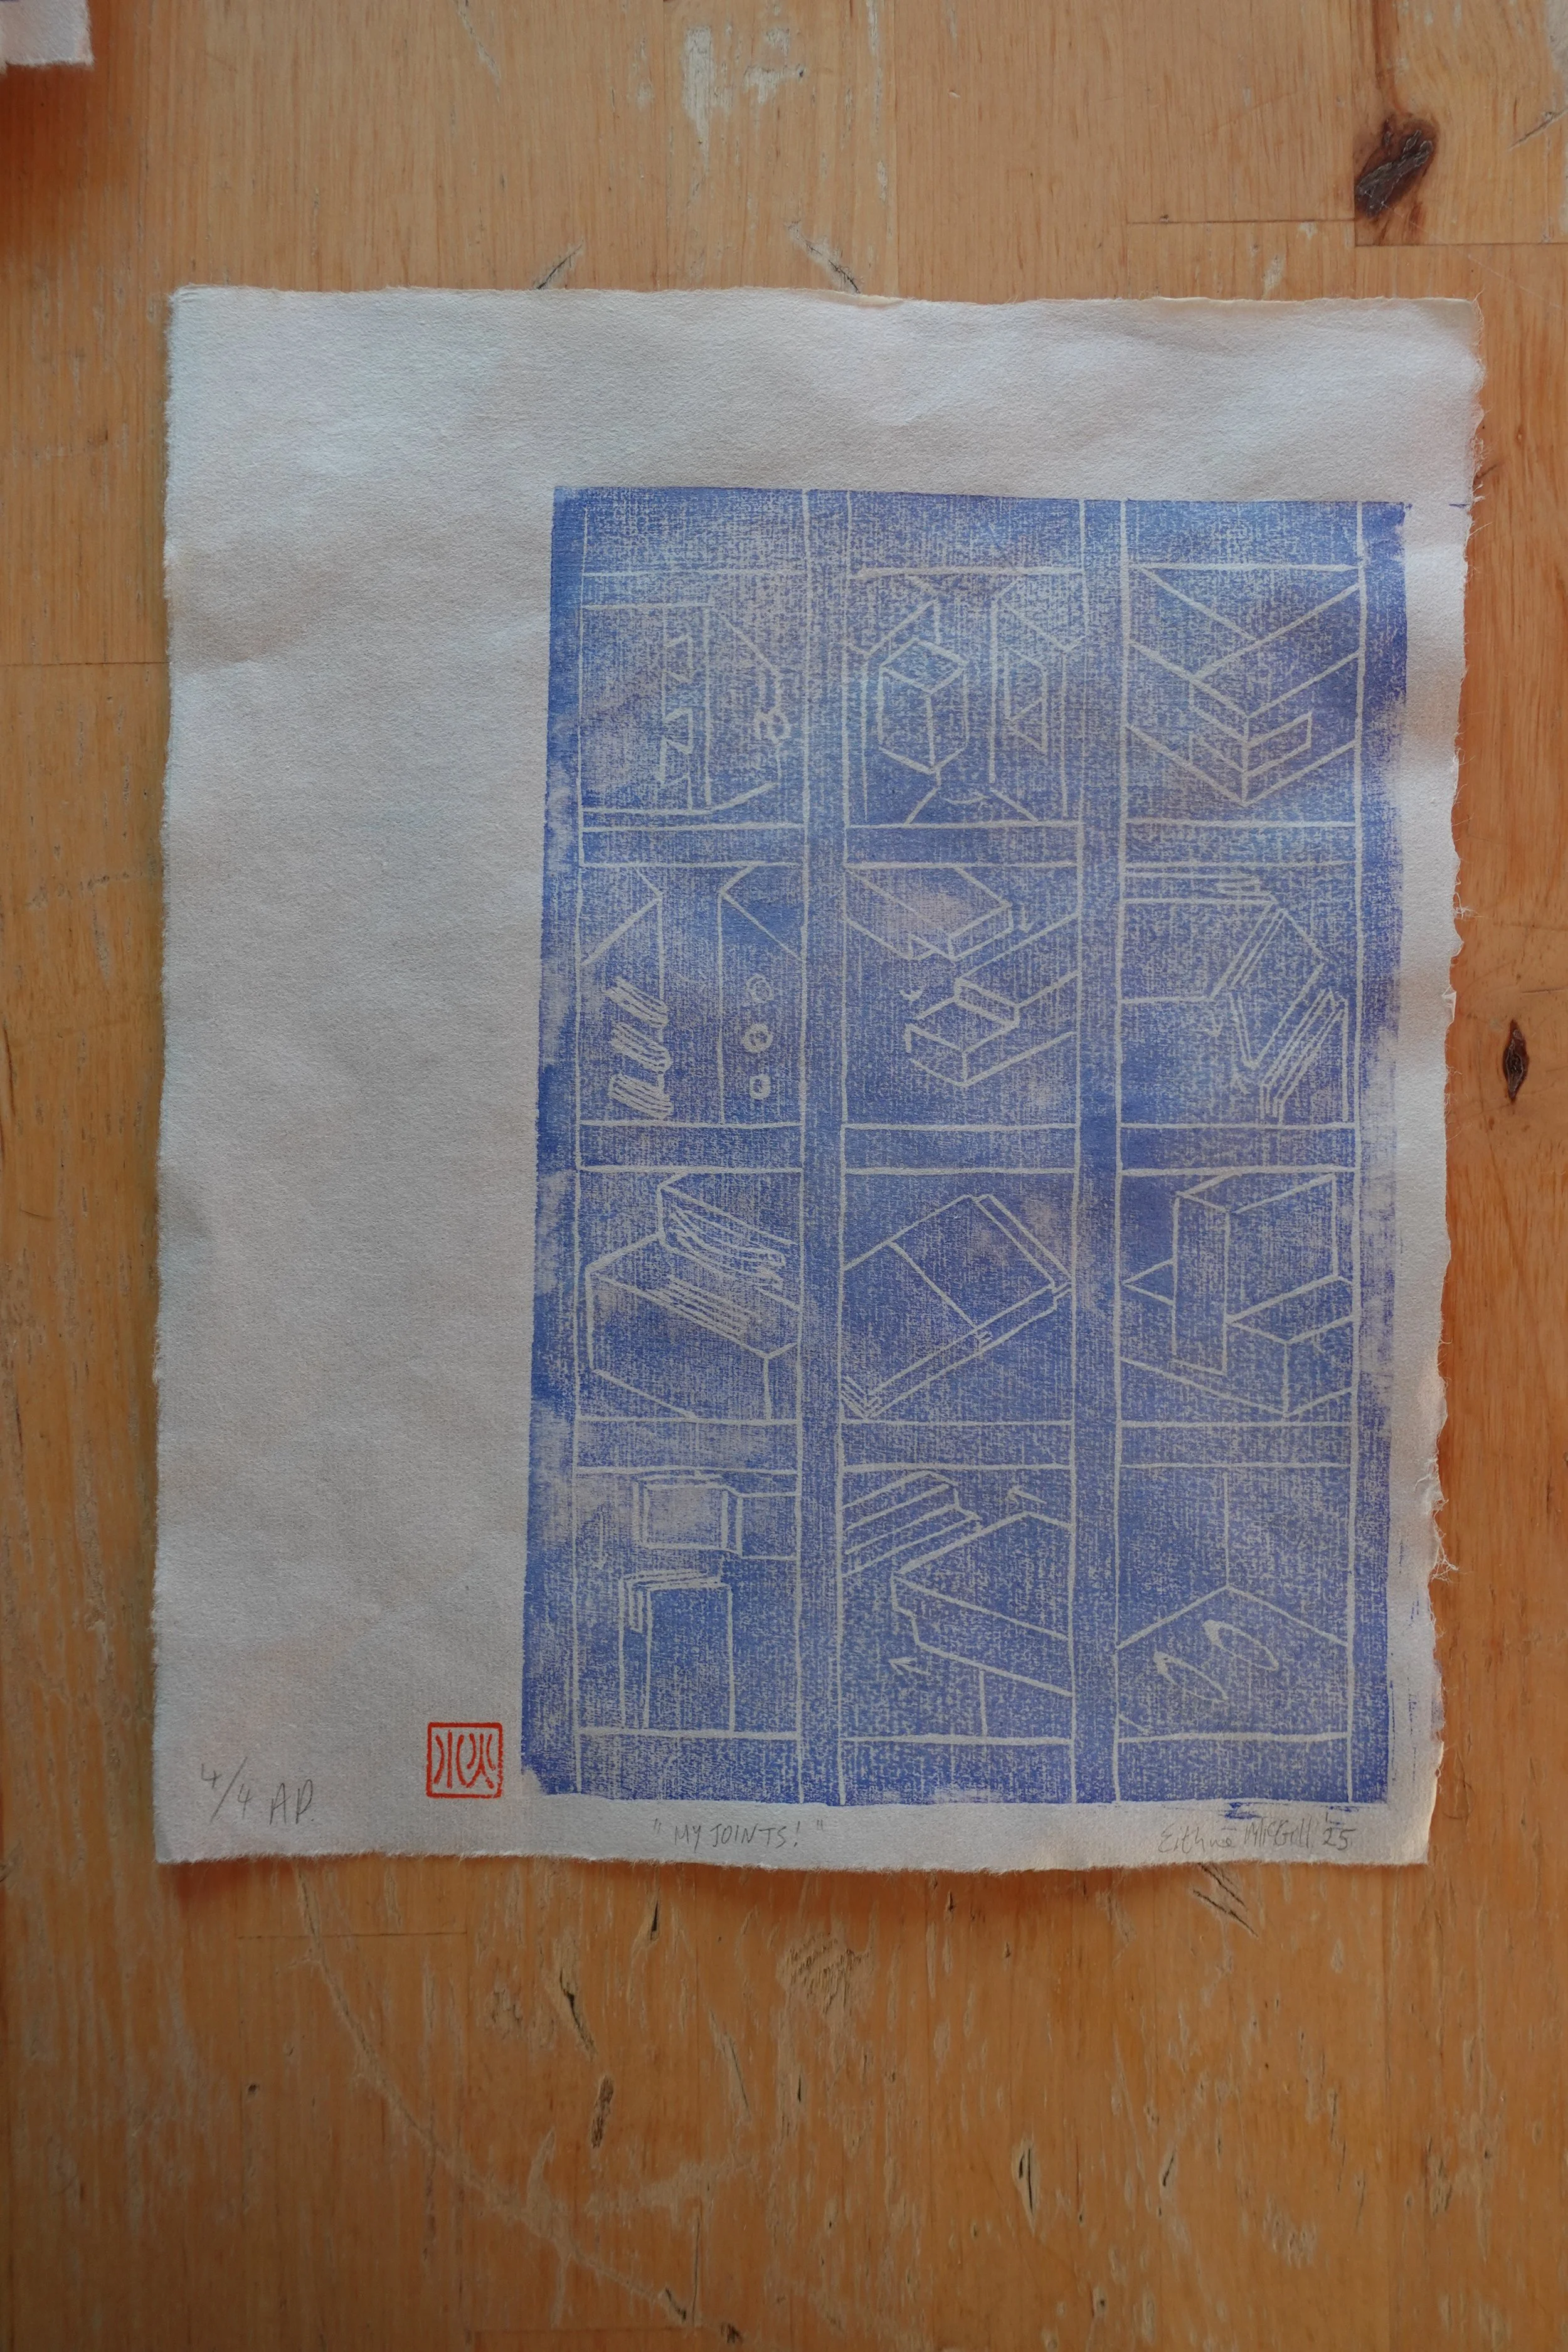
I mean, look at the difference below! The stark difference between the first session and the second session could not be more obvious!
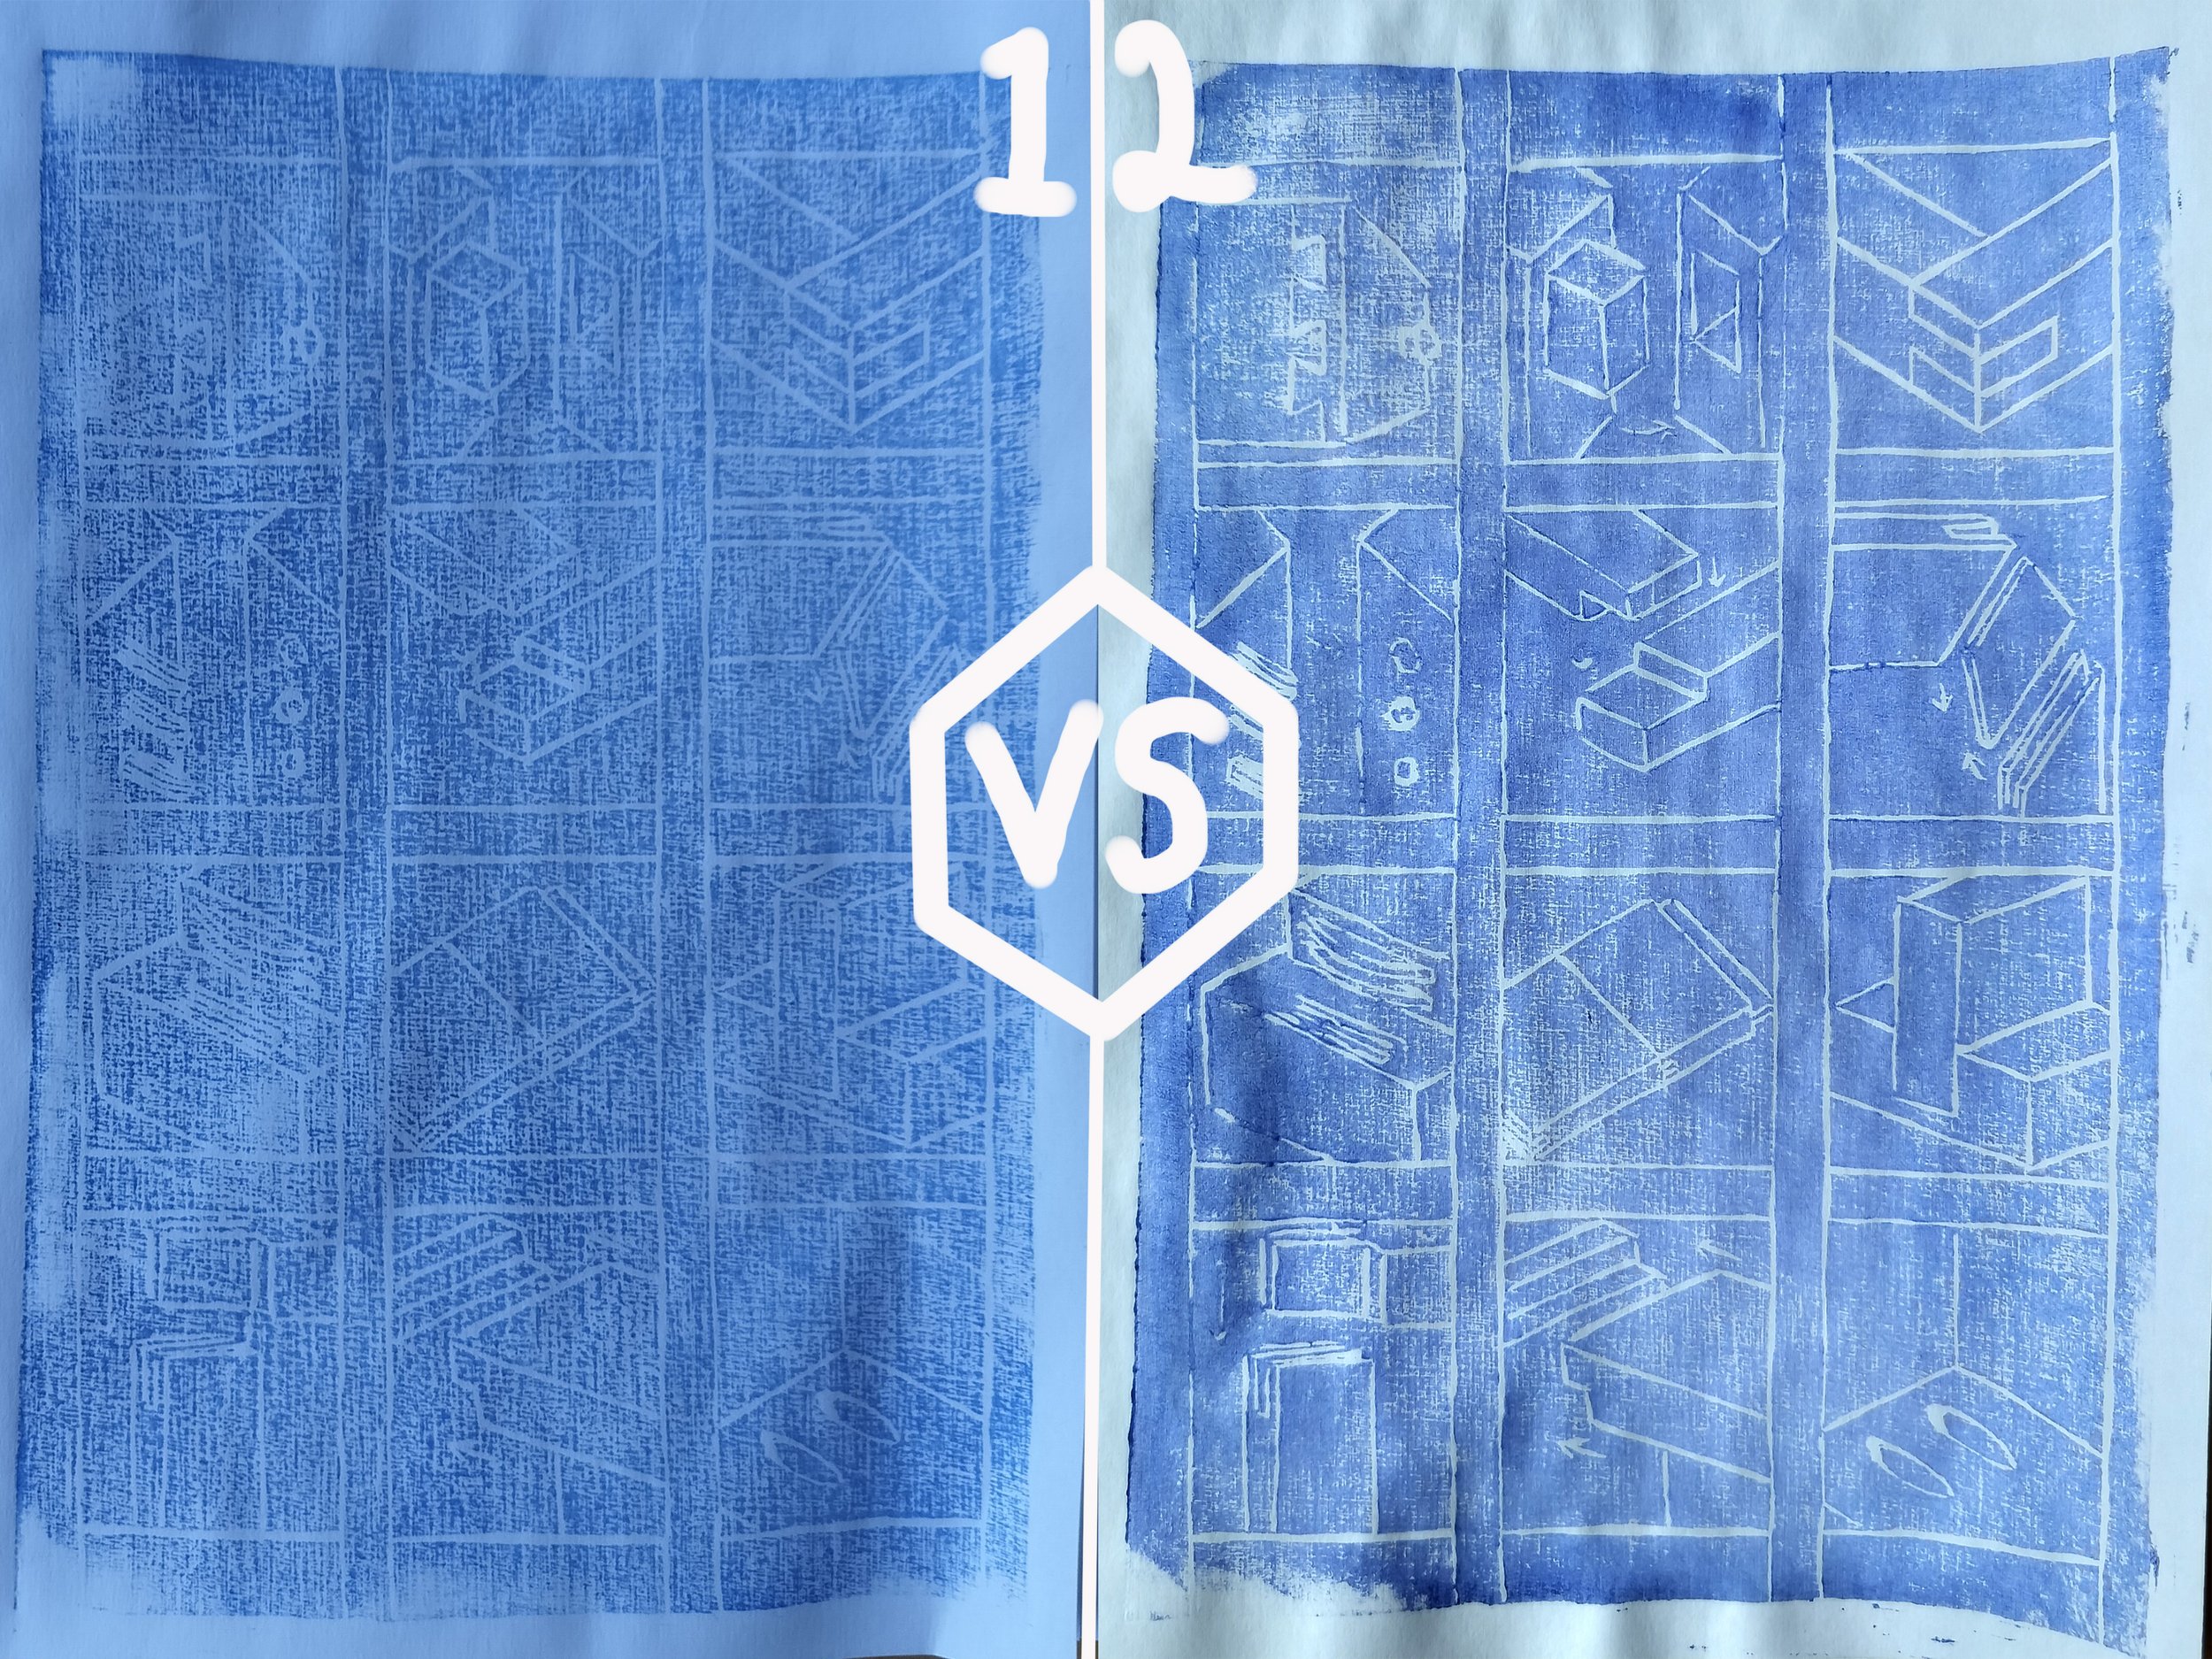
I’m so glad that I have this comparison.
Although the grain is still ever-present, in the second session it no longer makes the print super noisy, now it is just a feature, and the lines are so much clearer.
The white of the paper pops through so nicely!
Now, I know these aren’t perfect. There are still patches where there wasn’t enough ink and there are a few lines along the borders where I didn’t clean the ink off the board properly, but it is such an improvement that I’m not even mad.
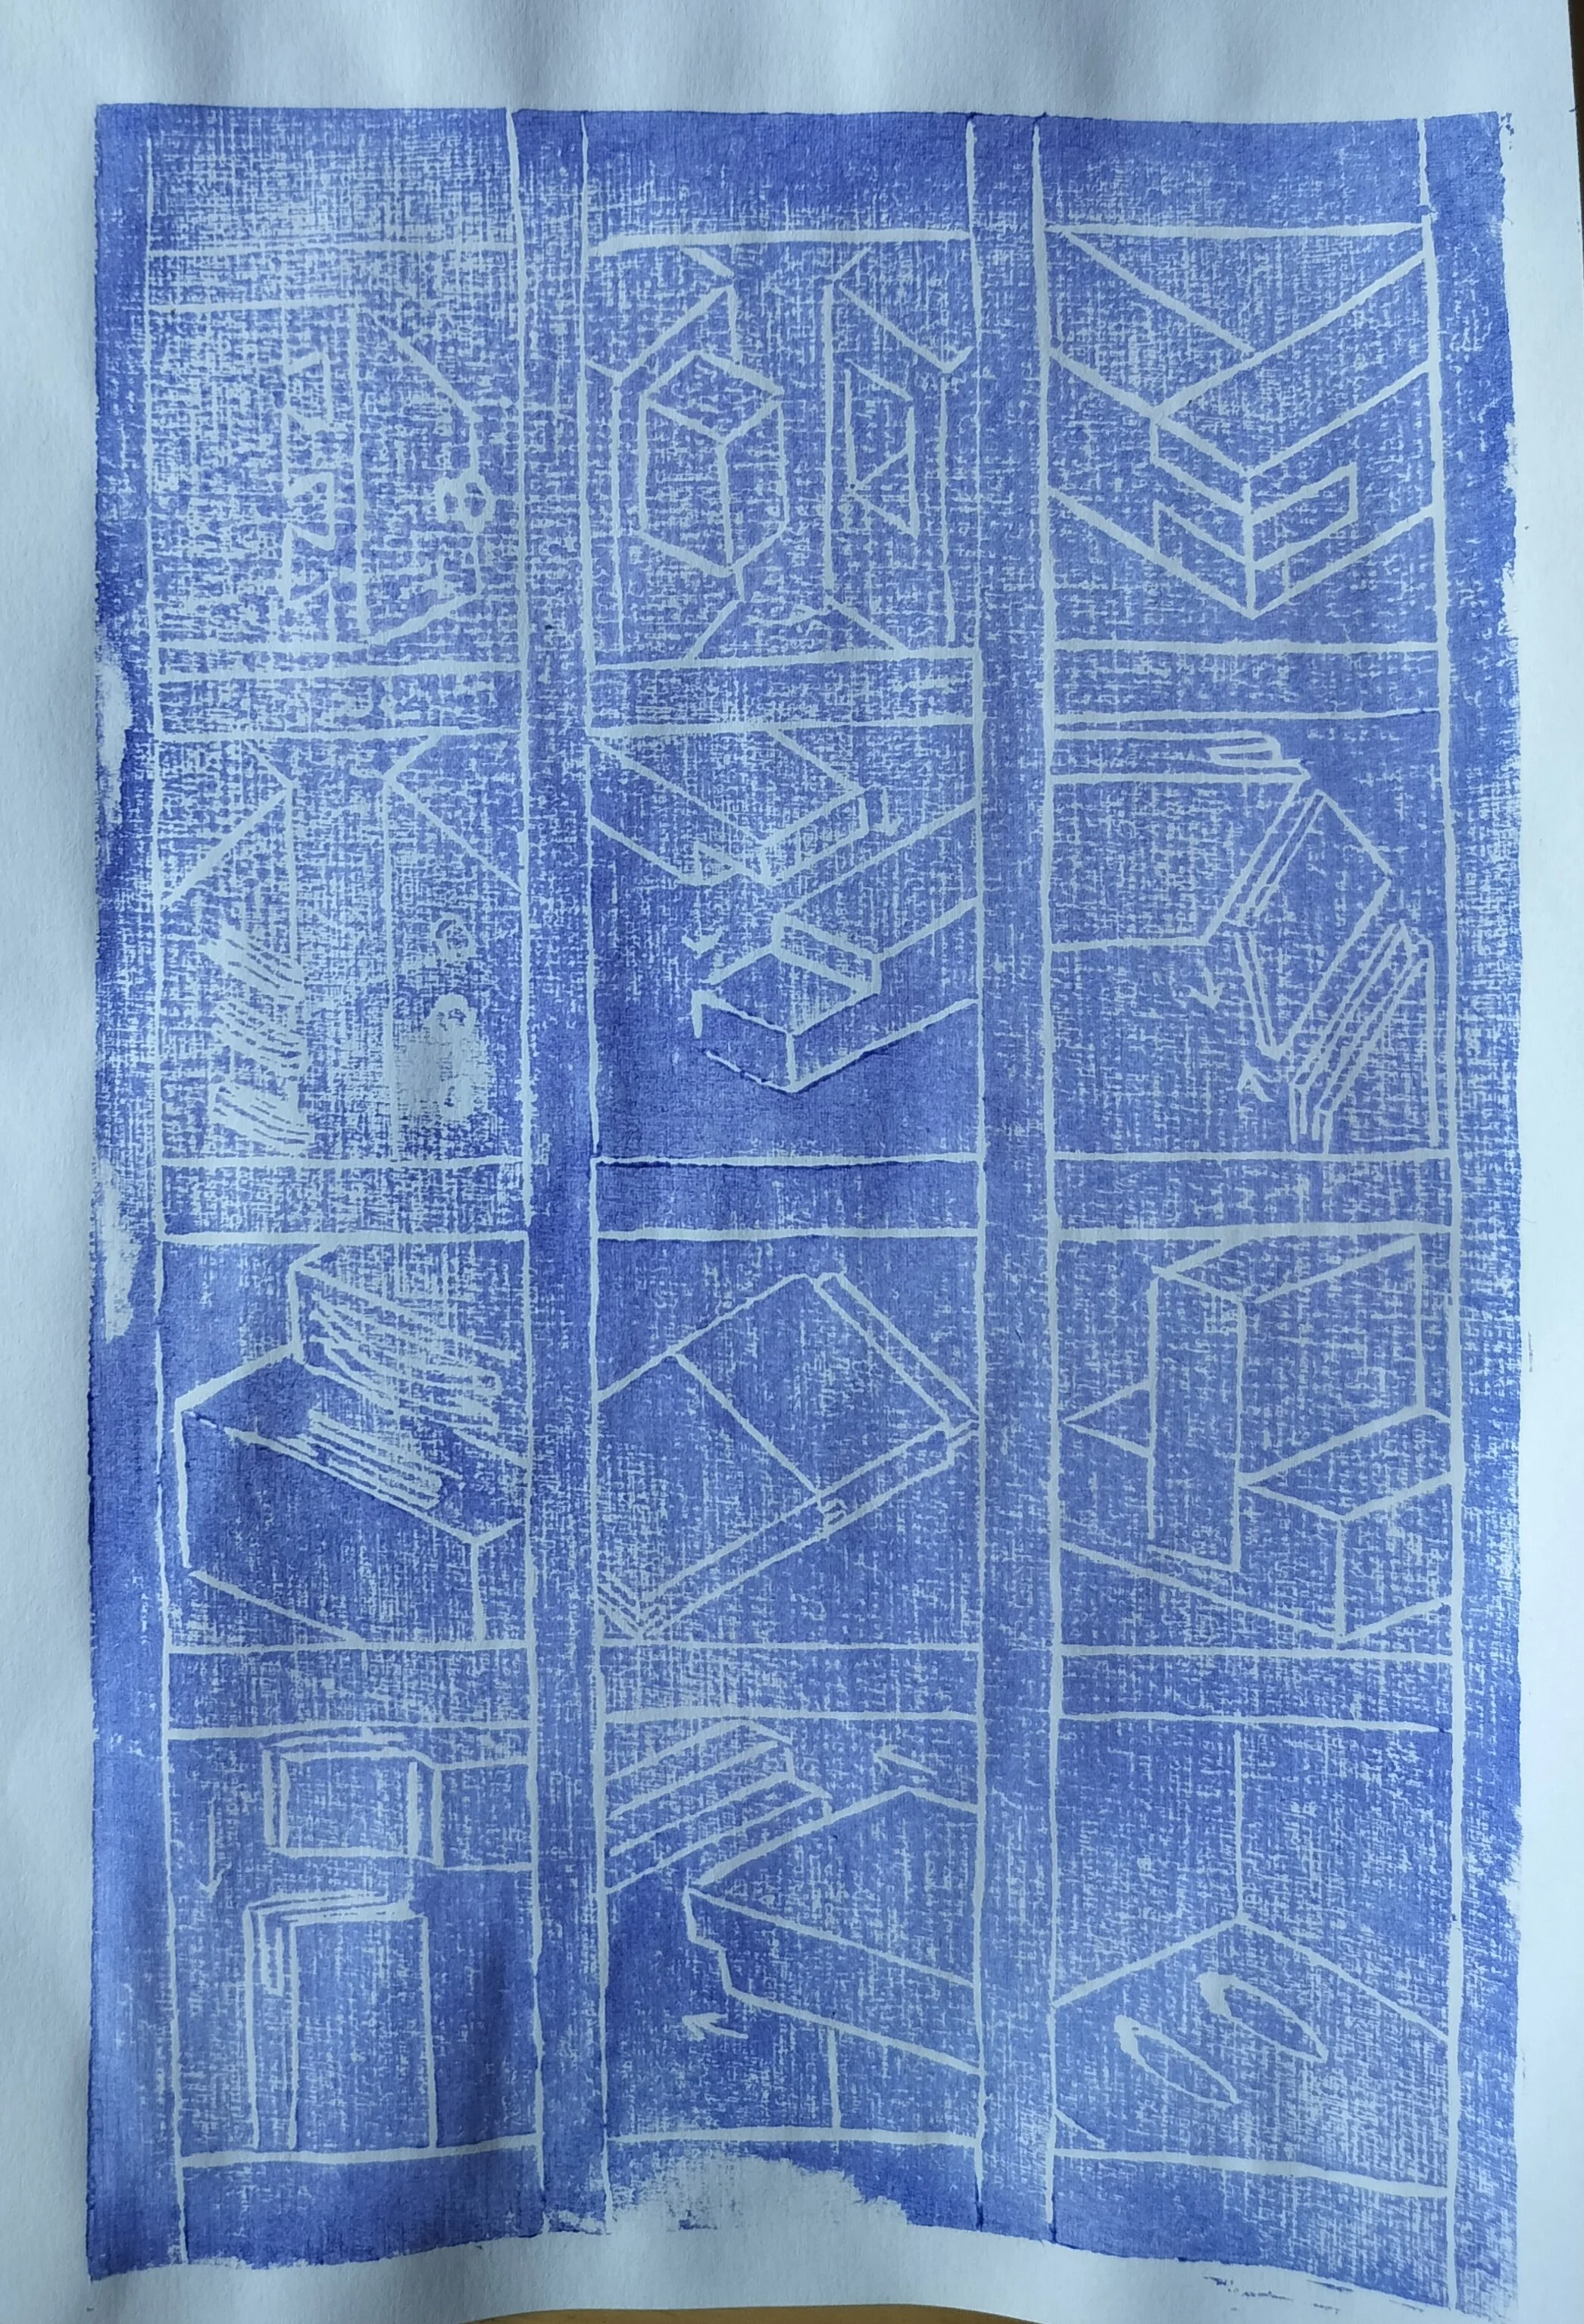
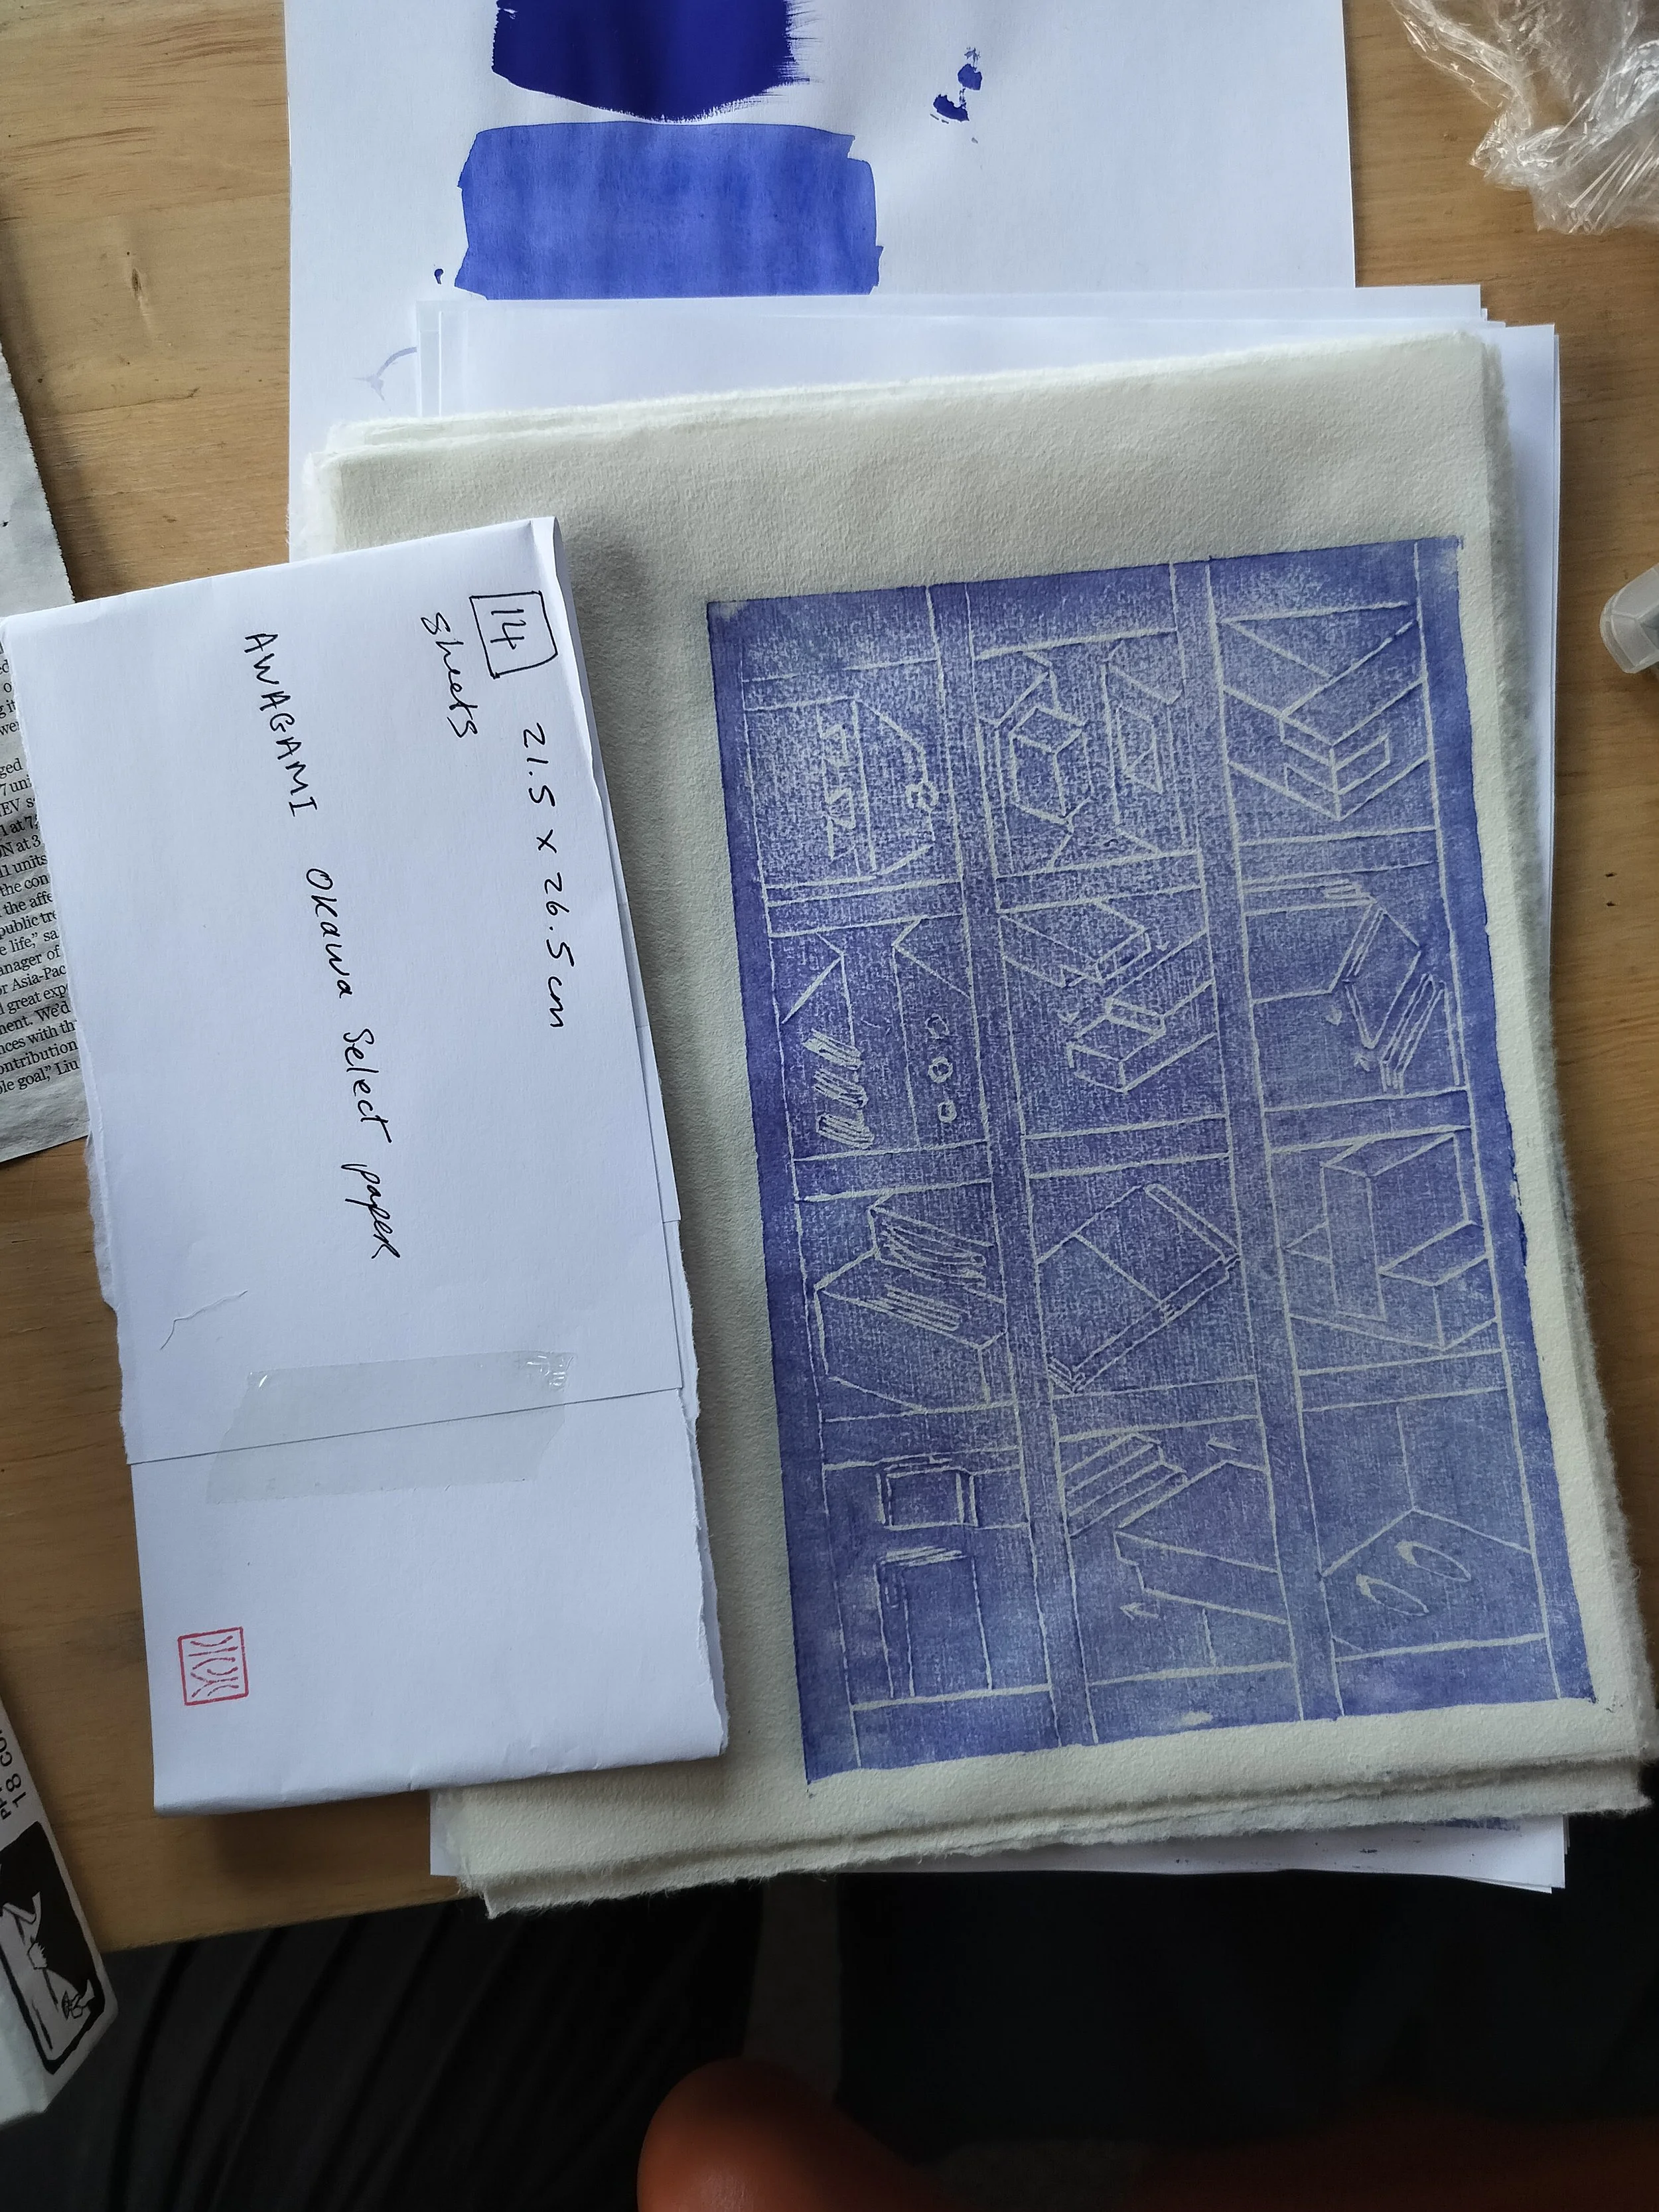
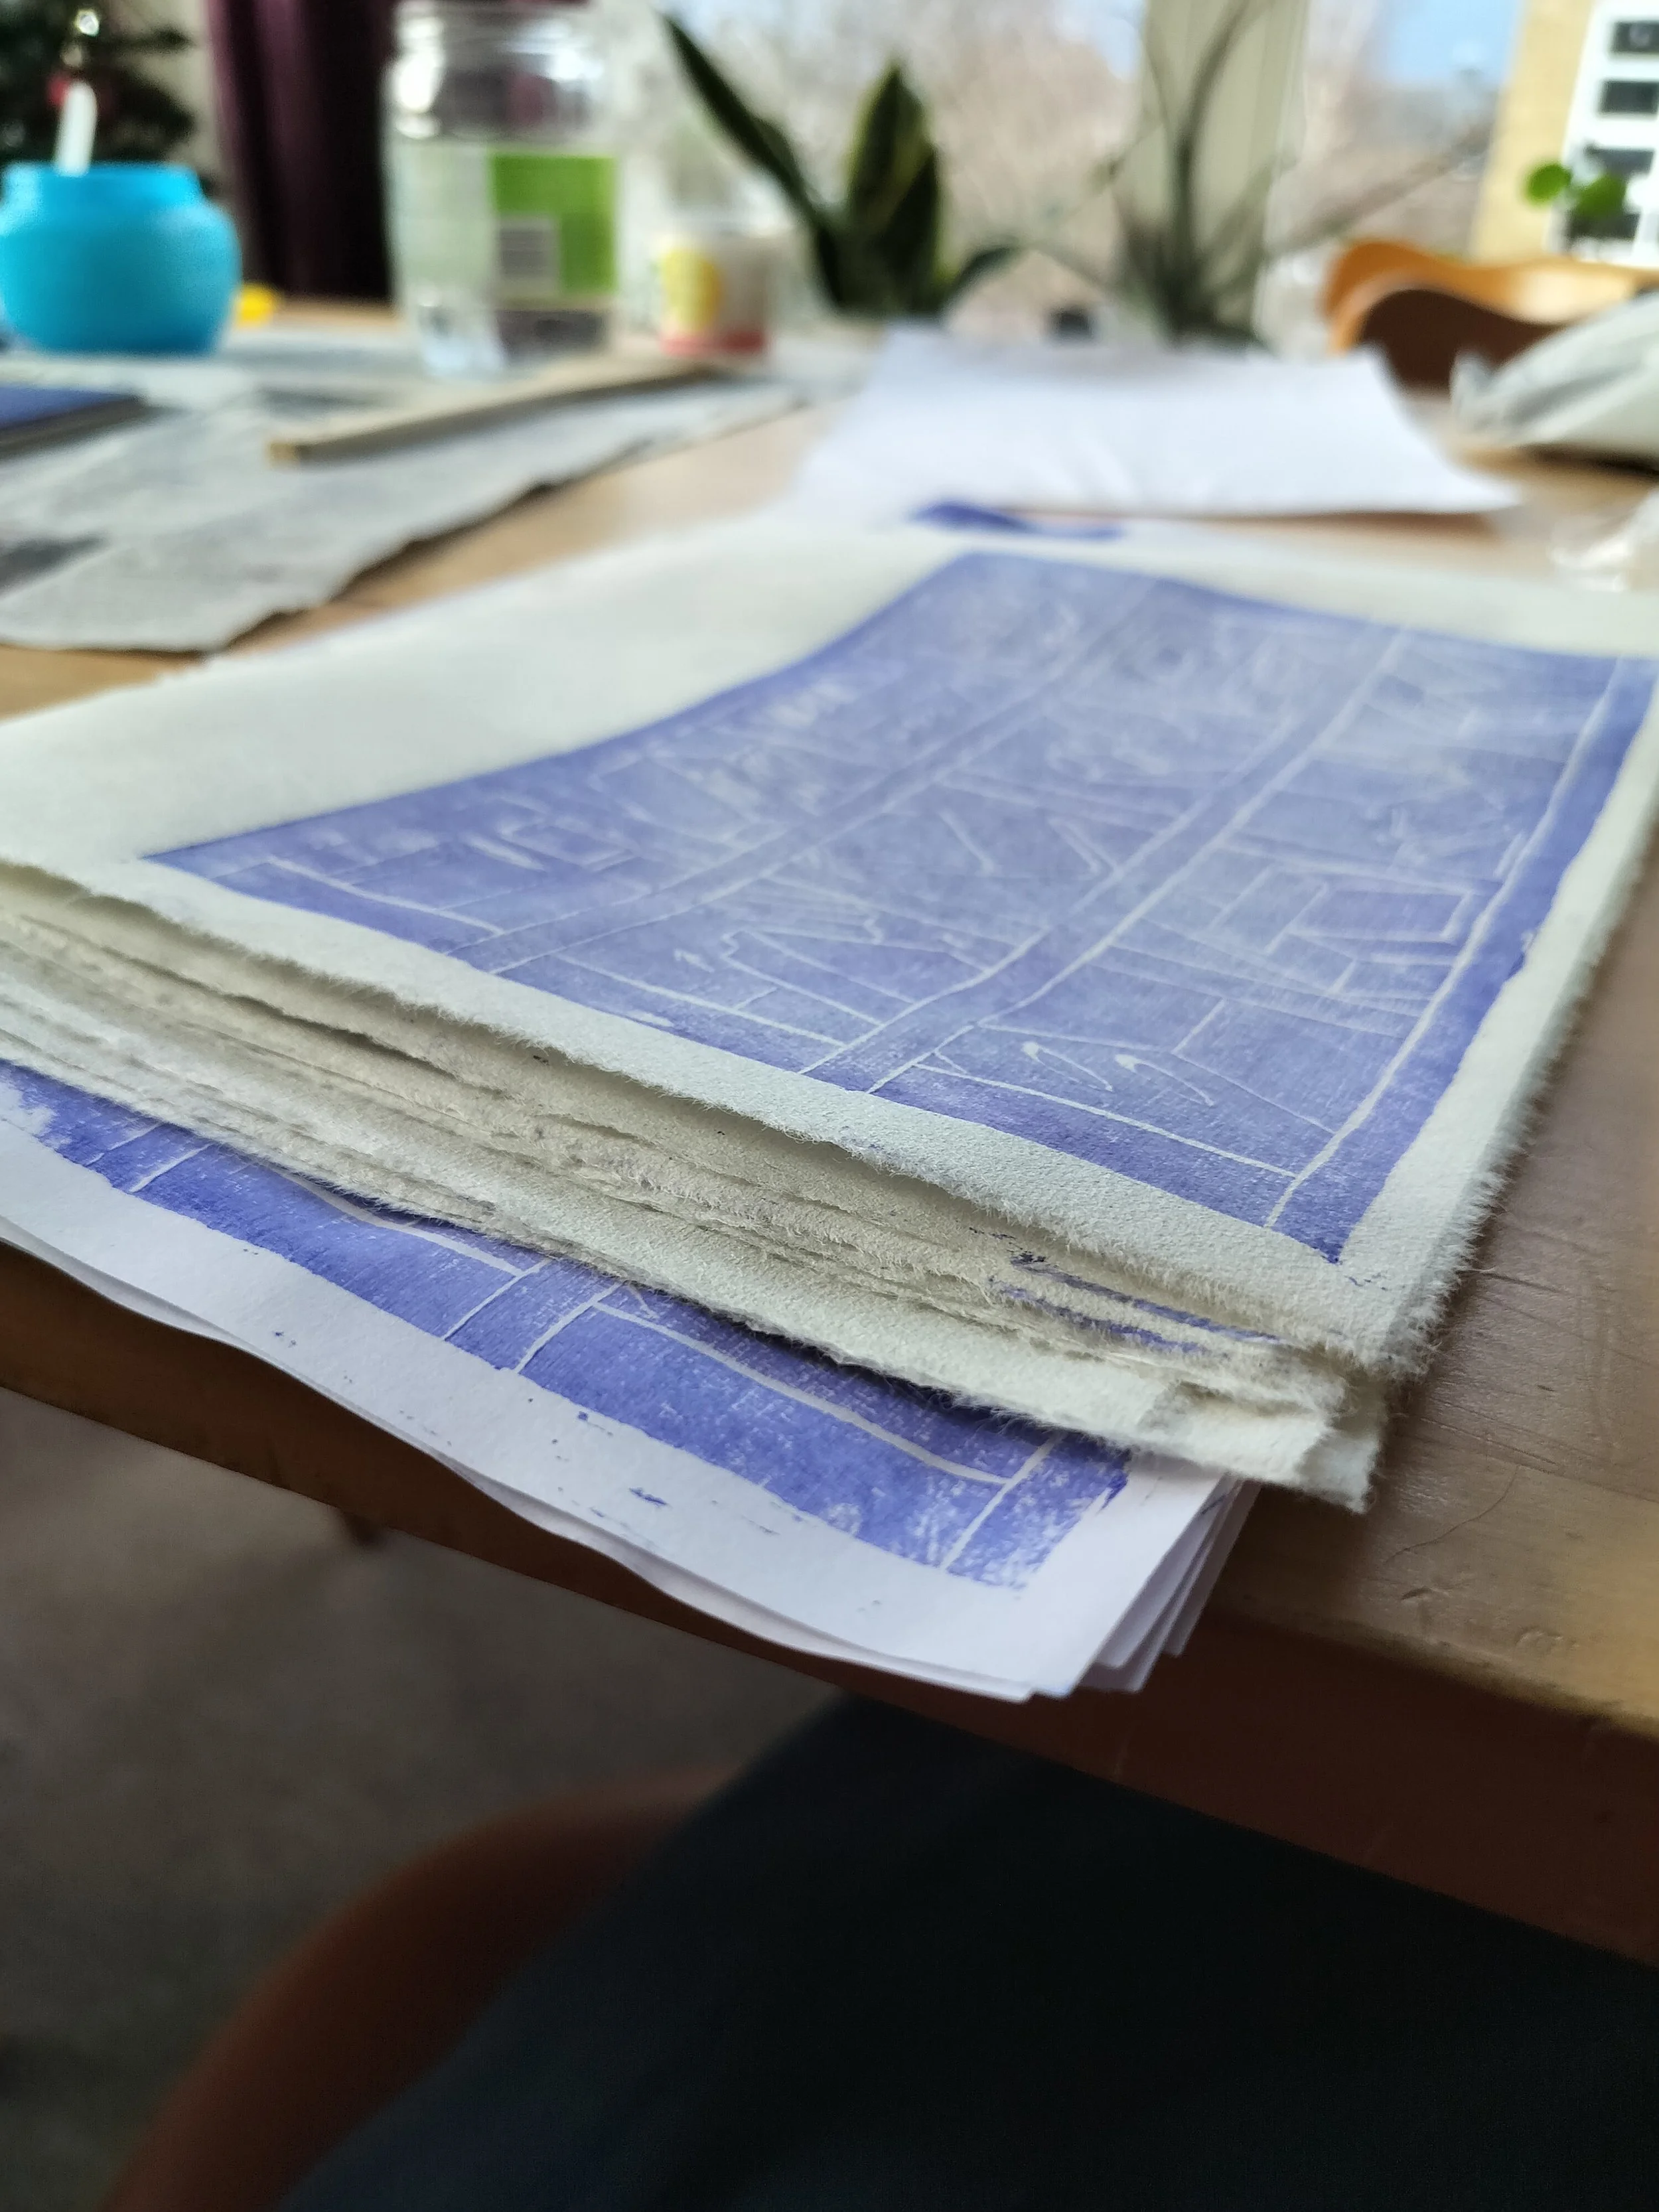
After the six tester pulls, I then went on to pull 10 prints on my high quality paper (‘Okawa Select’ by Awagami Factory).
I knew immediately that these were going to be different and better when I lined up the paper on my block and saw the image already starting to come through from the back. I adjusted the inking with each new pull, trying to be as consistent as possible (while also trying to improve from the print before).

I recorded the whole process on my camera (a splurge purchase, but one I had been saving up for all this time) and plan on editing the clips together to make a coherent video… eventually. Below are some still from recording, as well as just shots of my printing setup on the day.
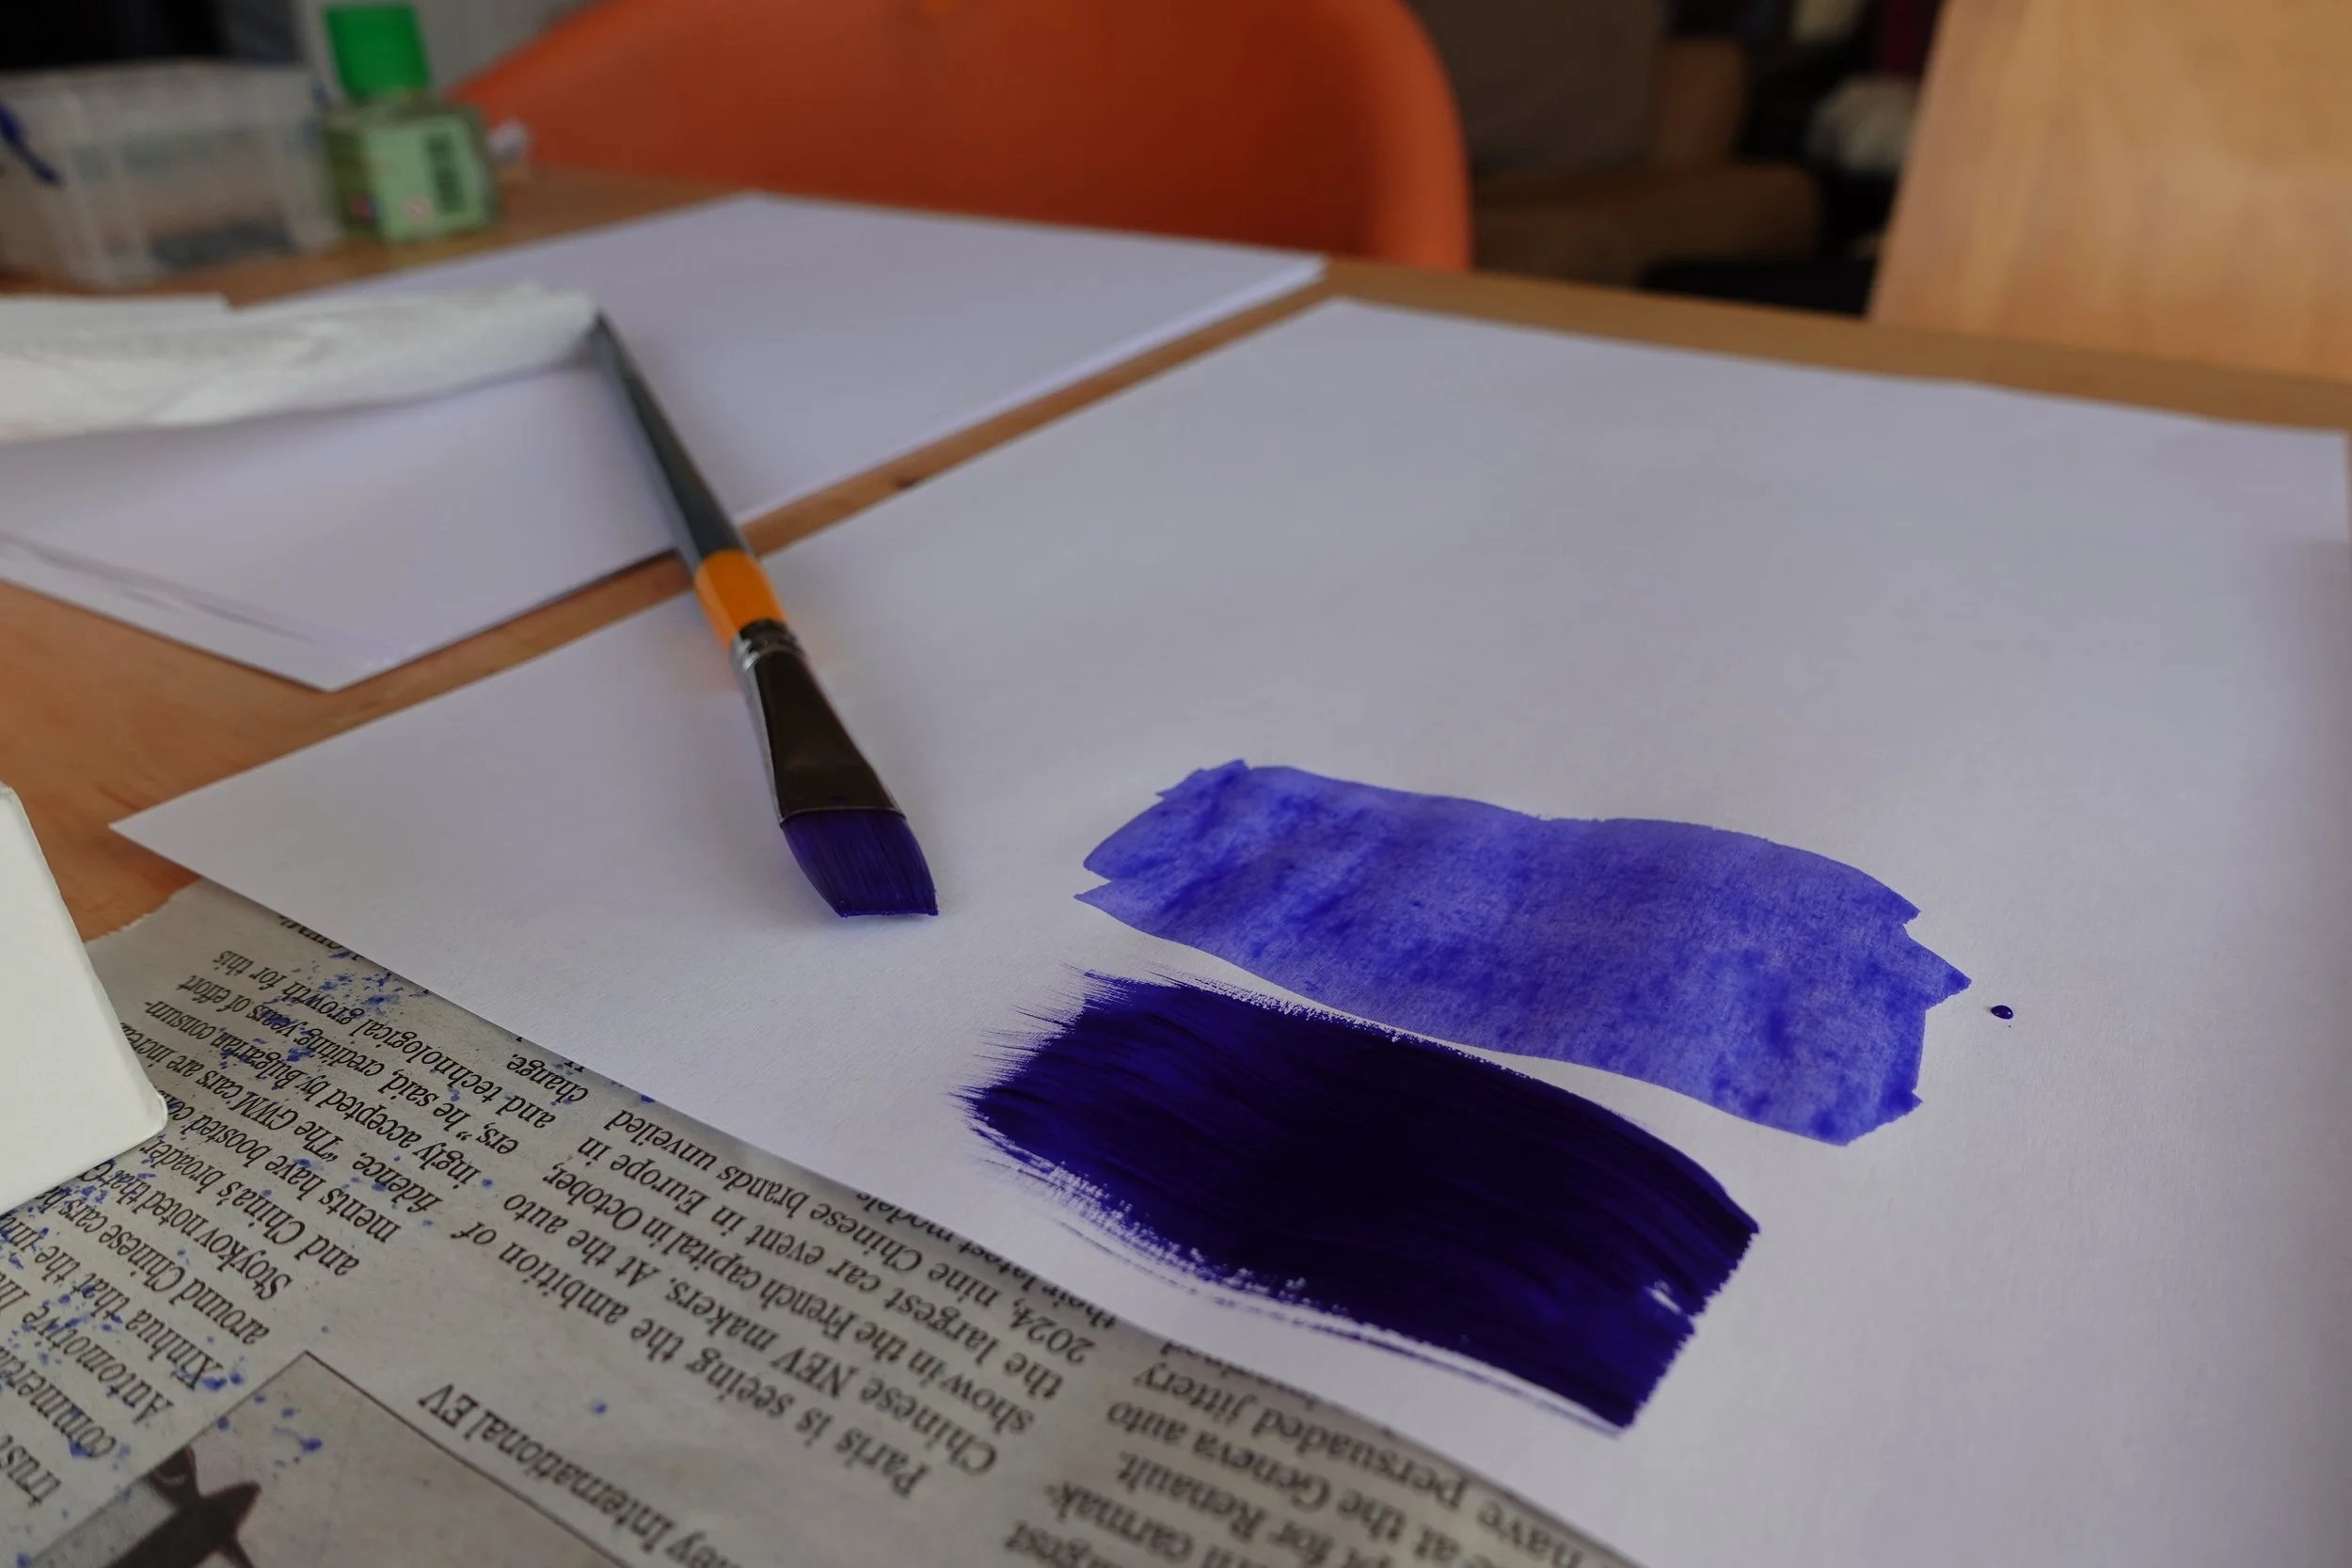

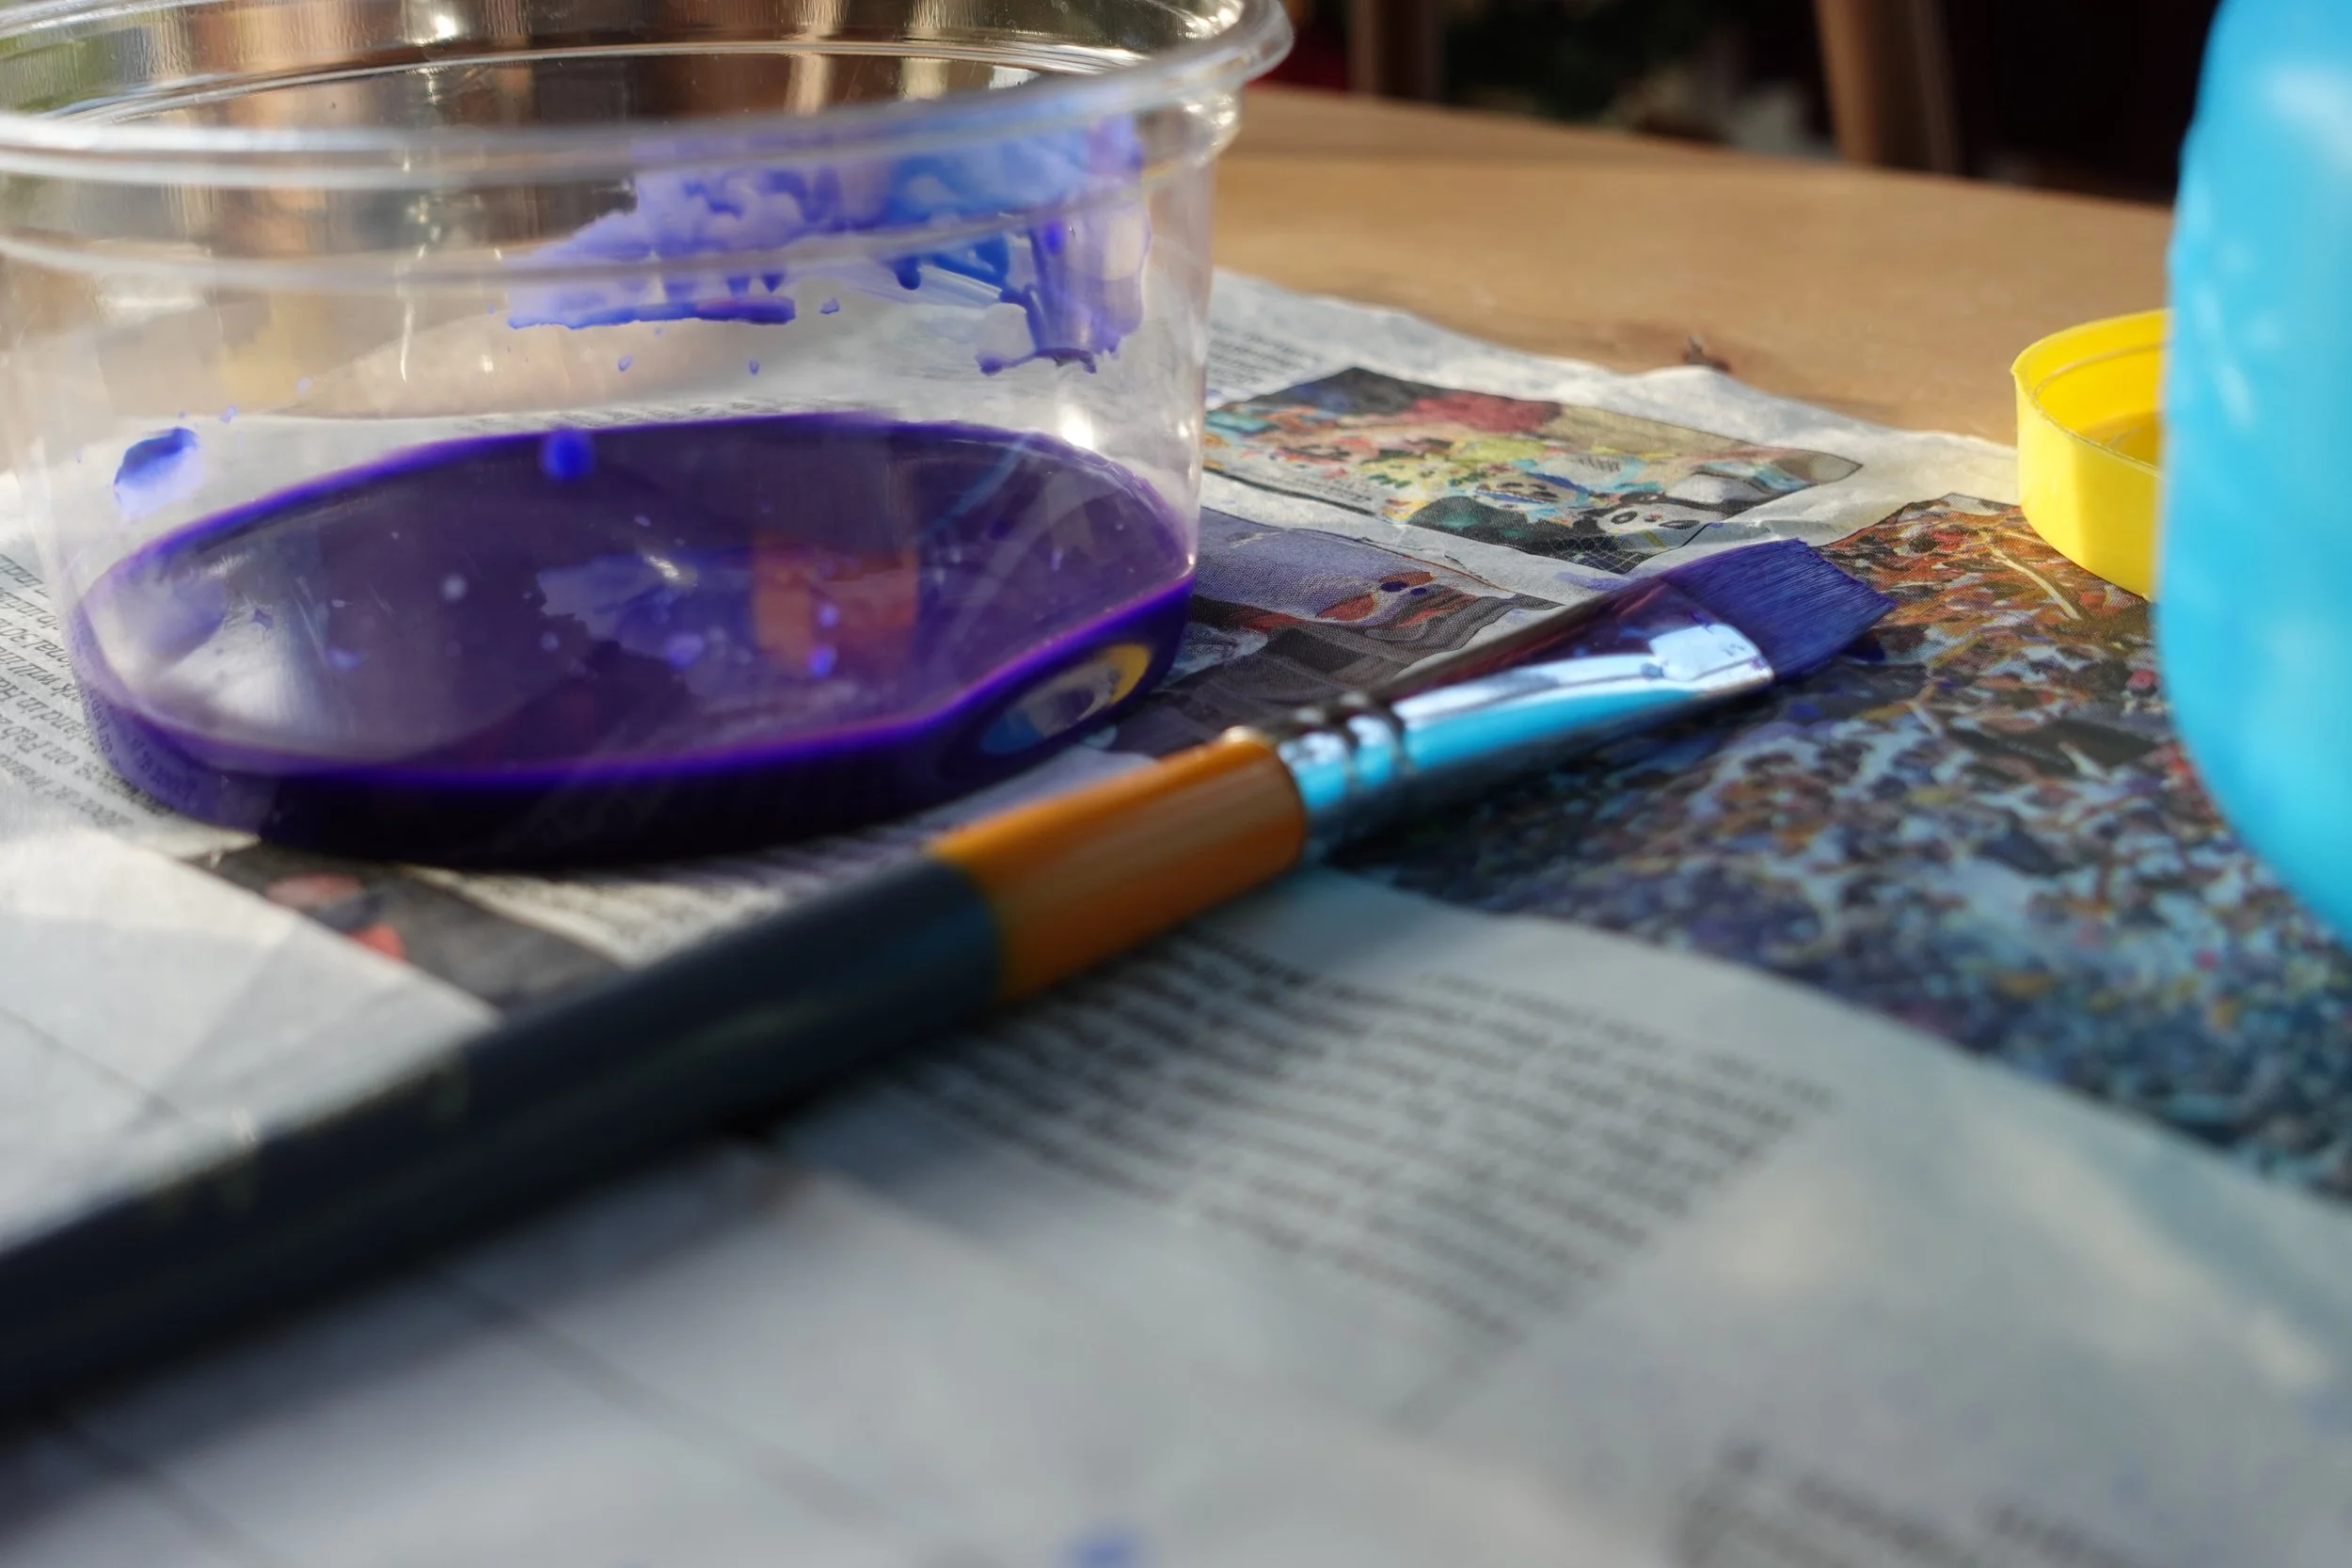
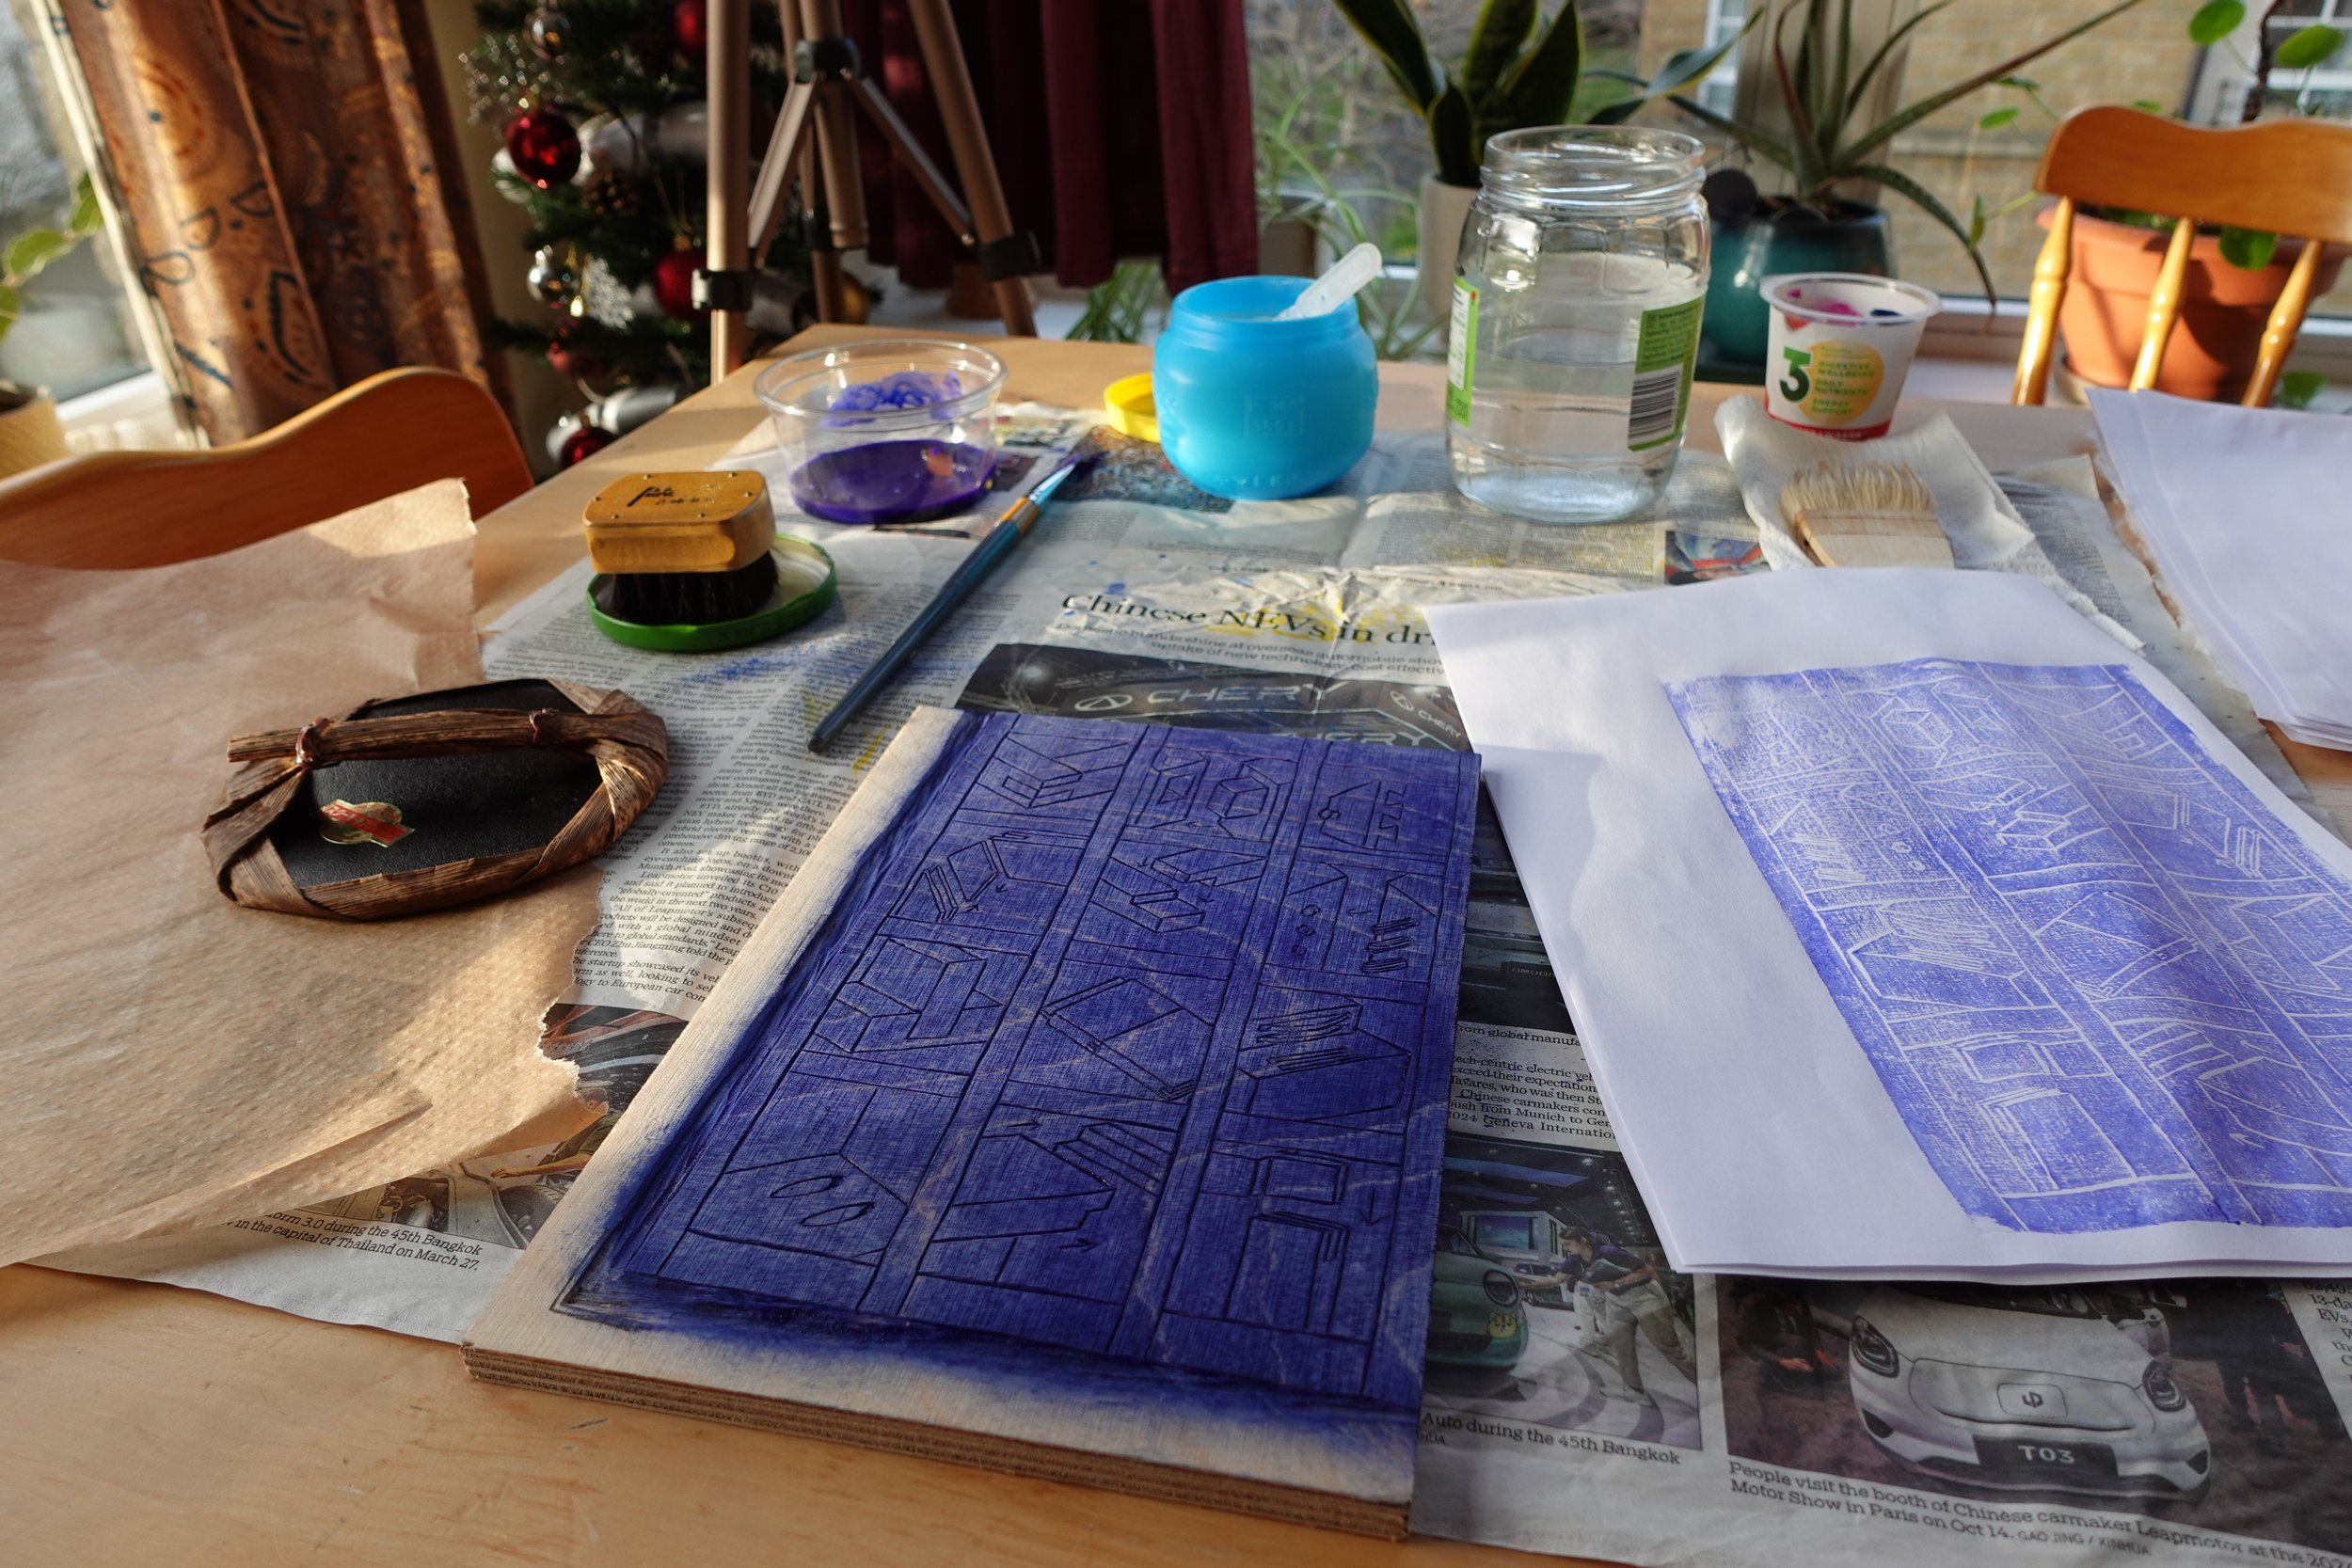
It was sort of spur of the moment, so the shots I took were not meticulously planned, but I think I got enough footage to give a proper demonstration of the process. I only recorded the test printing, then shut off the camera so I could properly focus on the real printing.
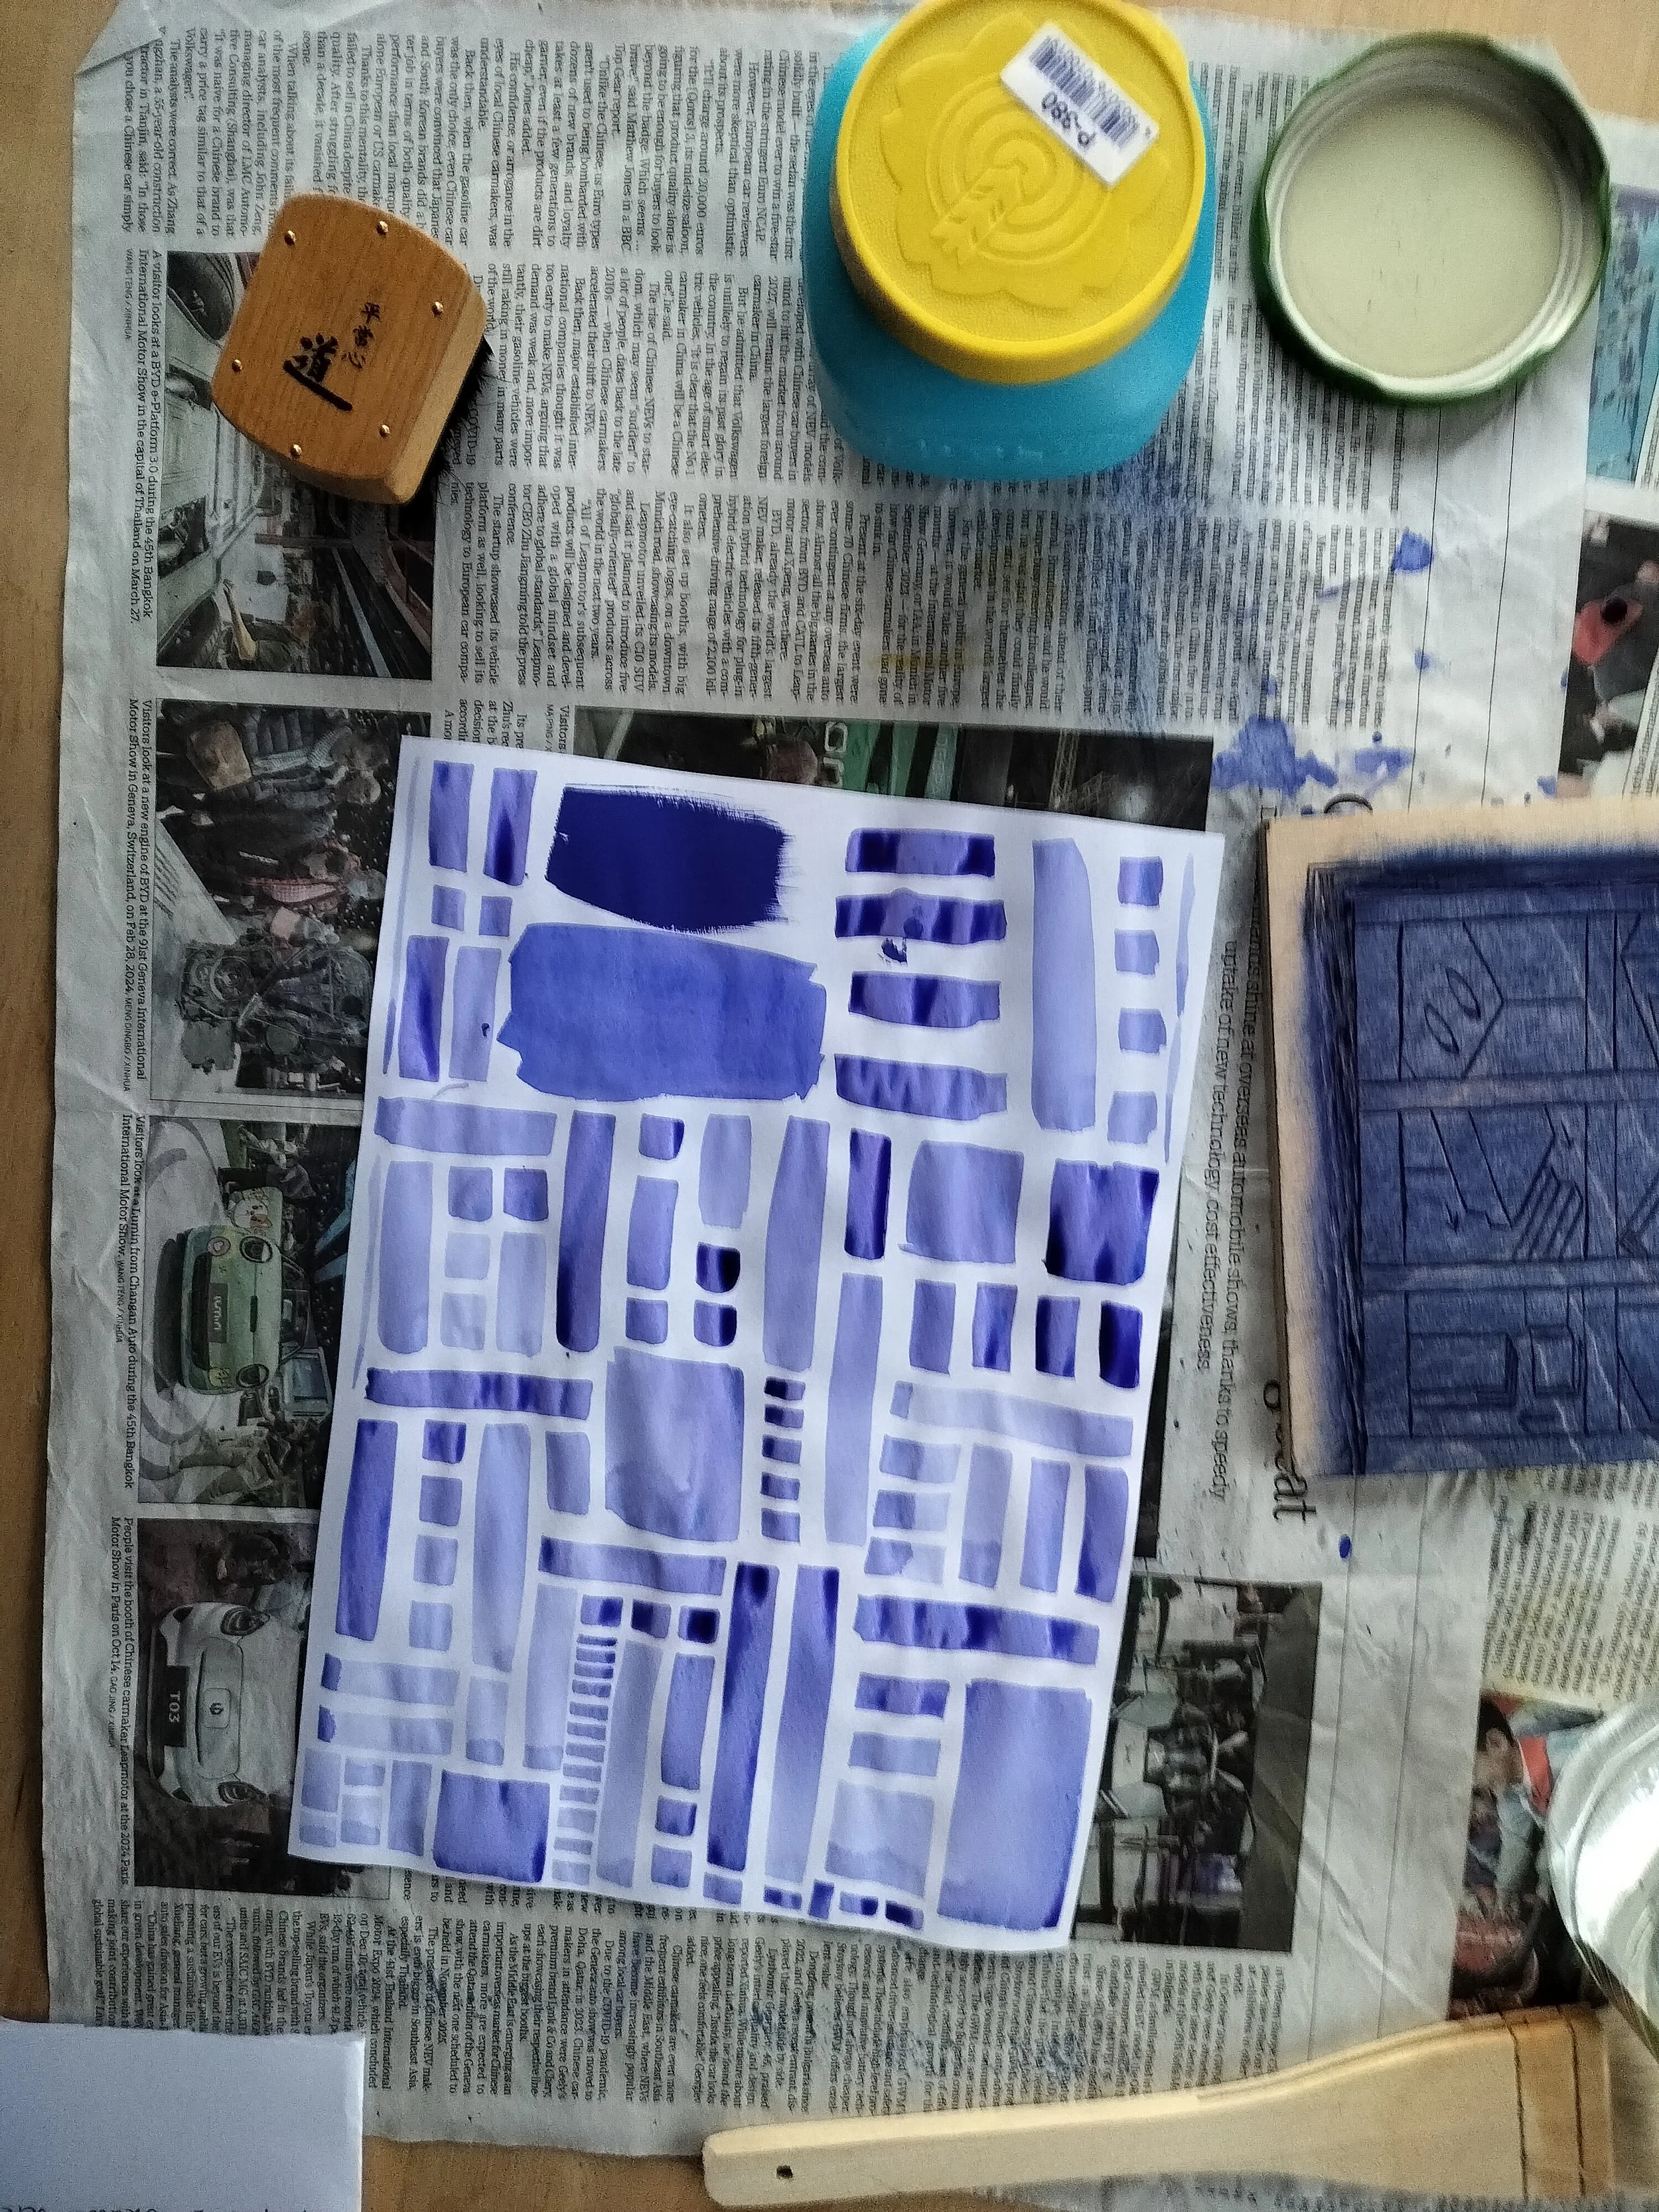
Once filming and printing were finished, I sat down and used the remainder of my pigment to do a simple painting, just a bunch of lines and boxes. Oddly therapeutic and calming.
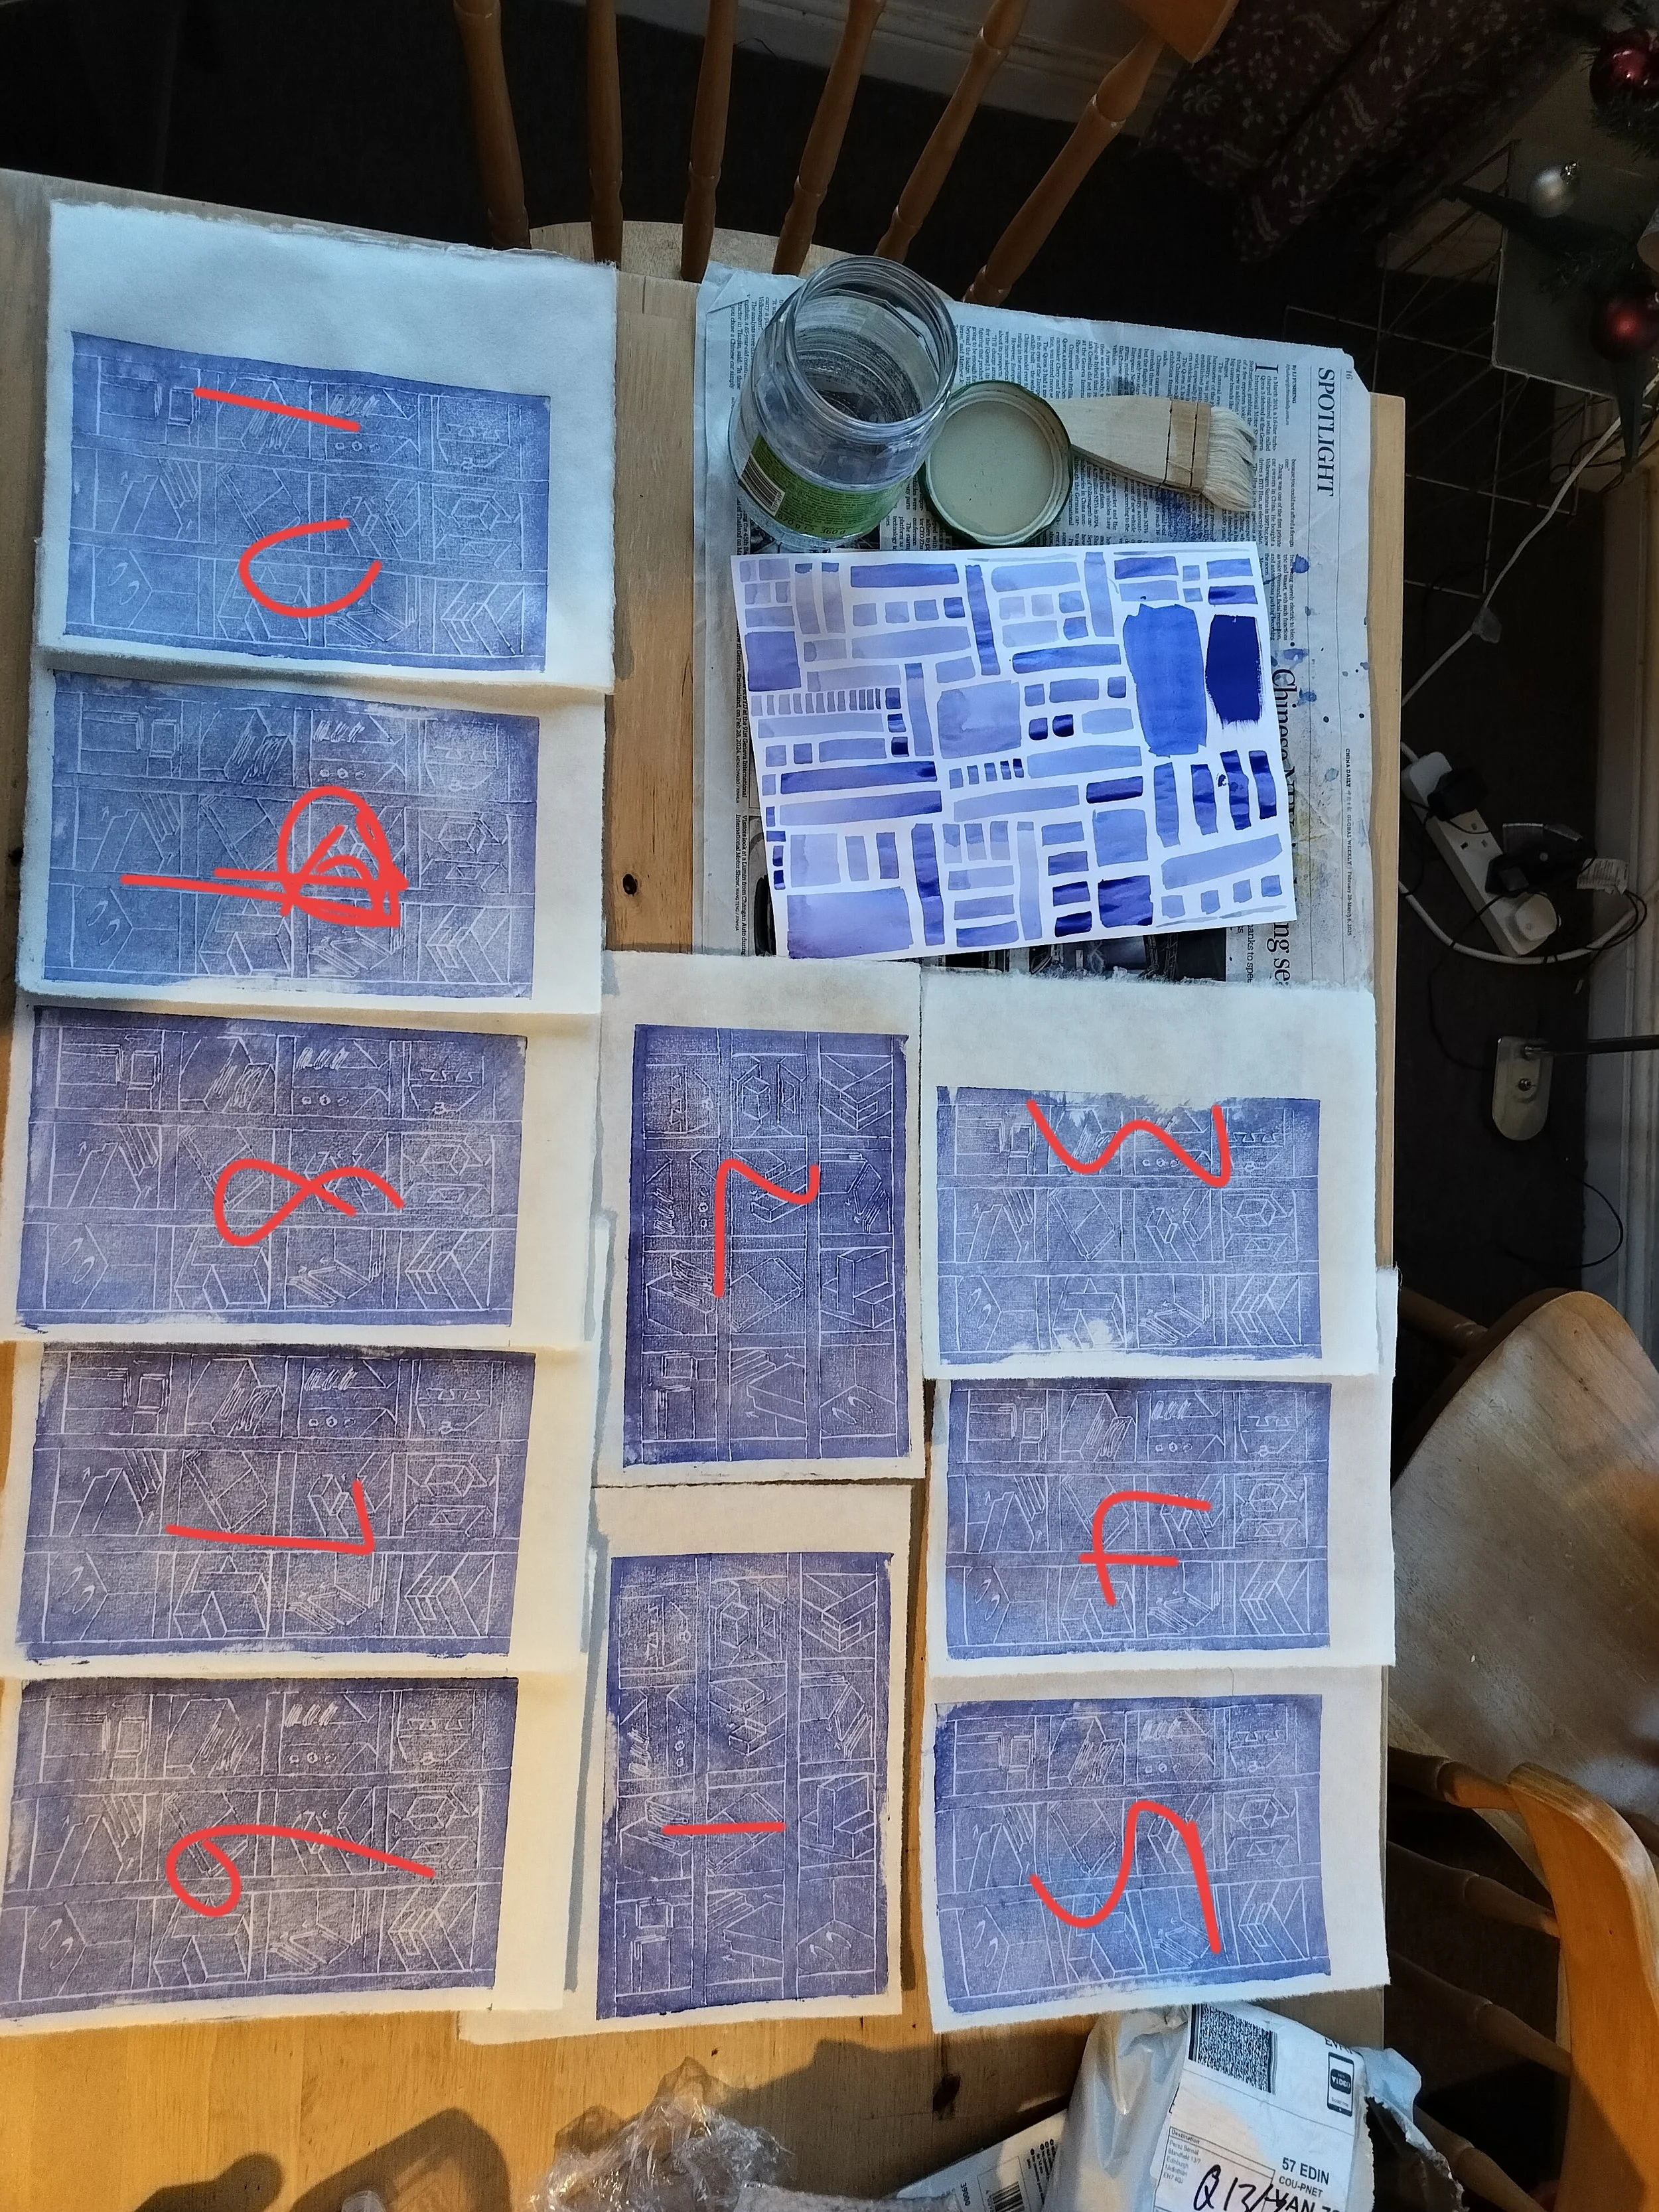
Now that I have my stack of 10 prints, I need to go through them and see if all of them are good enough to include in the edition. I could include all of them and say it is a Variable Edition, but some are clearly nicer than others, so I might have a think on that. Then I get to number them for the edition, add a title, sign it, and add my artist stamp!
I already did this with the four nice prints I got from my first session, labelling them as A.Ps (Artist Proofs). I’ll keep them in storage so I can see how far I’ve come!
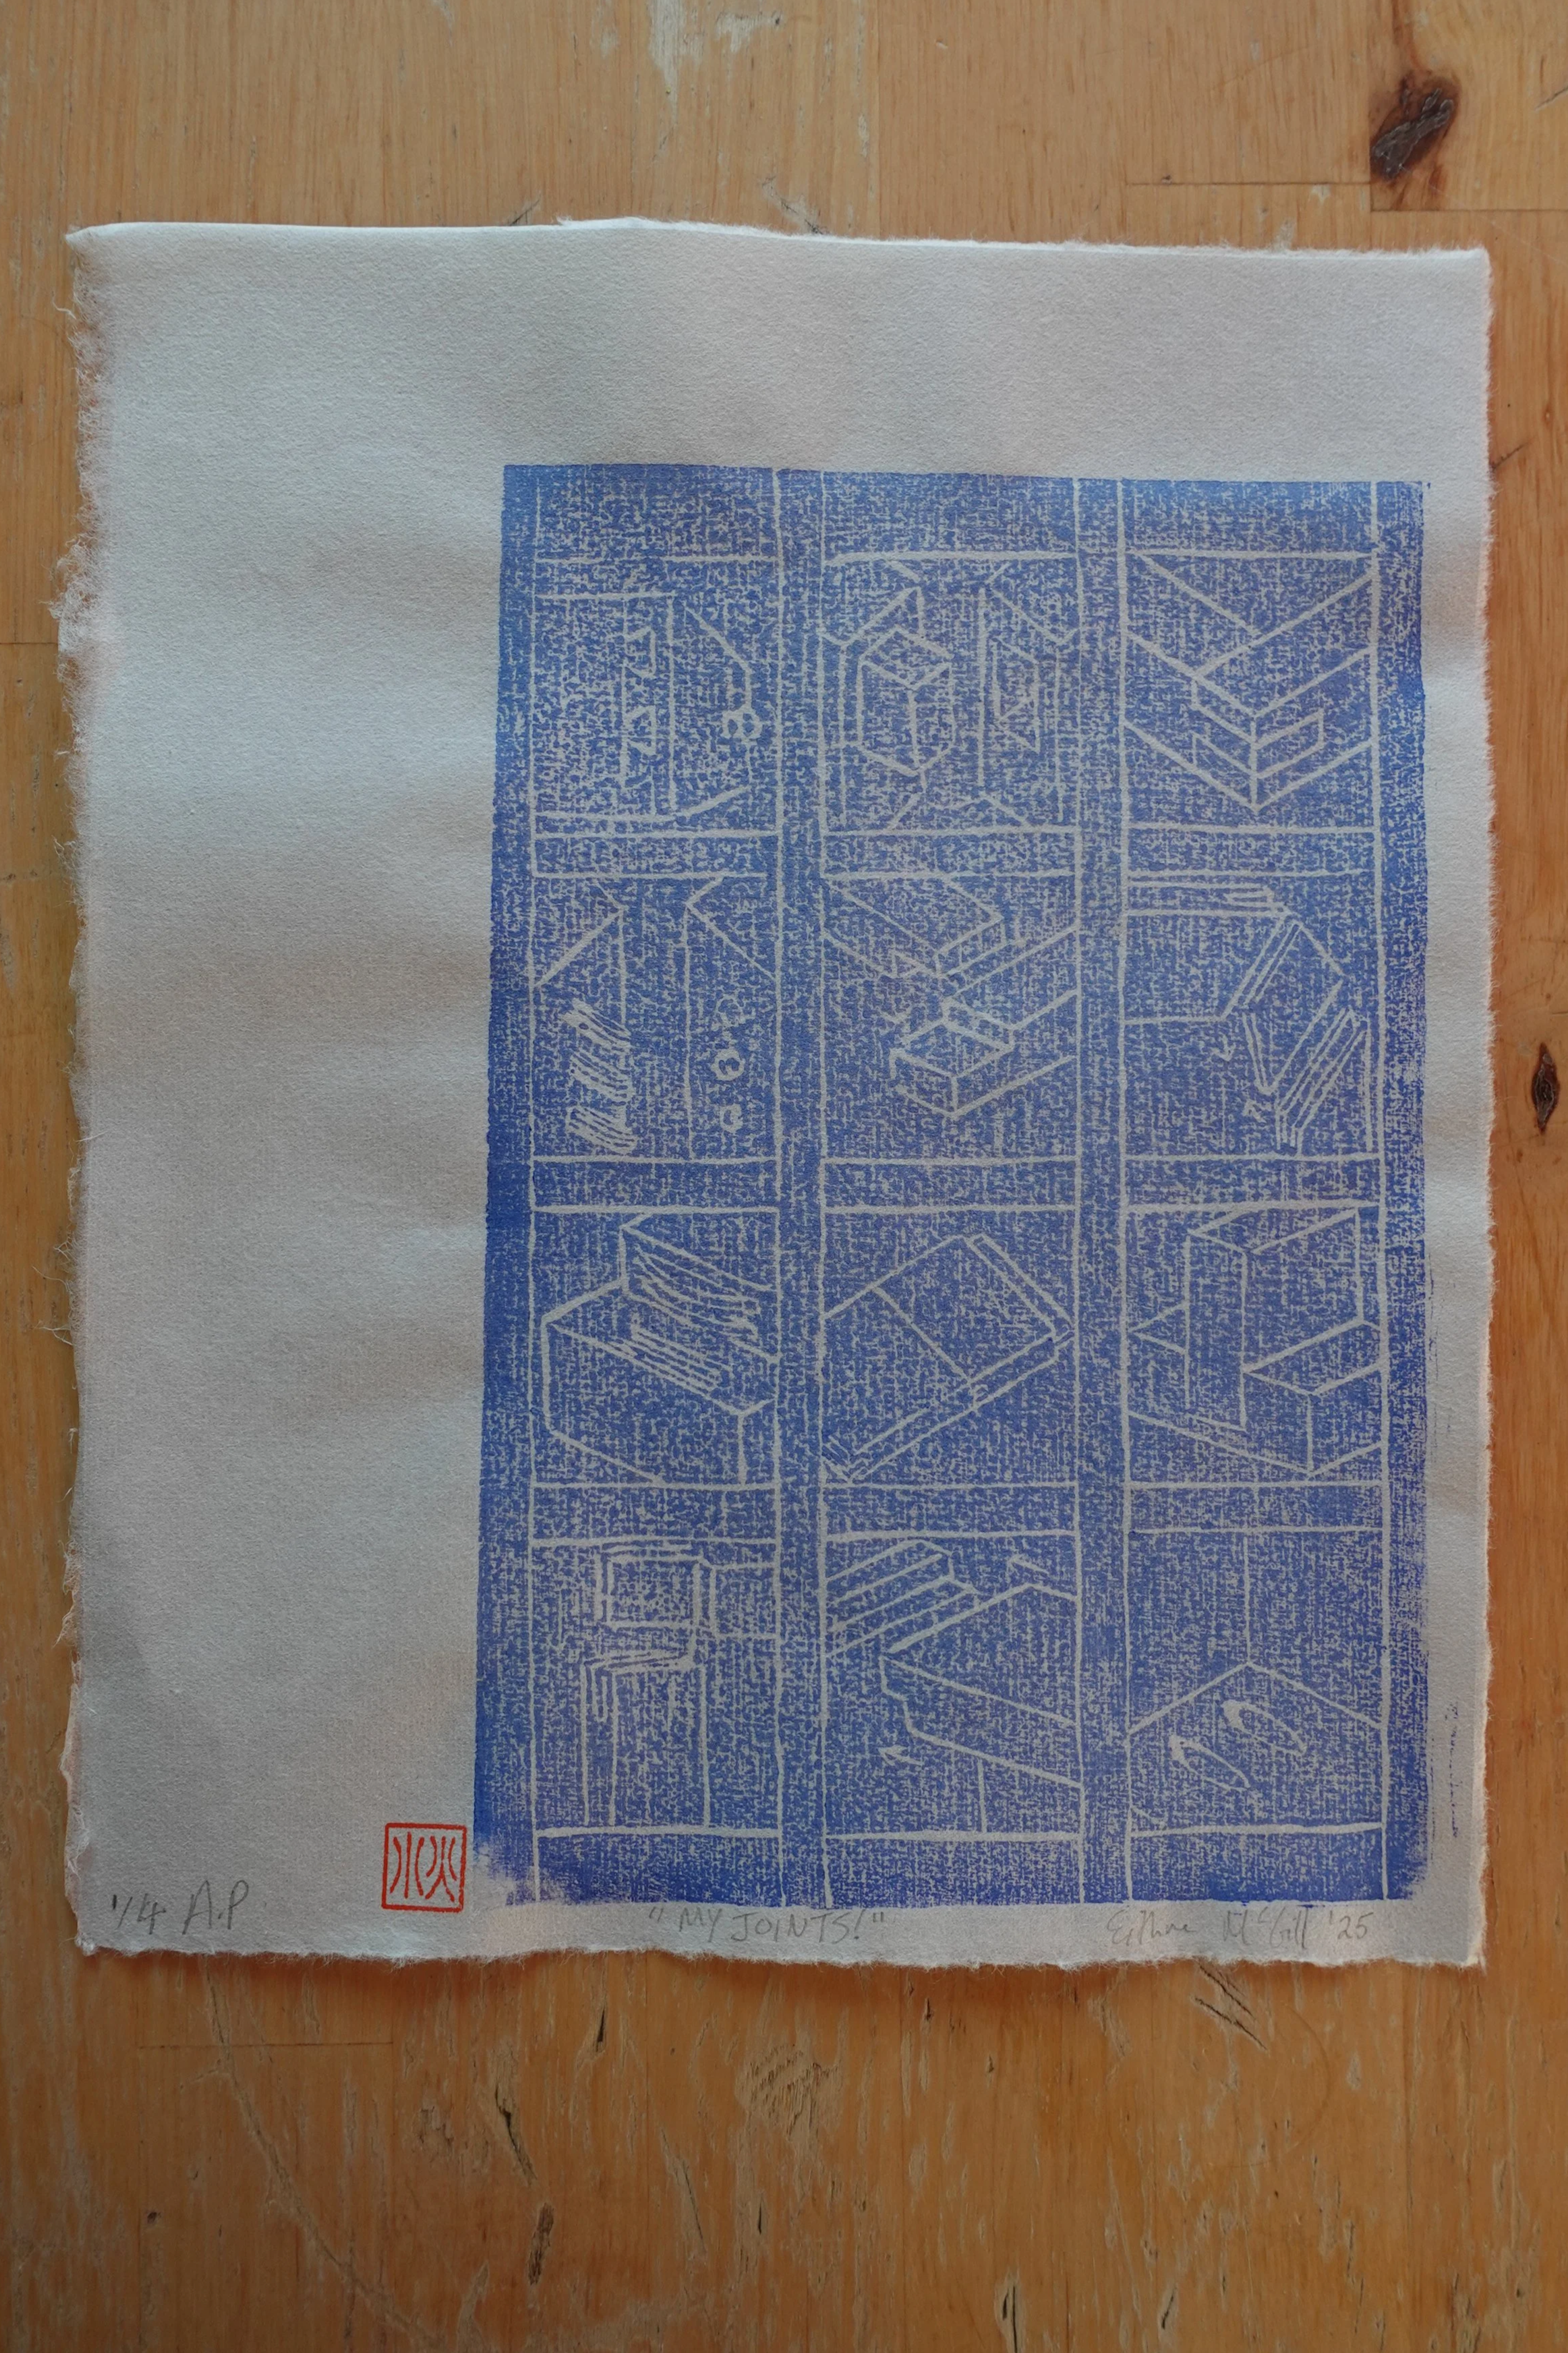

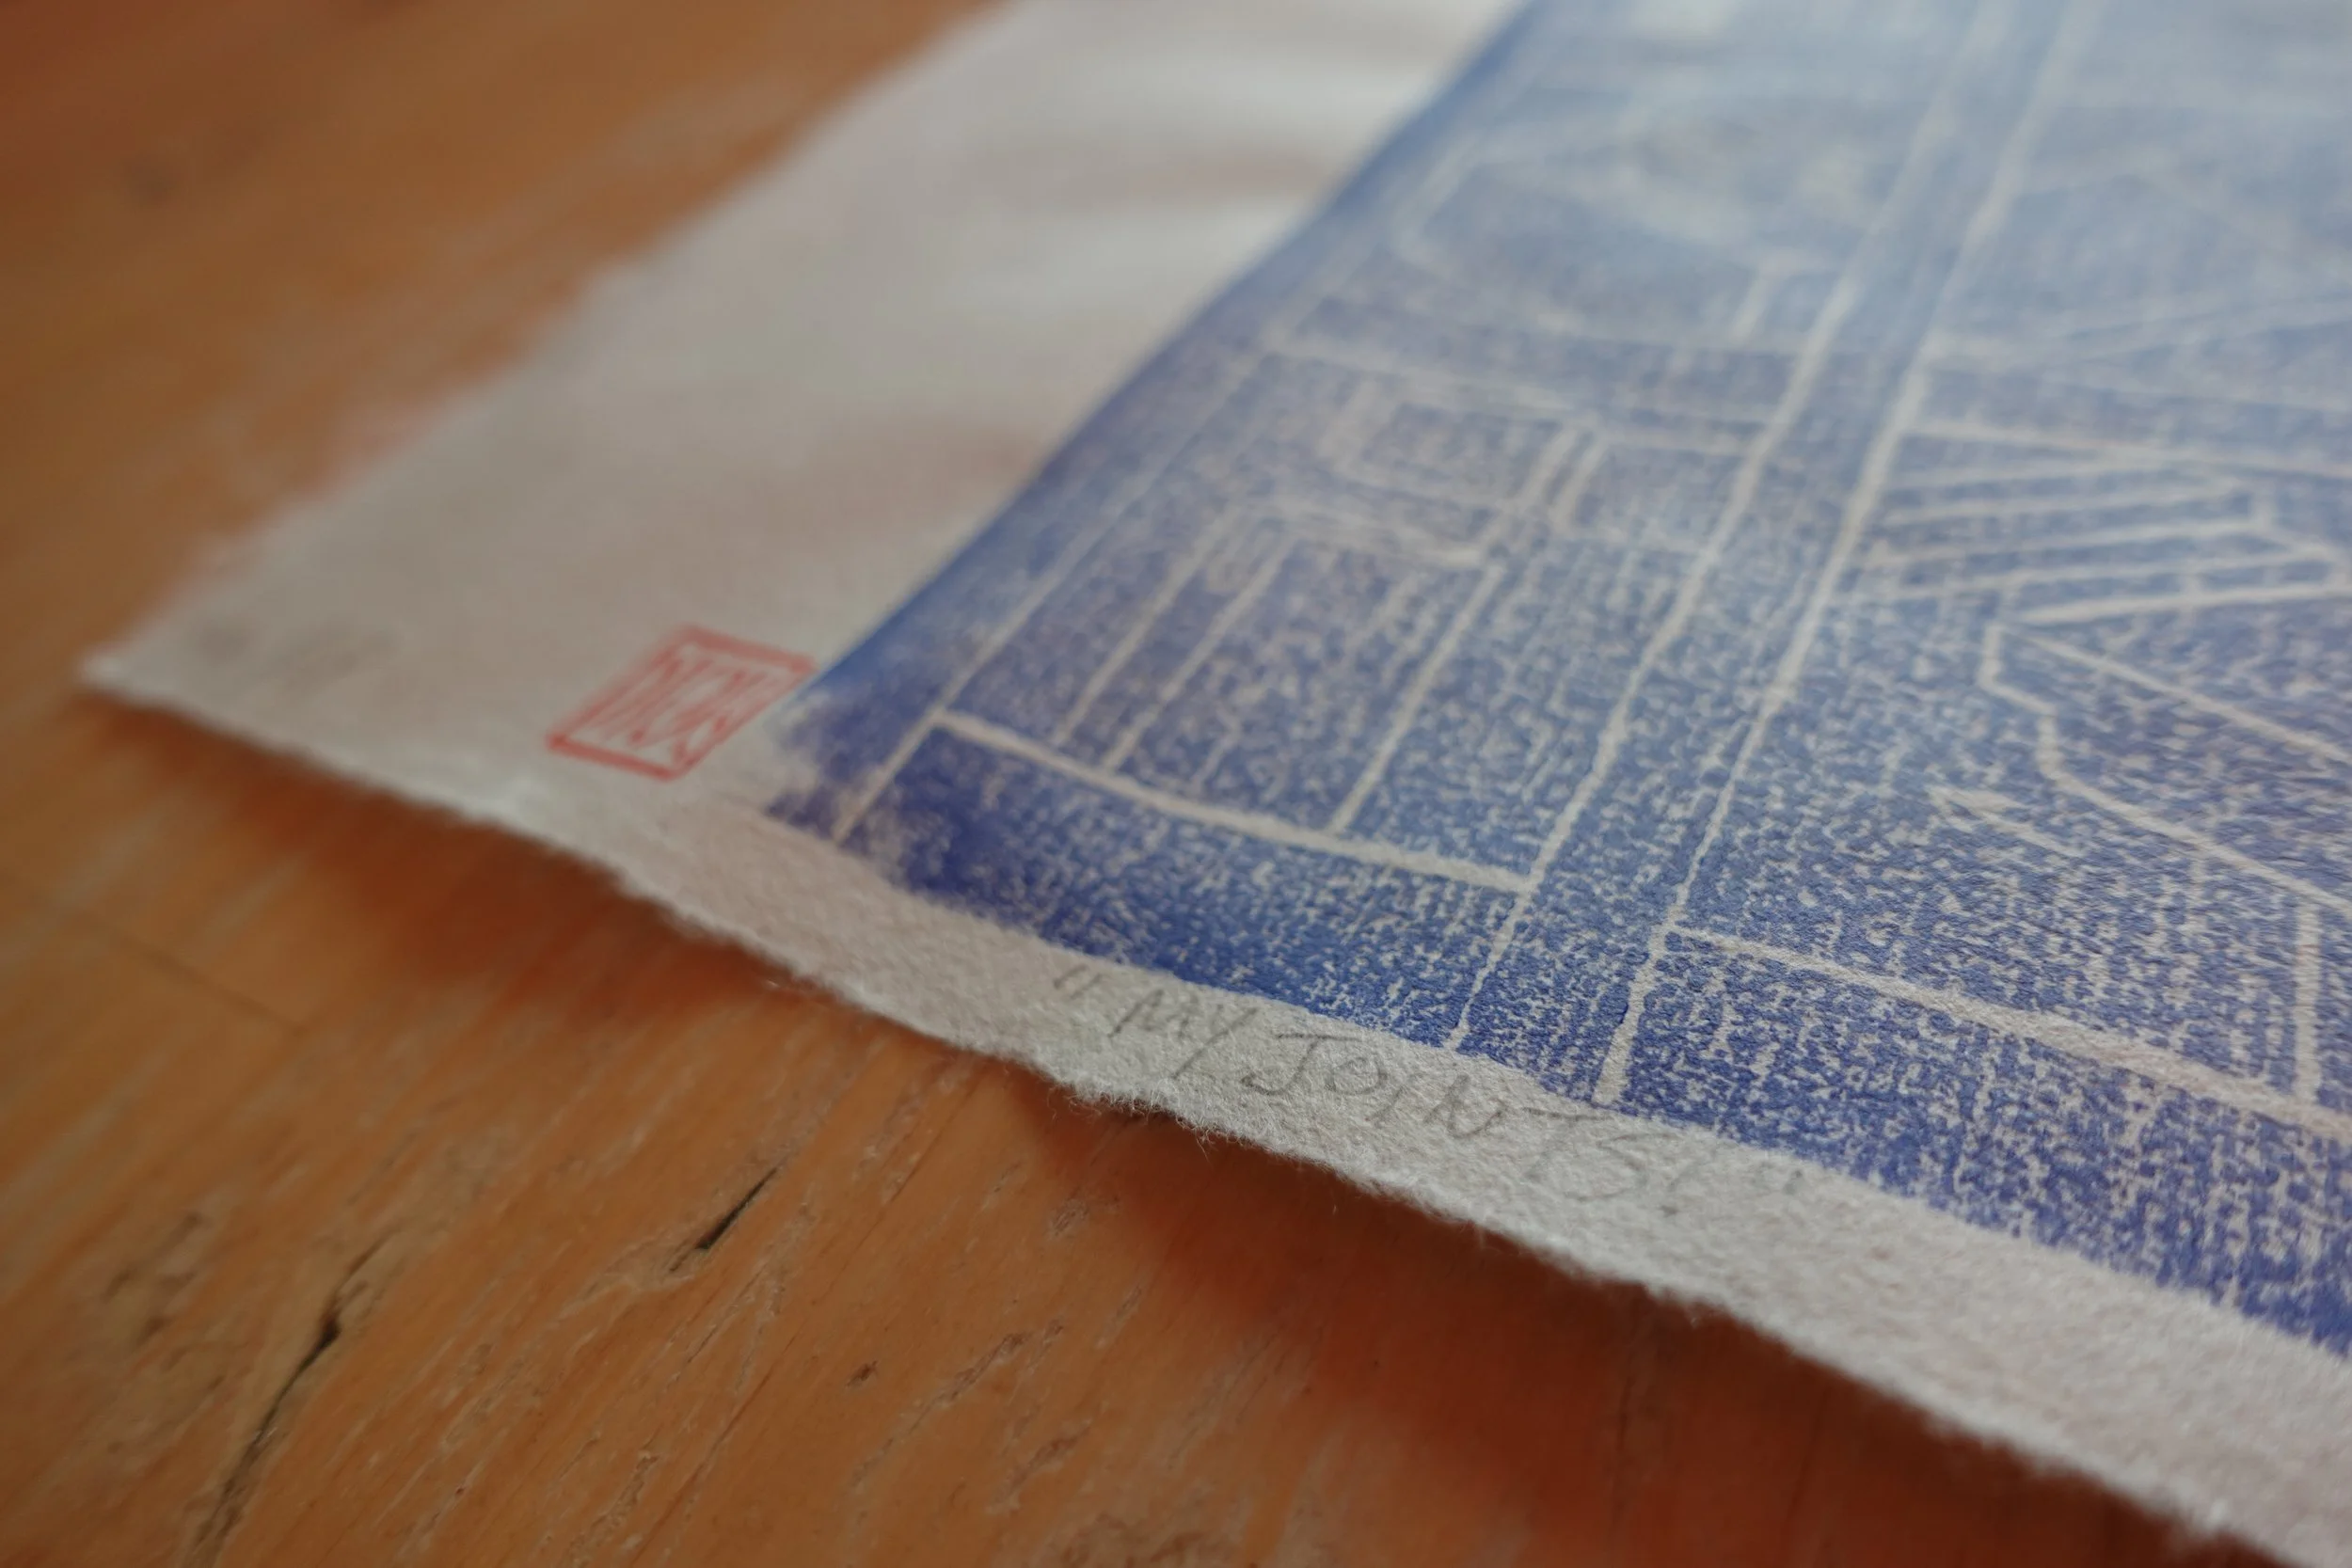
‘My Joints!’ or ‘Ah, My Joints!’ will be the first edition of prints I will have completed since starting on this Mokuhanga Studies journey.
They may not be perfect, but I am so, so thrilled to have actually completed something.
To many more next year.
Wish me luck!