
mokuhanga studies #5
Month 3.
The printing and refining month.
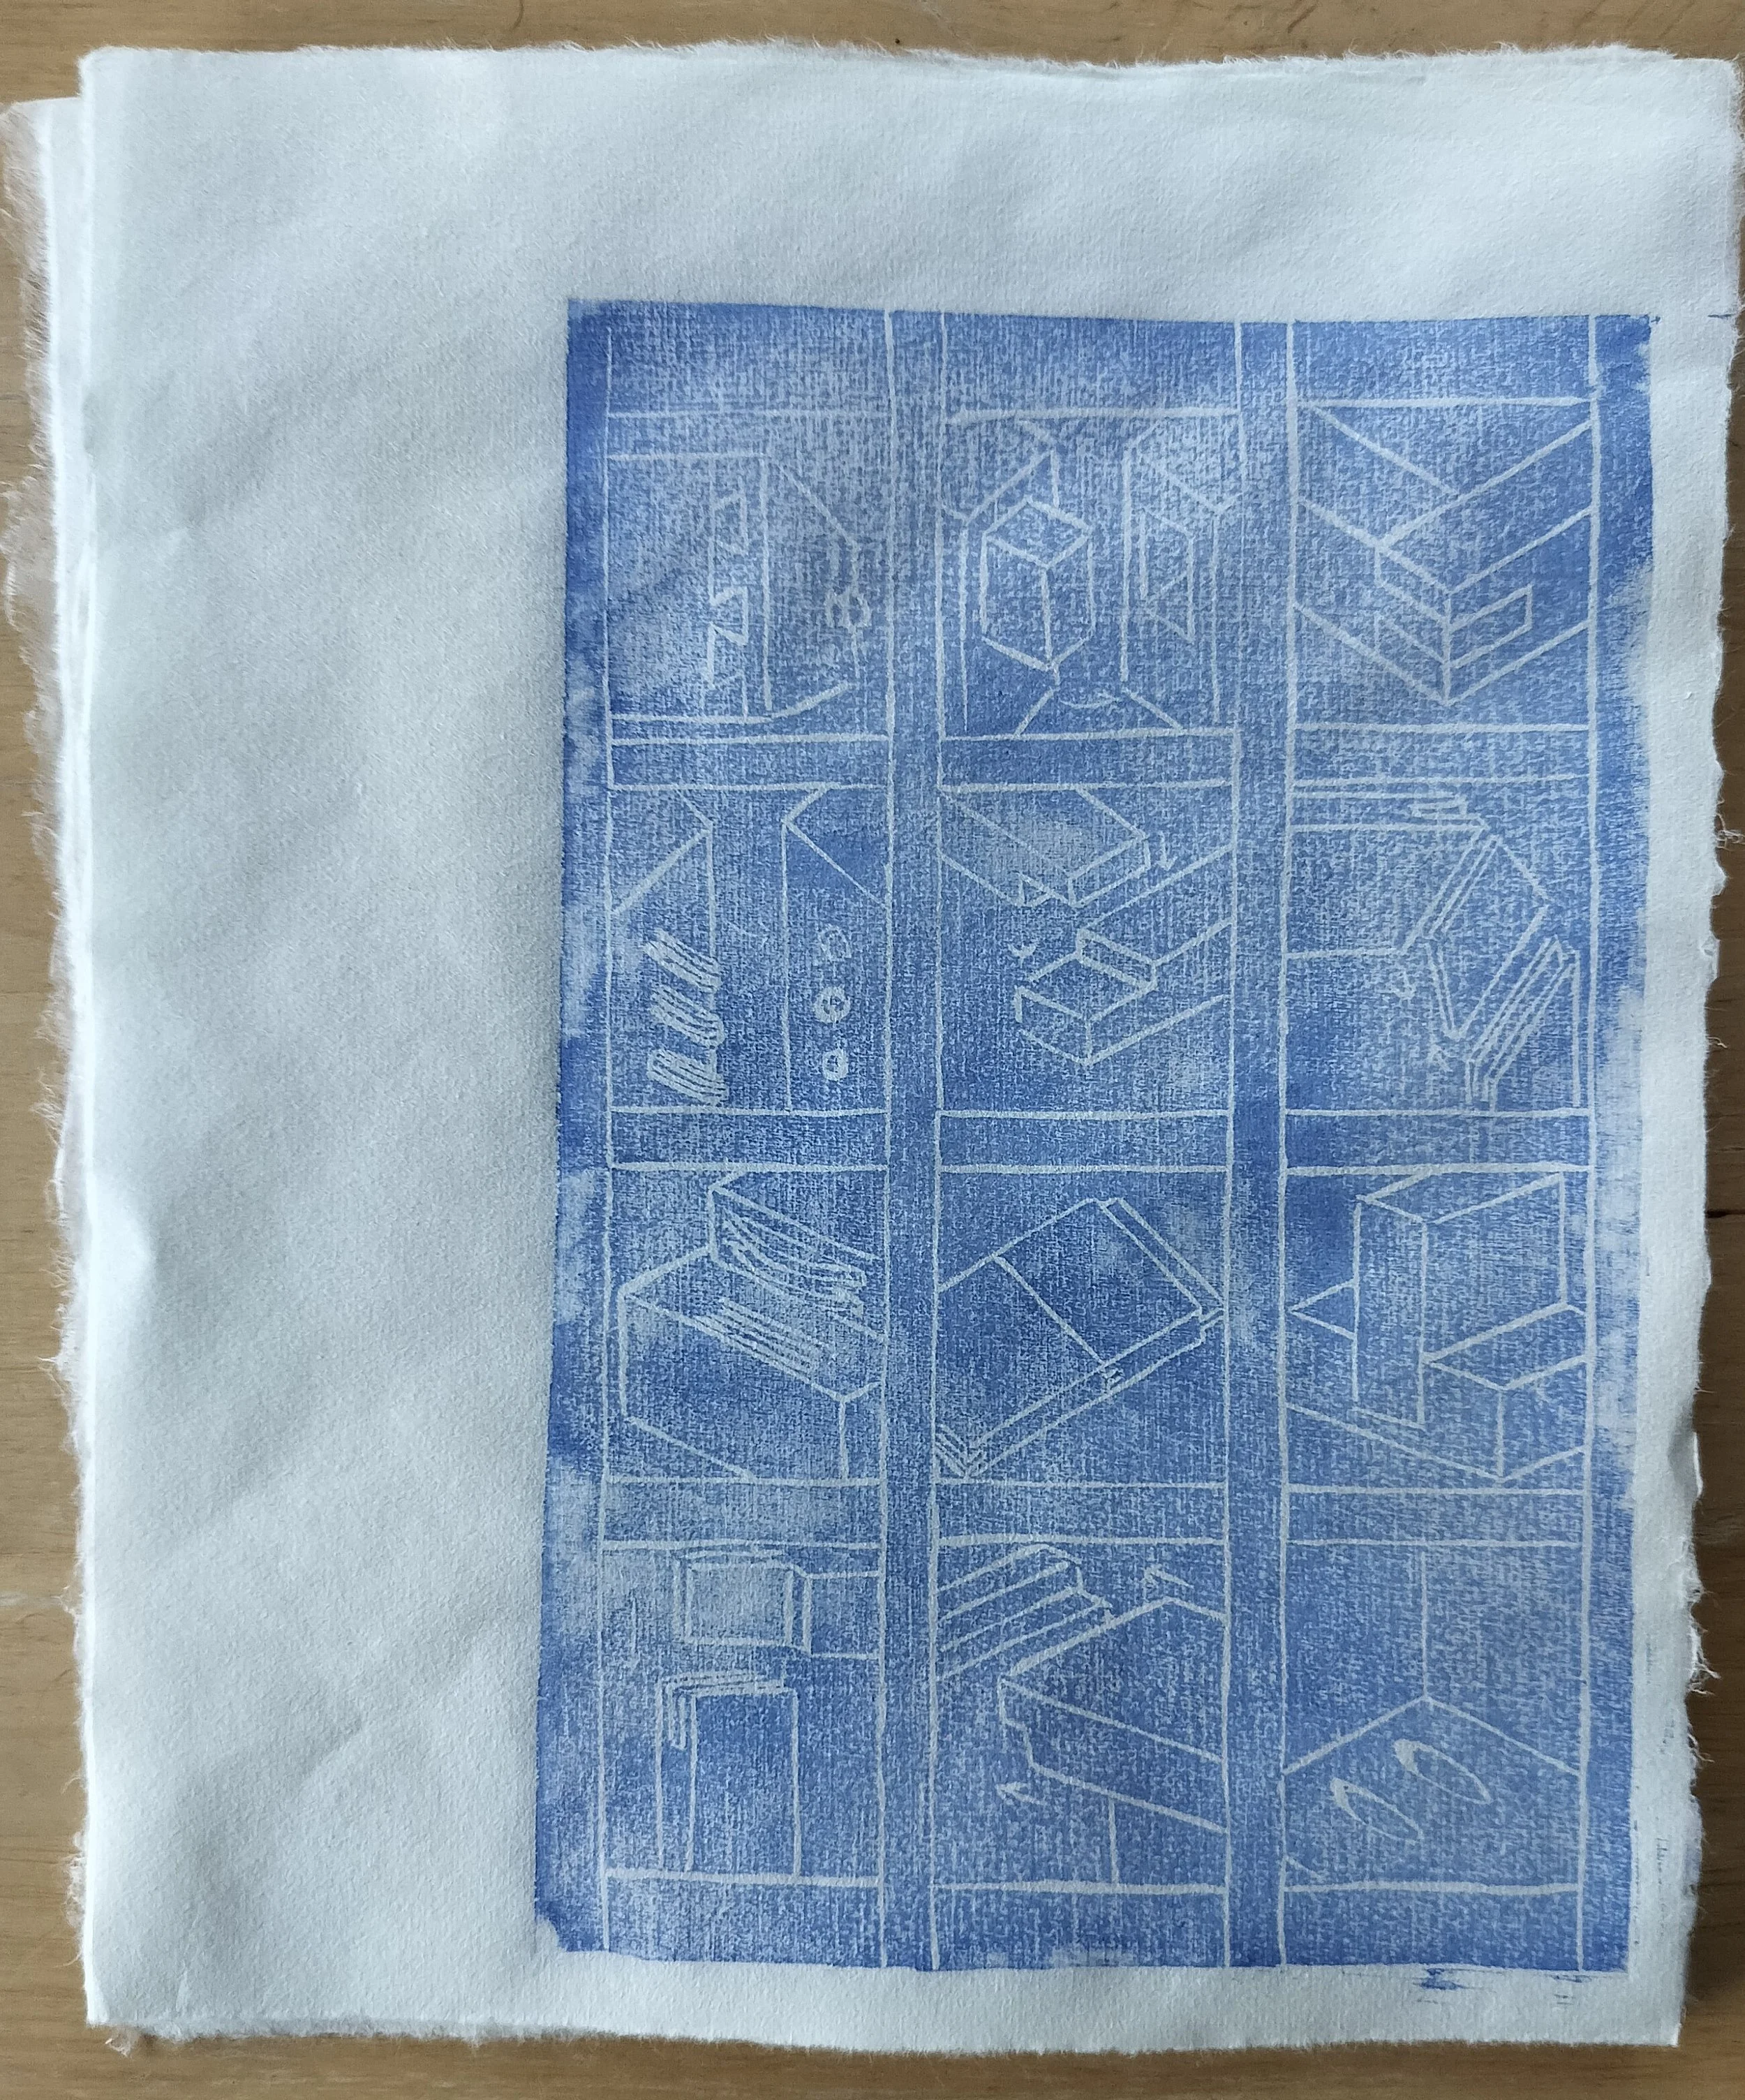
With my block carved I was finally ready to pull my first print.
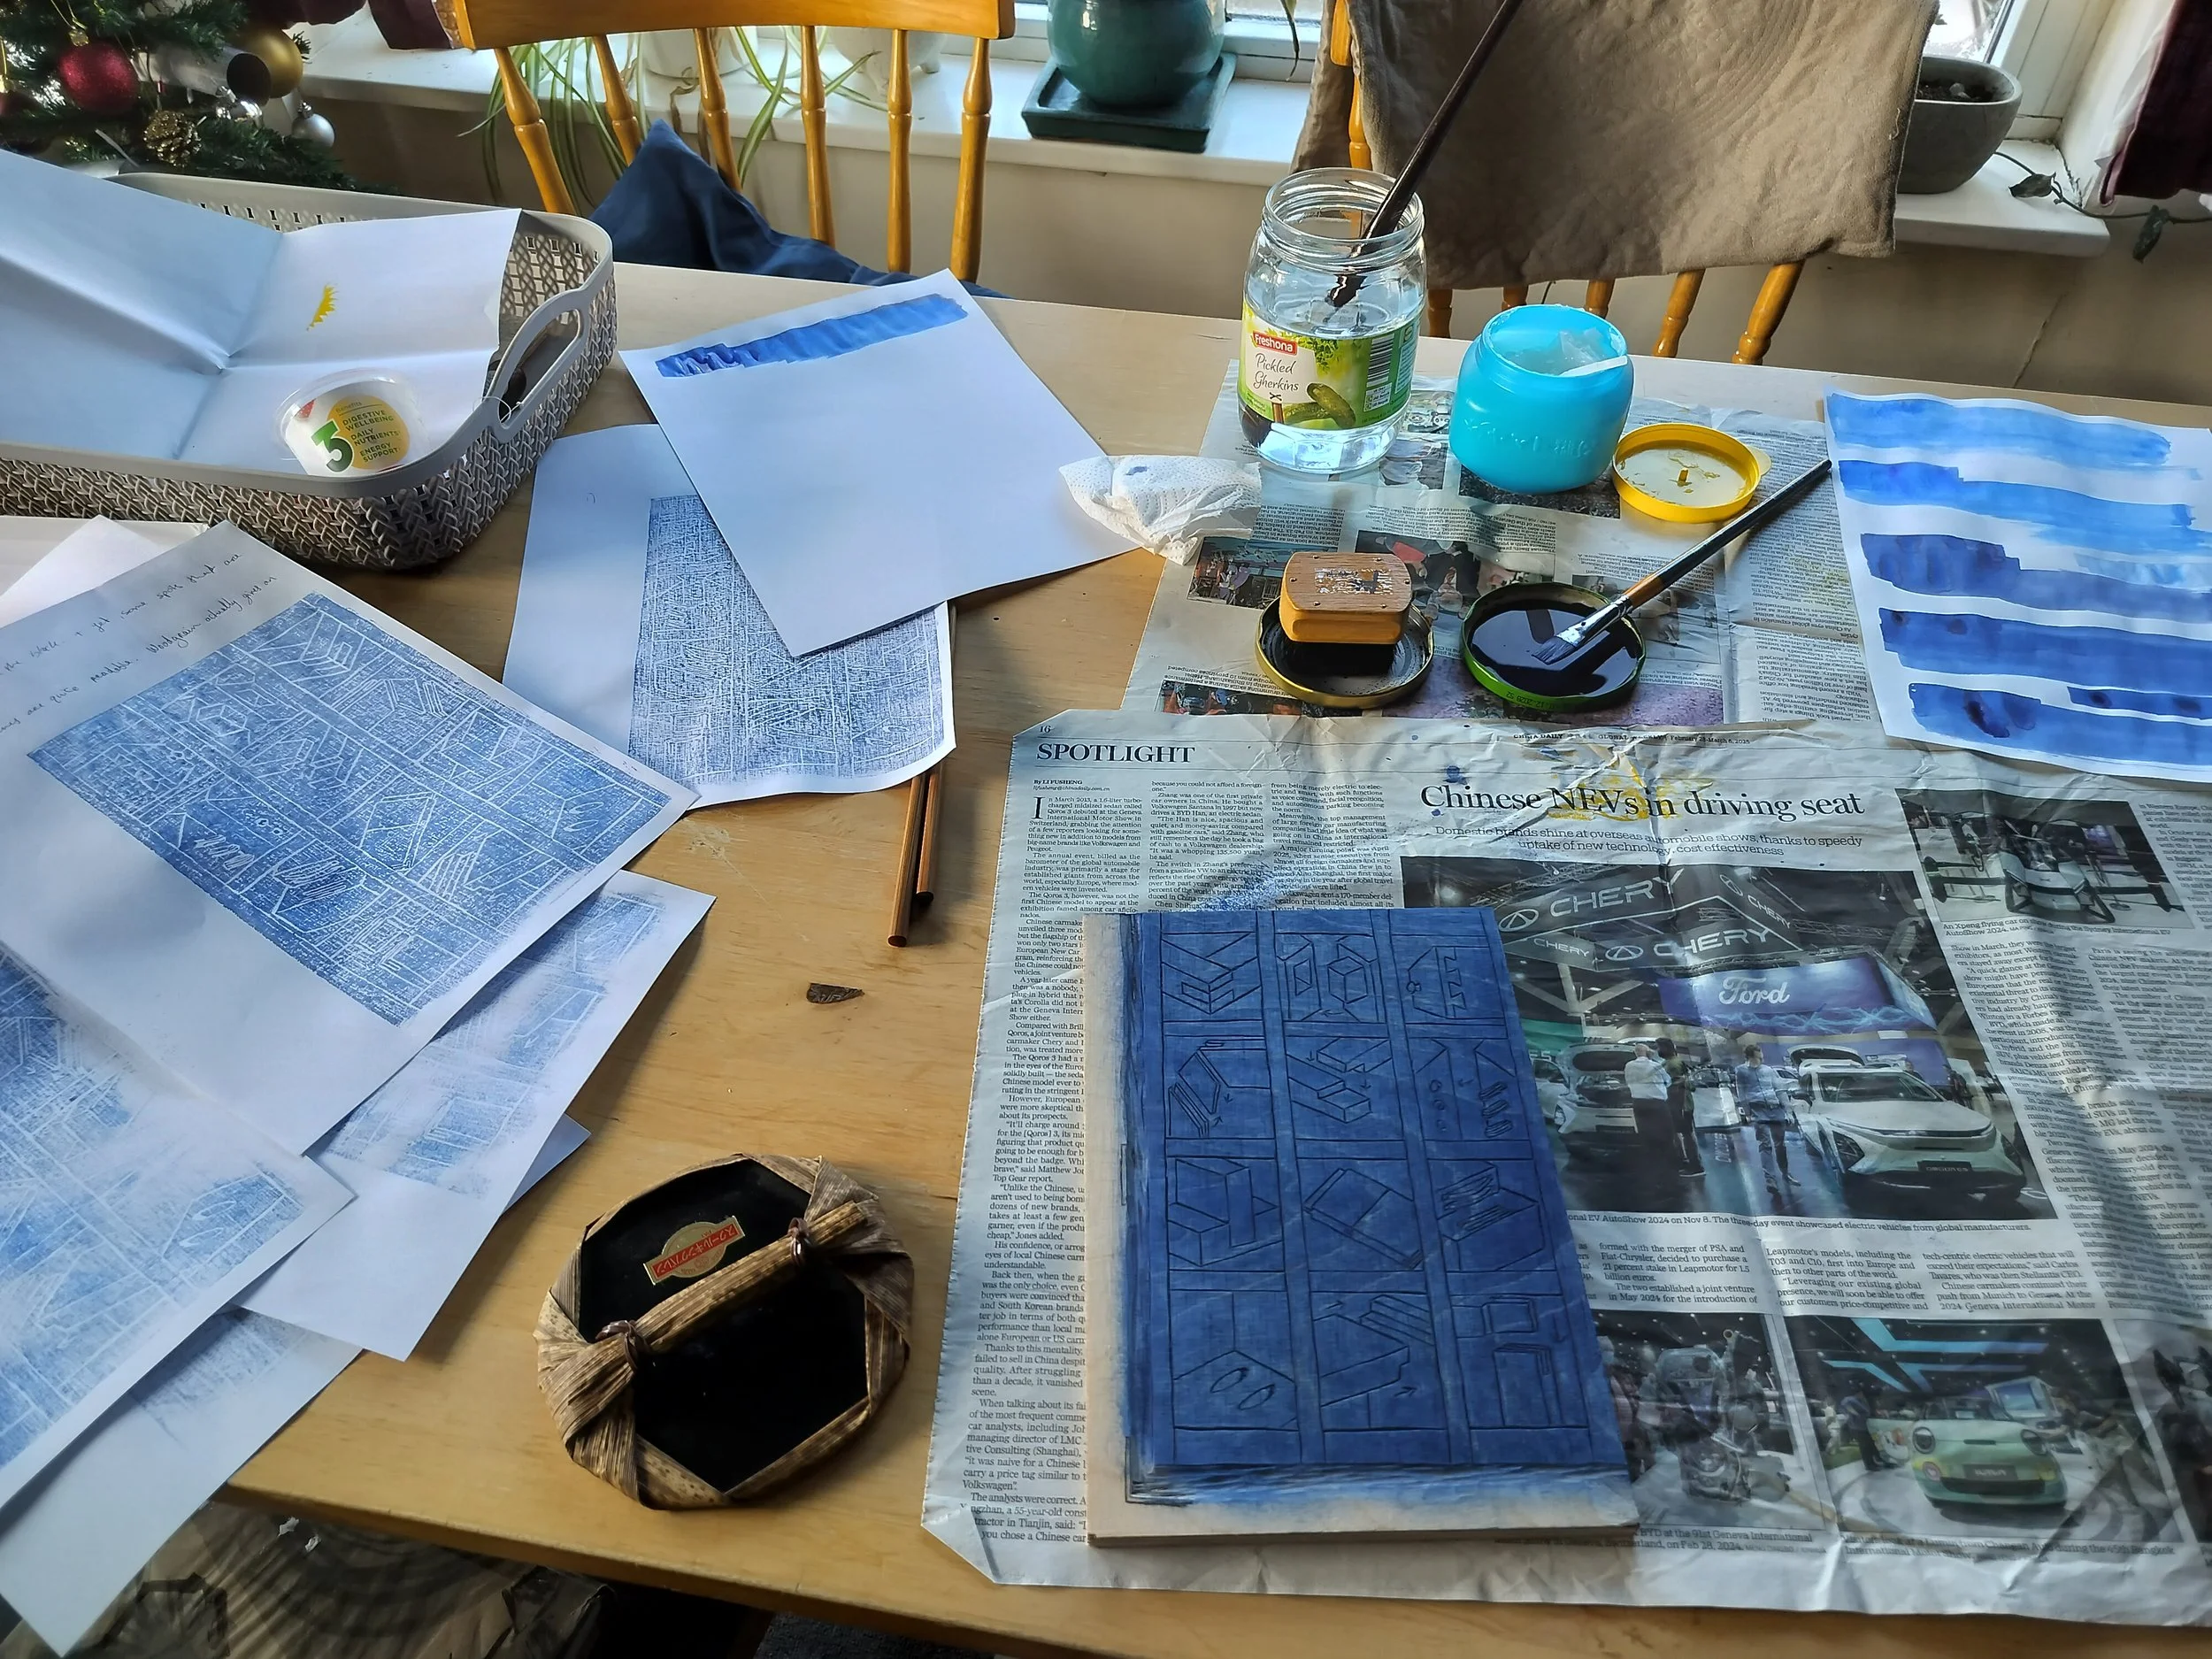
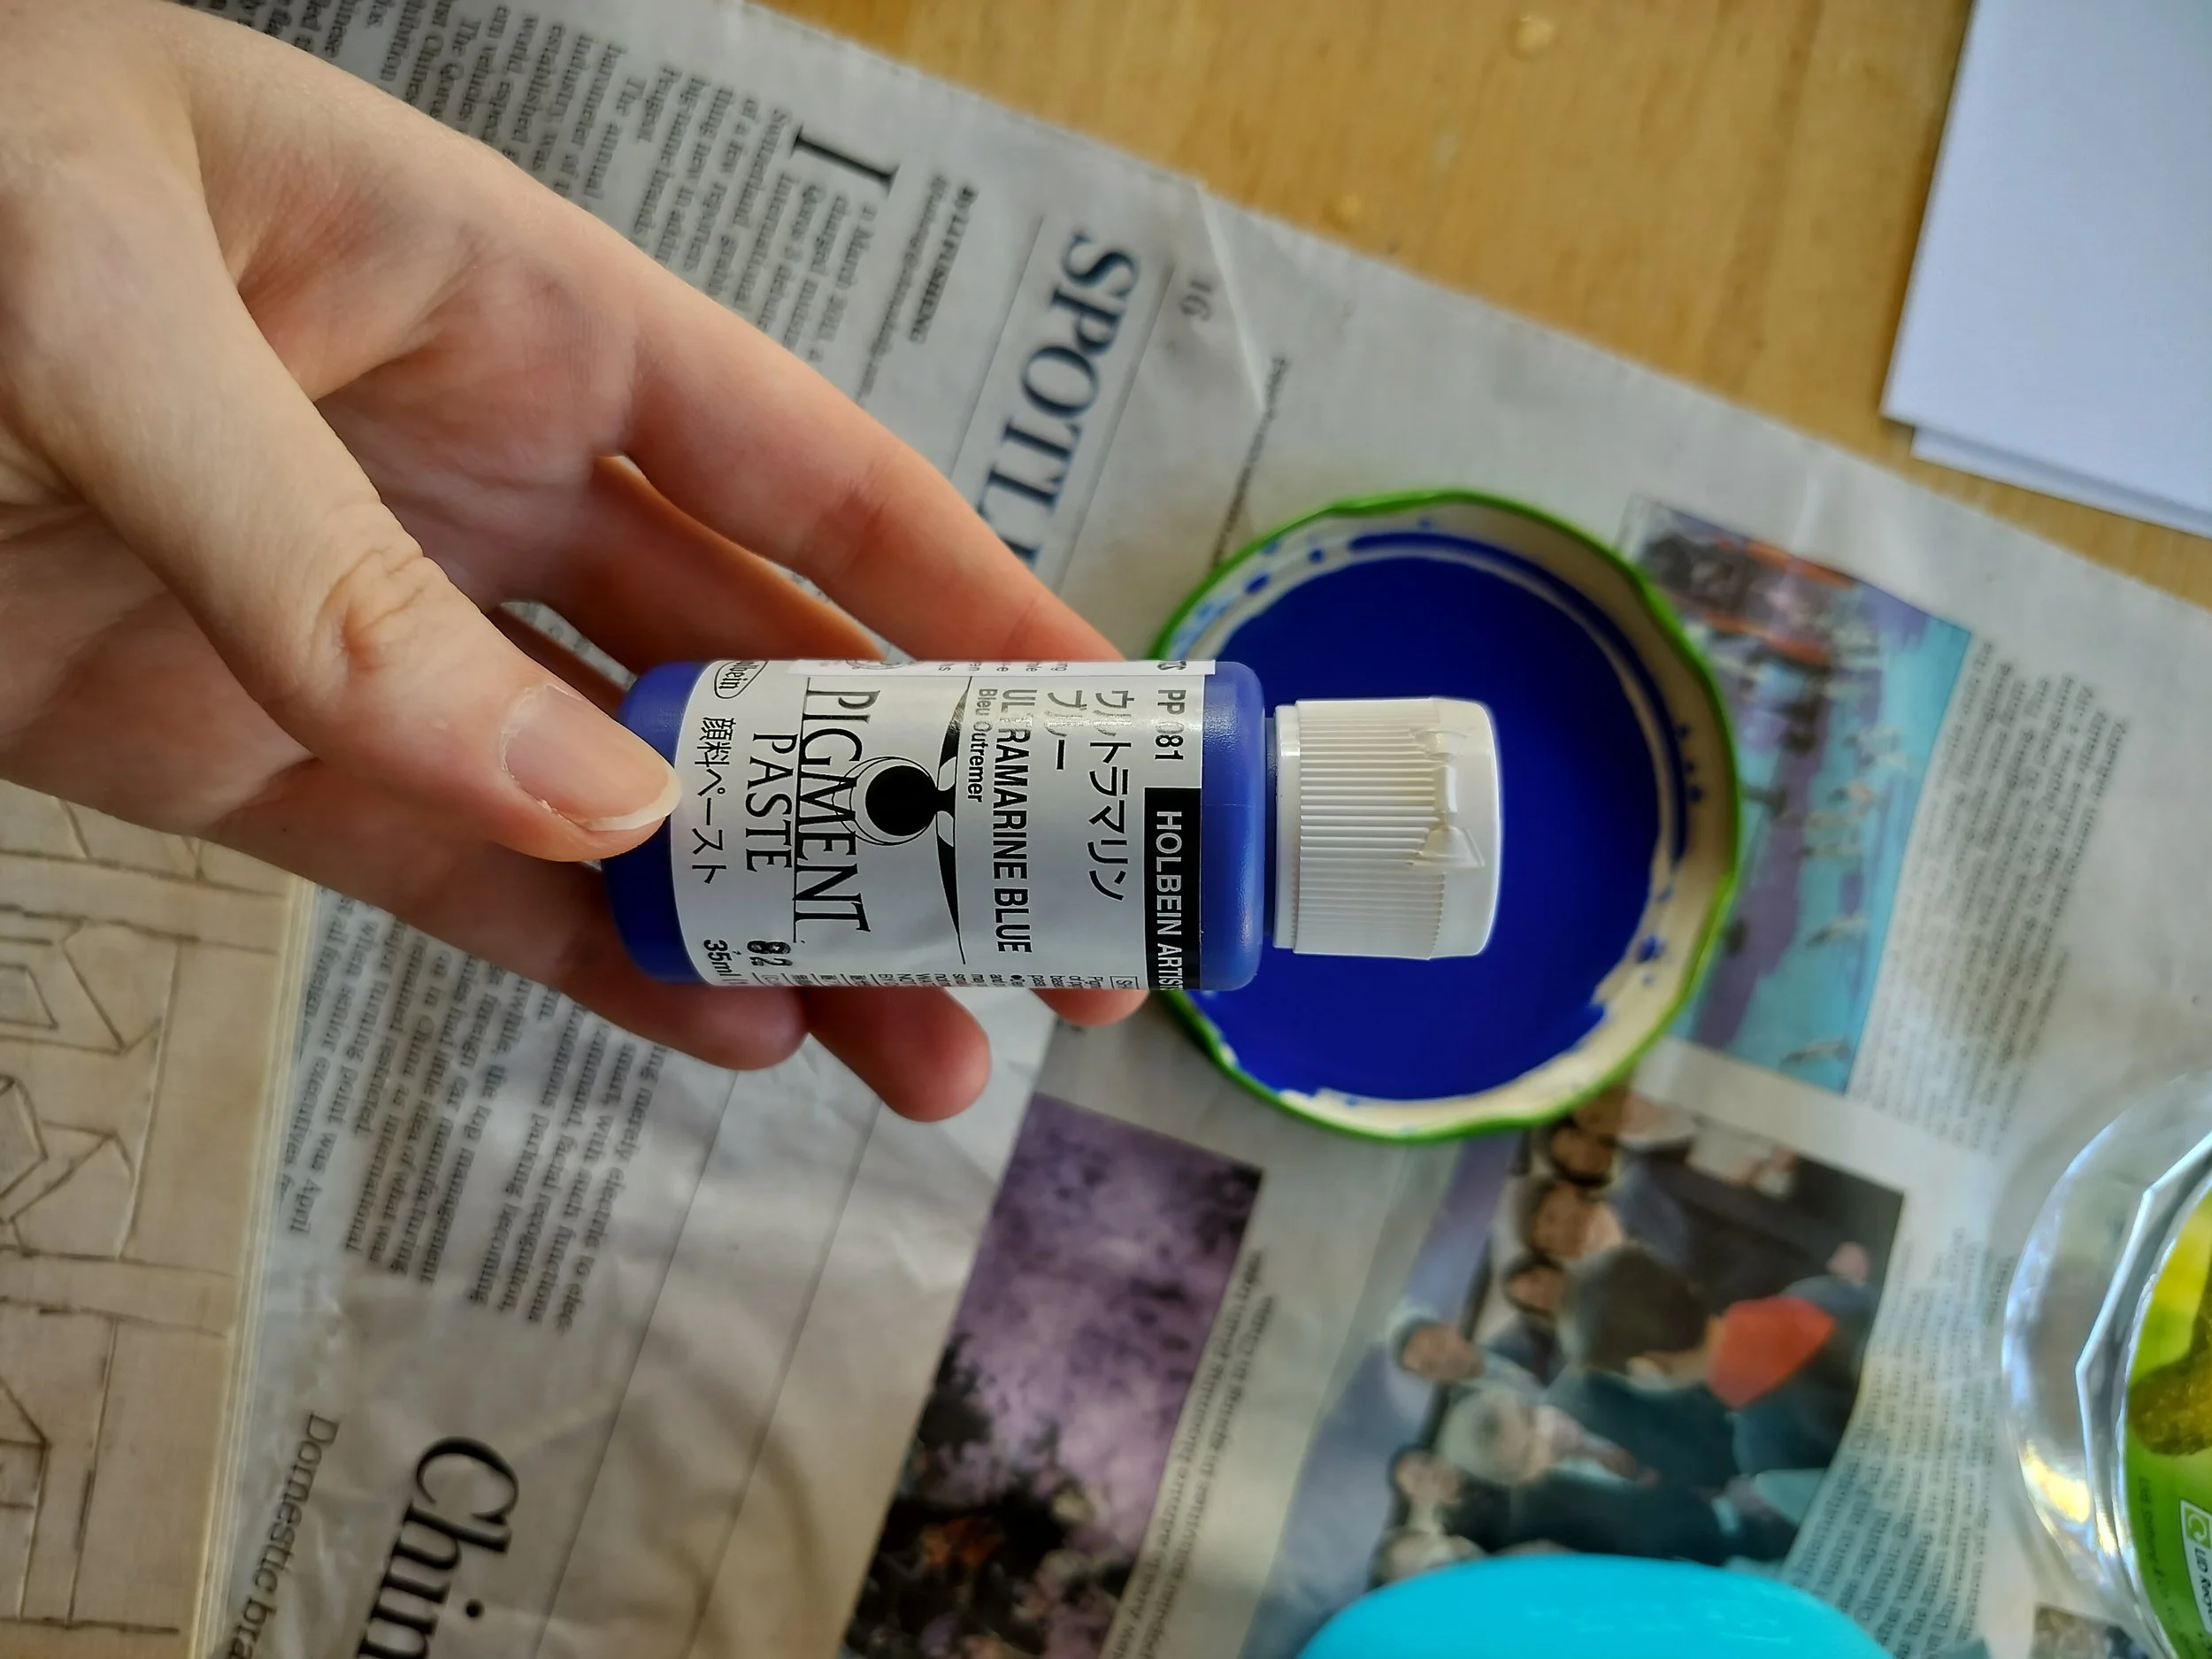
After playing around with the colour and opacity, I got this gorgeous blue on the right!
I’ll be honest though, I encountered a lot of speedbumps during this printing session.
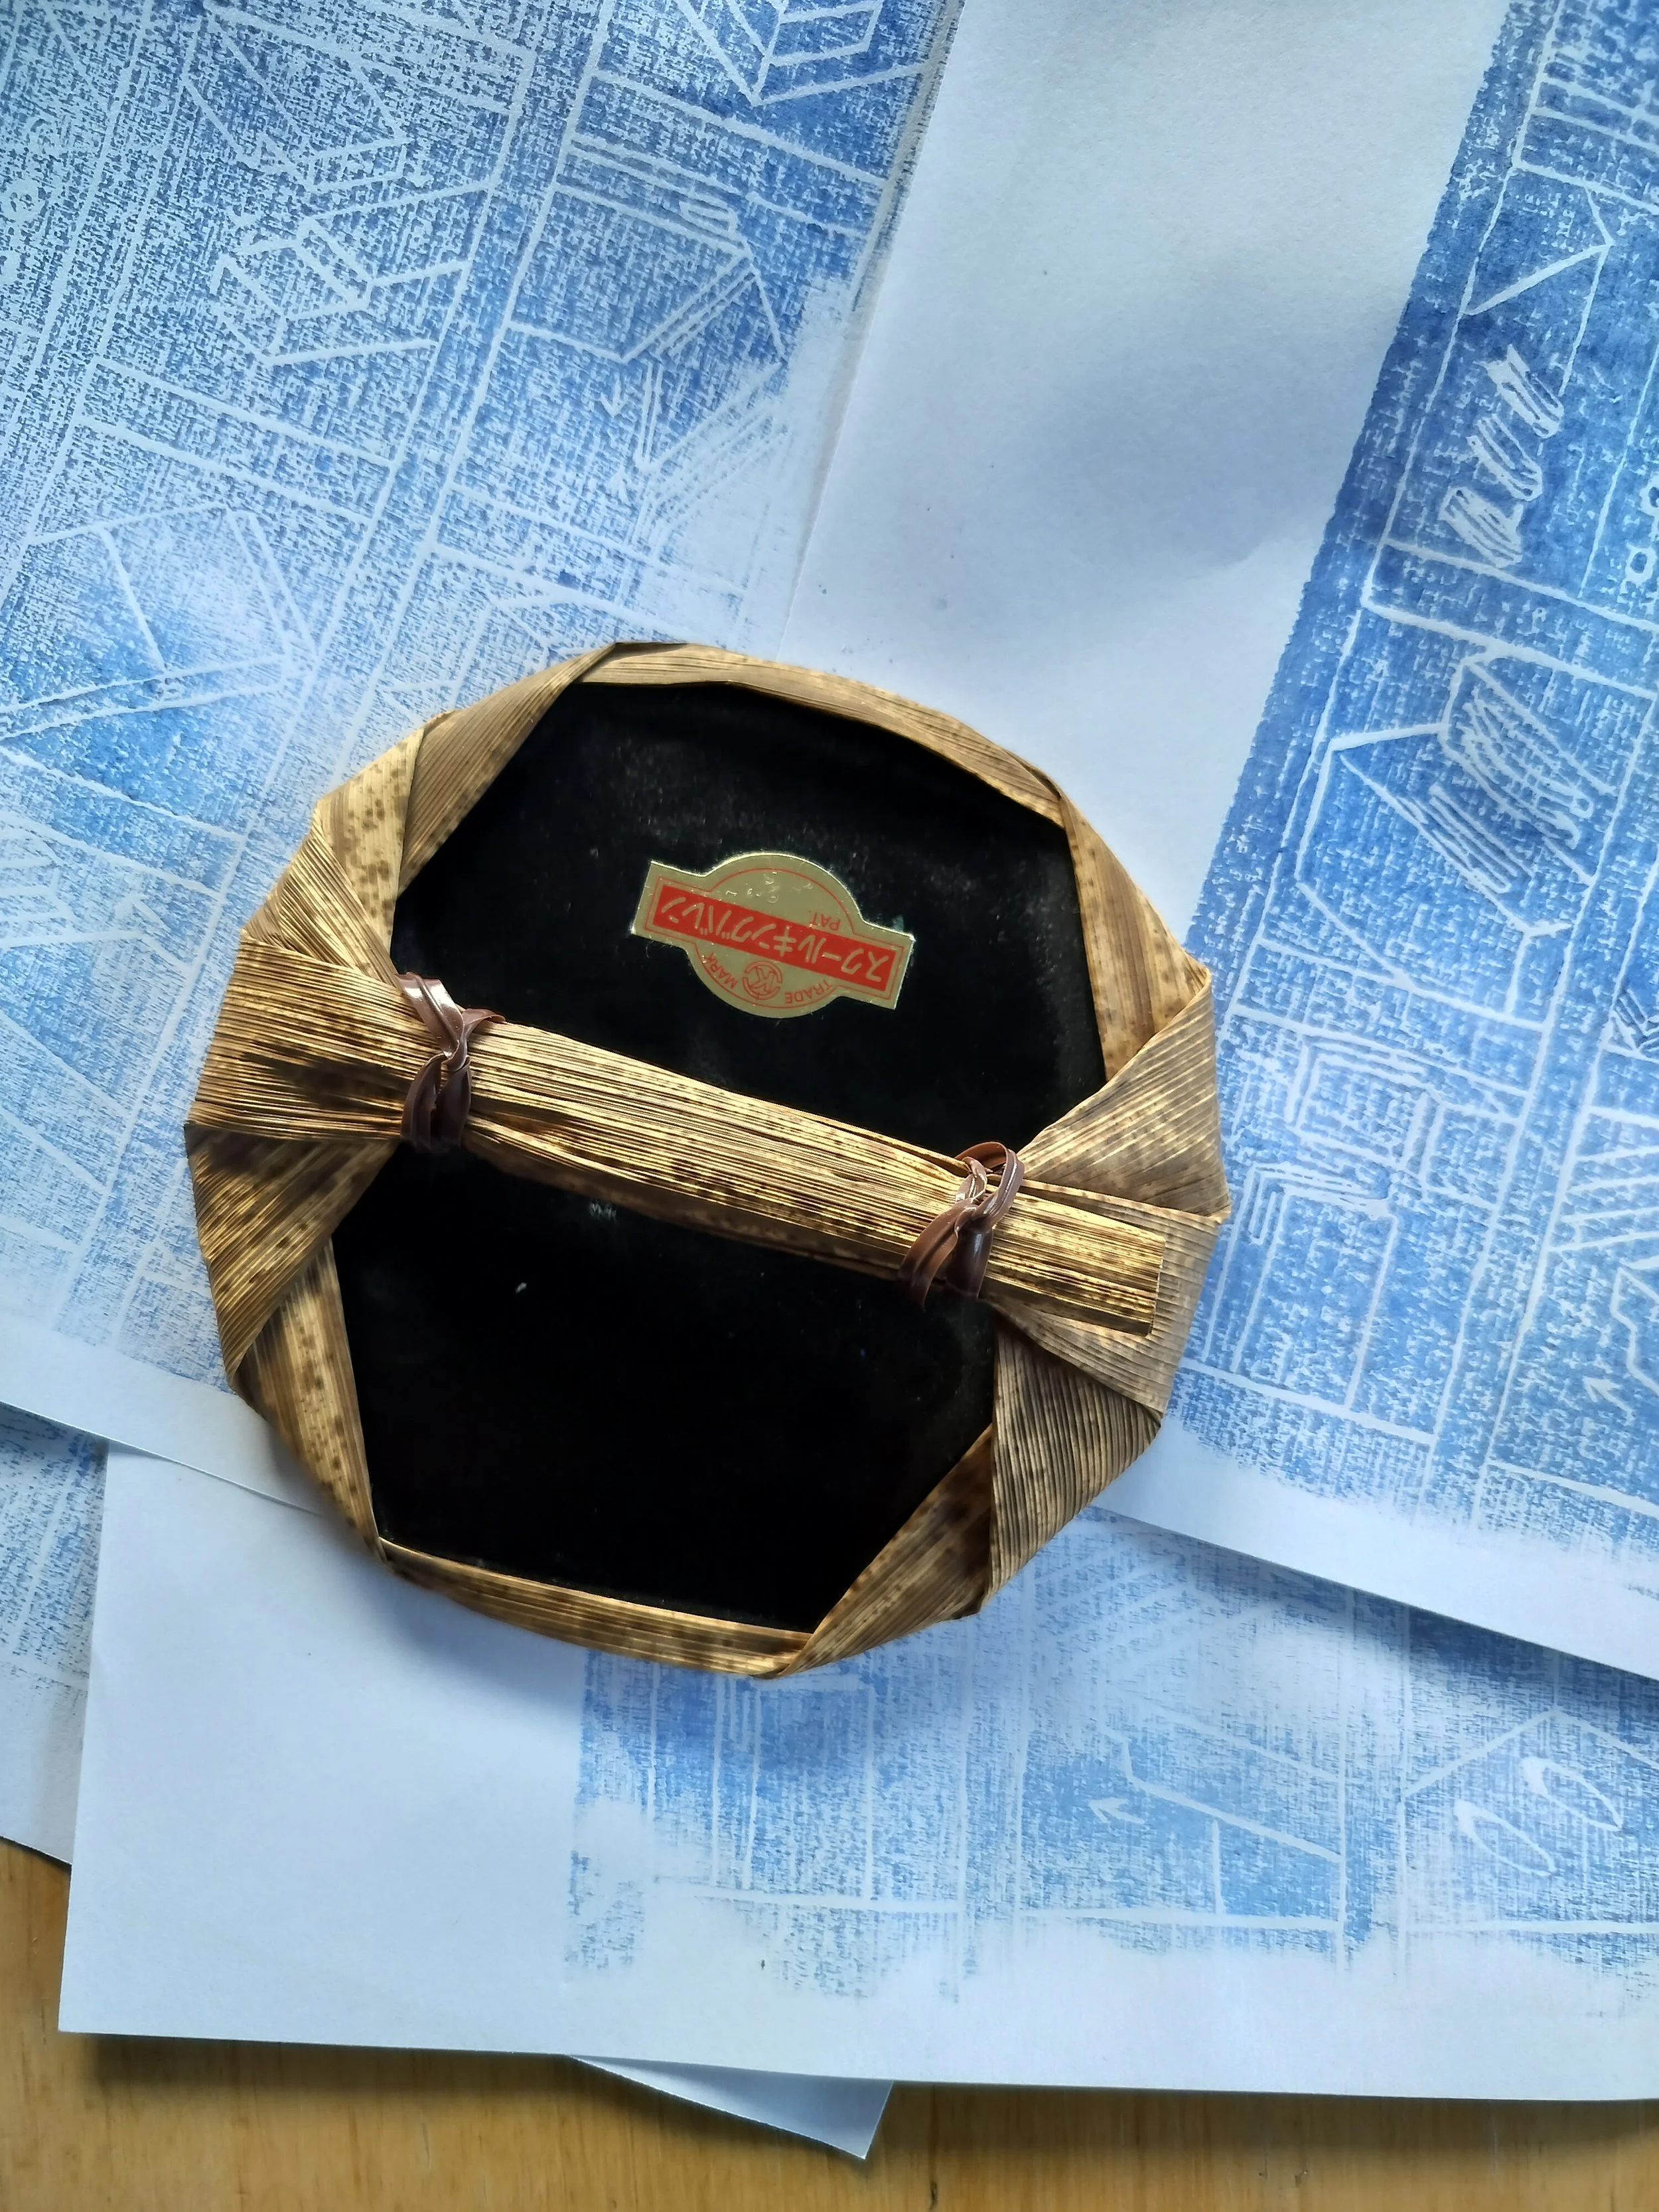
Before printing I wet the block so the pigment would have an easier time absorbing into the wood. It’s actually kinda a guessing game for how damp you want the wood to be. I felt like it was more sodden in some places then others, but then dry elsewhere, and then I wondered how long I should wait until printing… No idea if I started too early or too late.
Then the printing began…
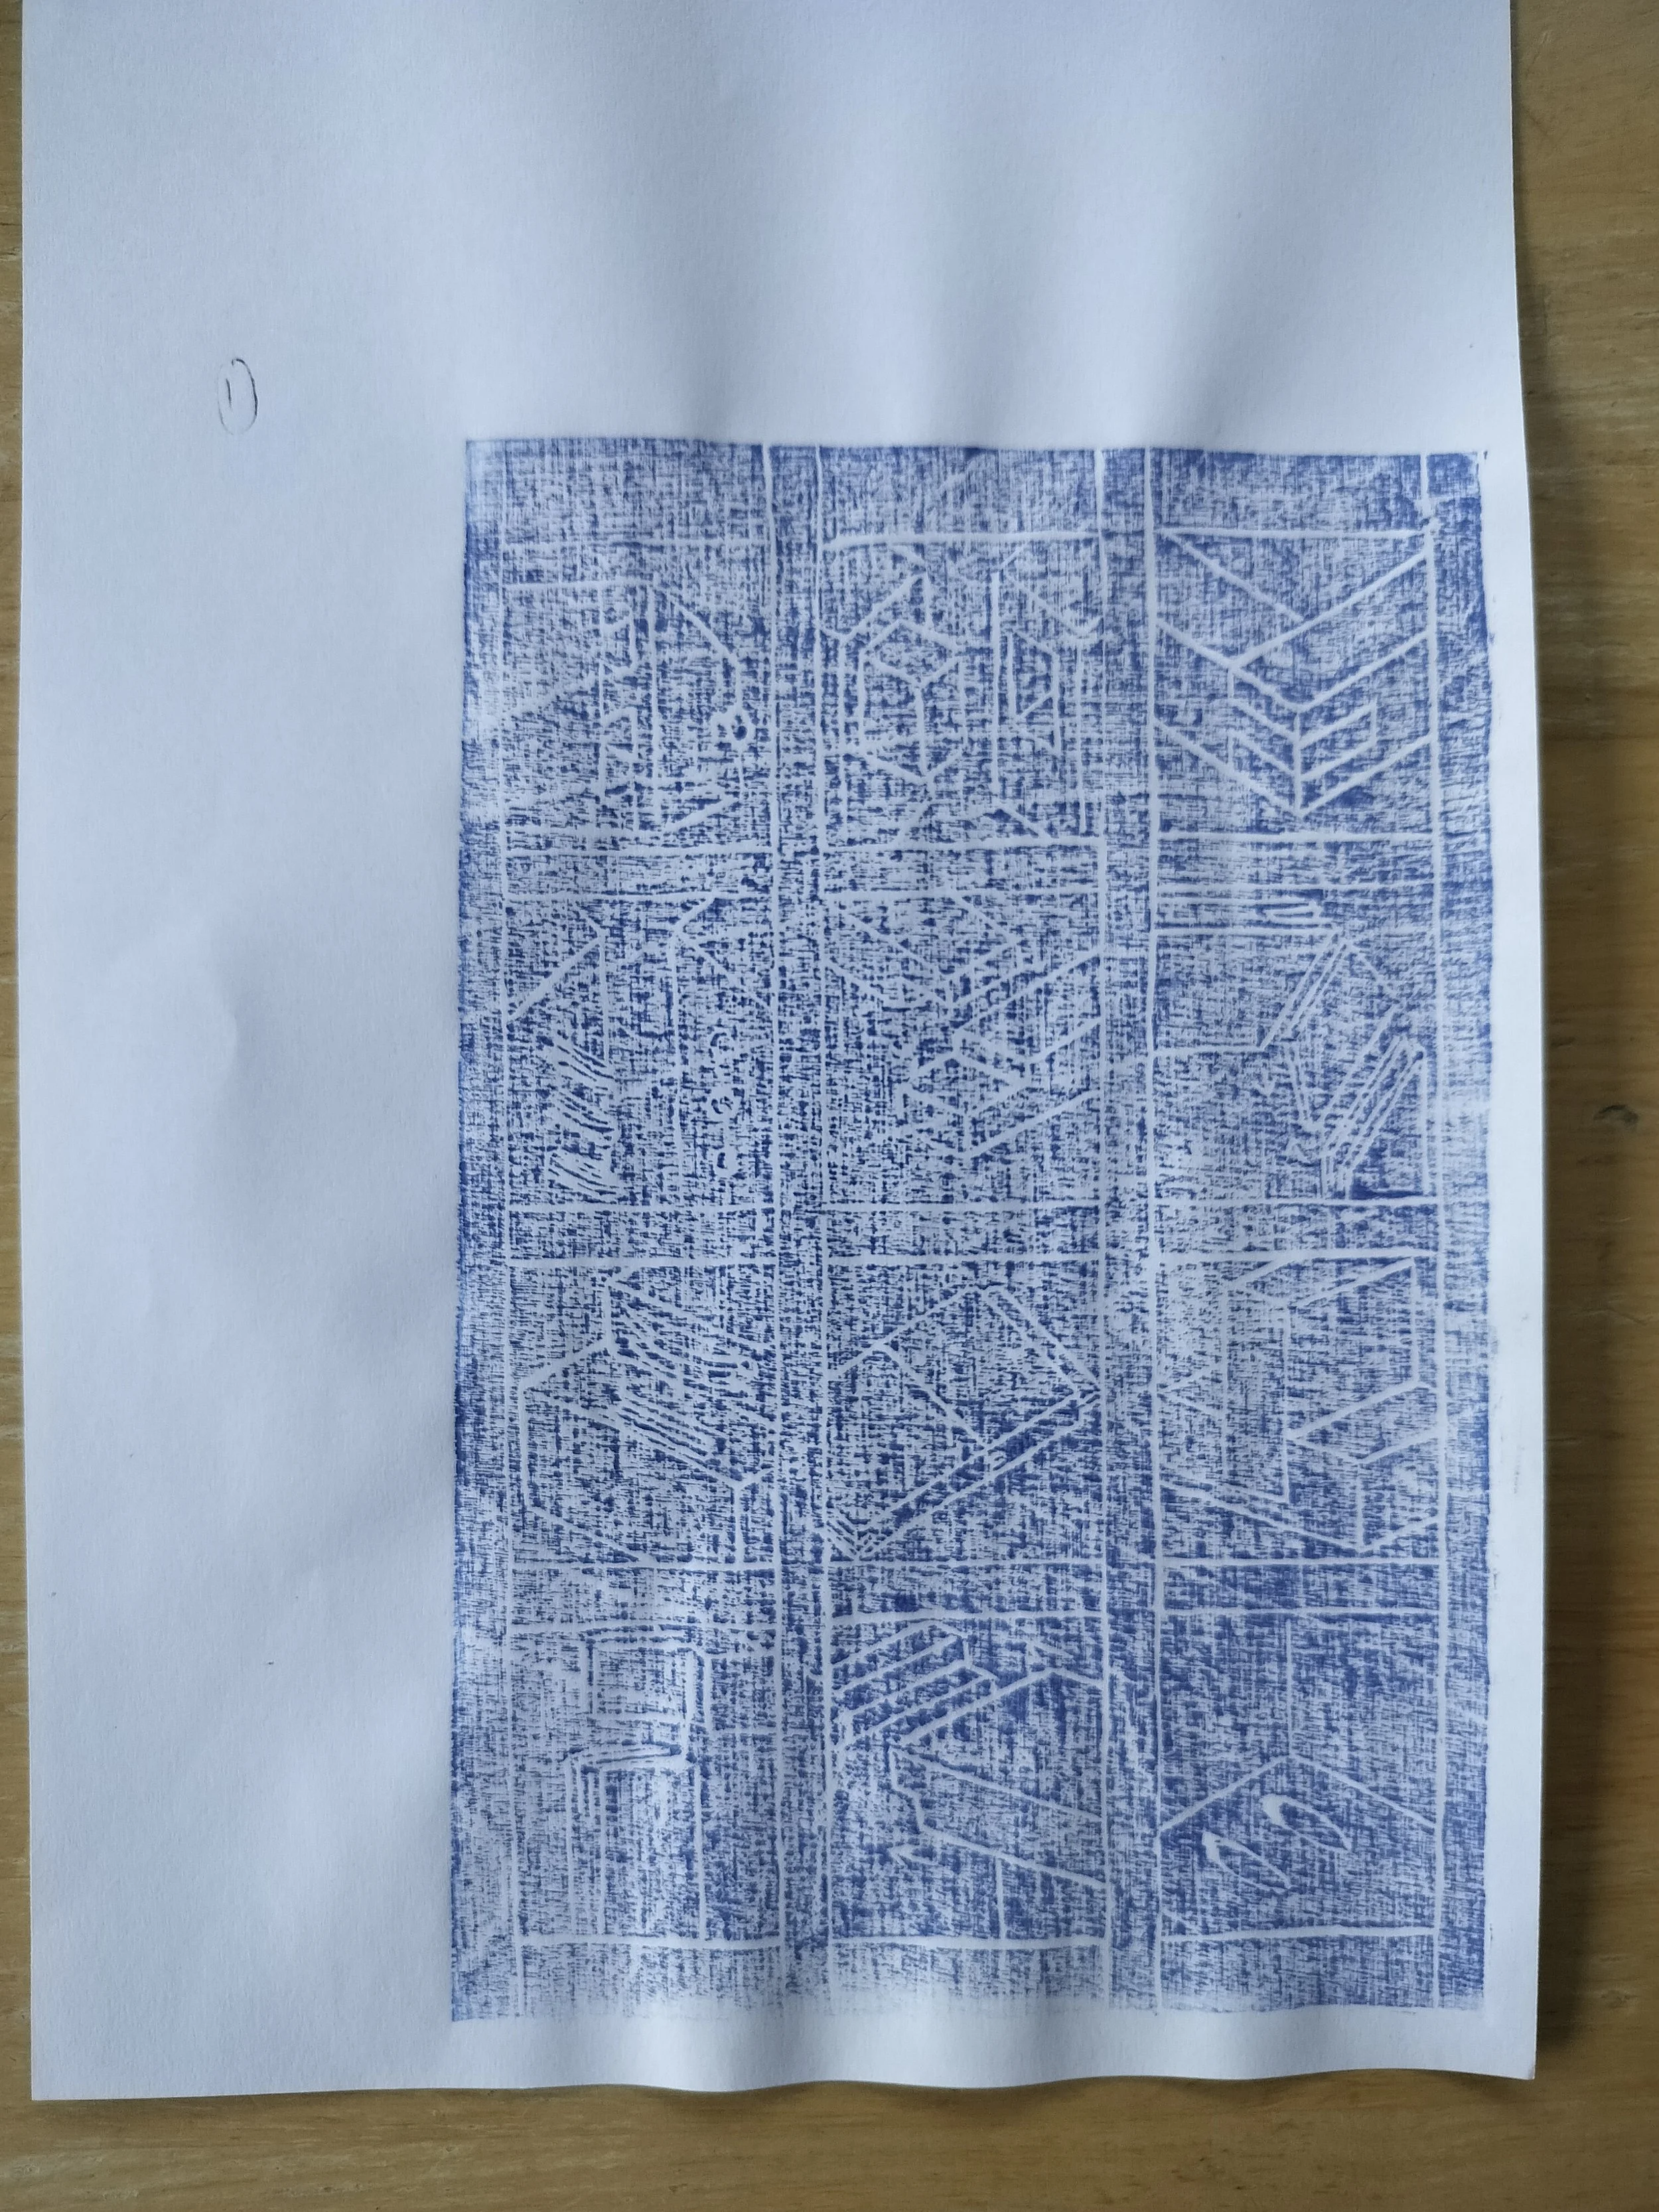
No. 1. I expected the first print I pulled to not be perfect. This is just how I find out what to do next.
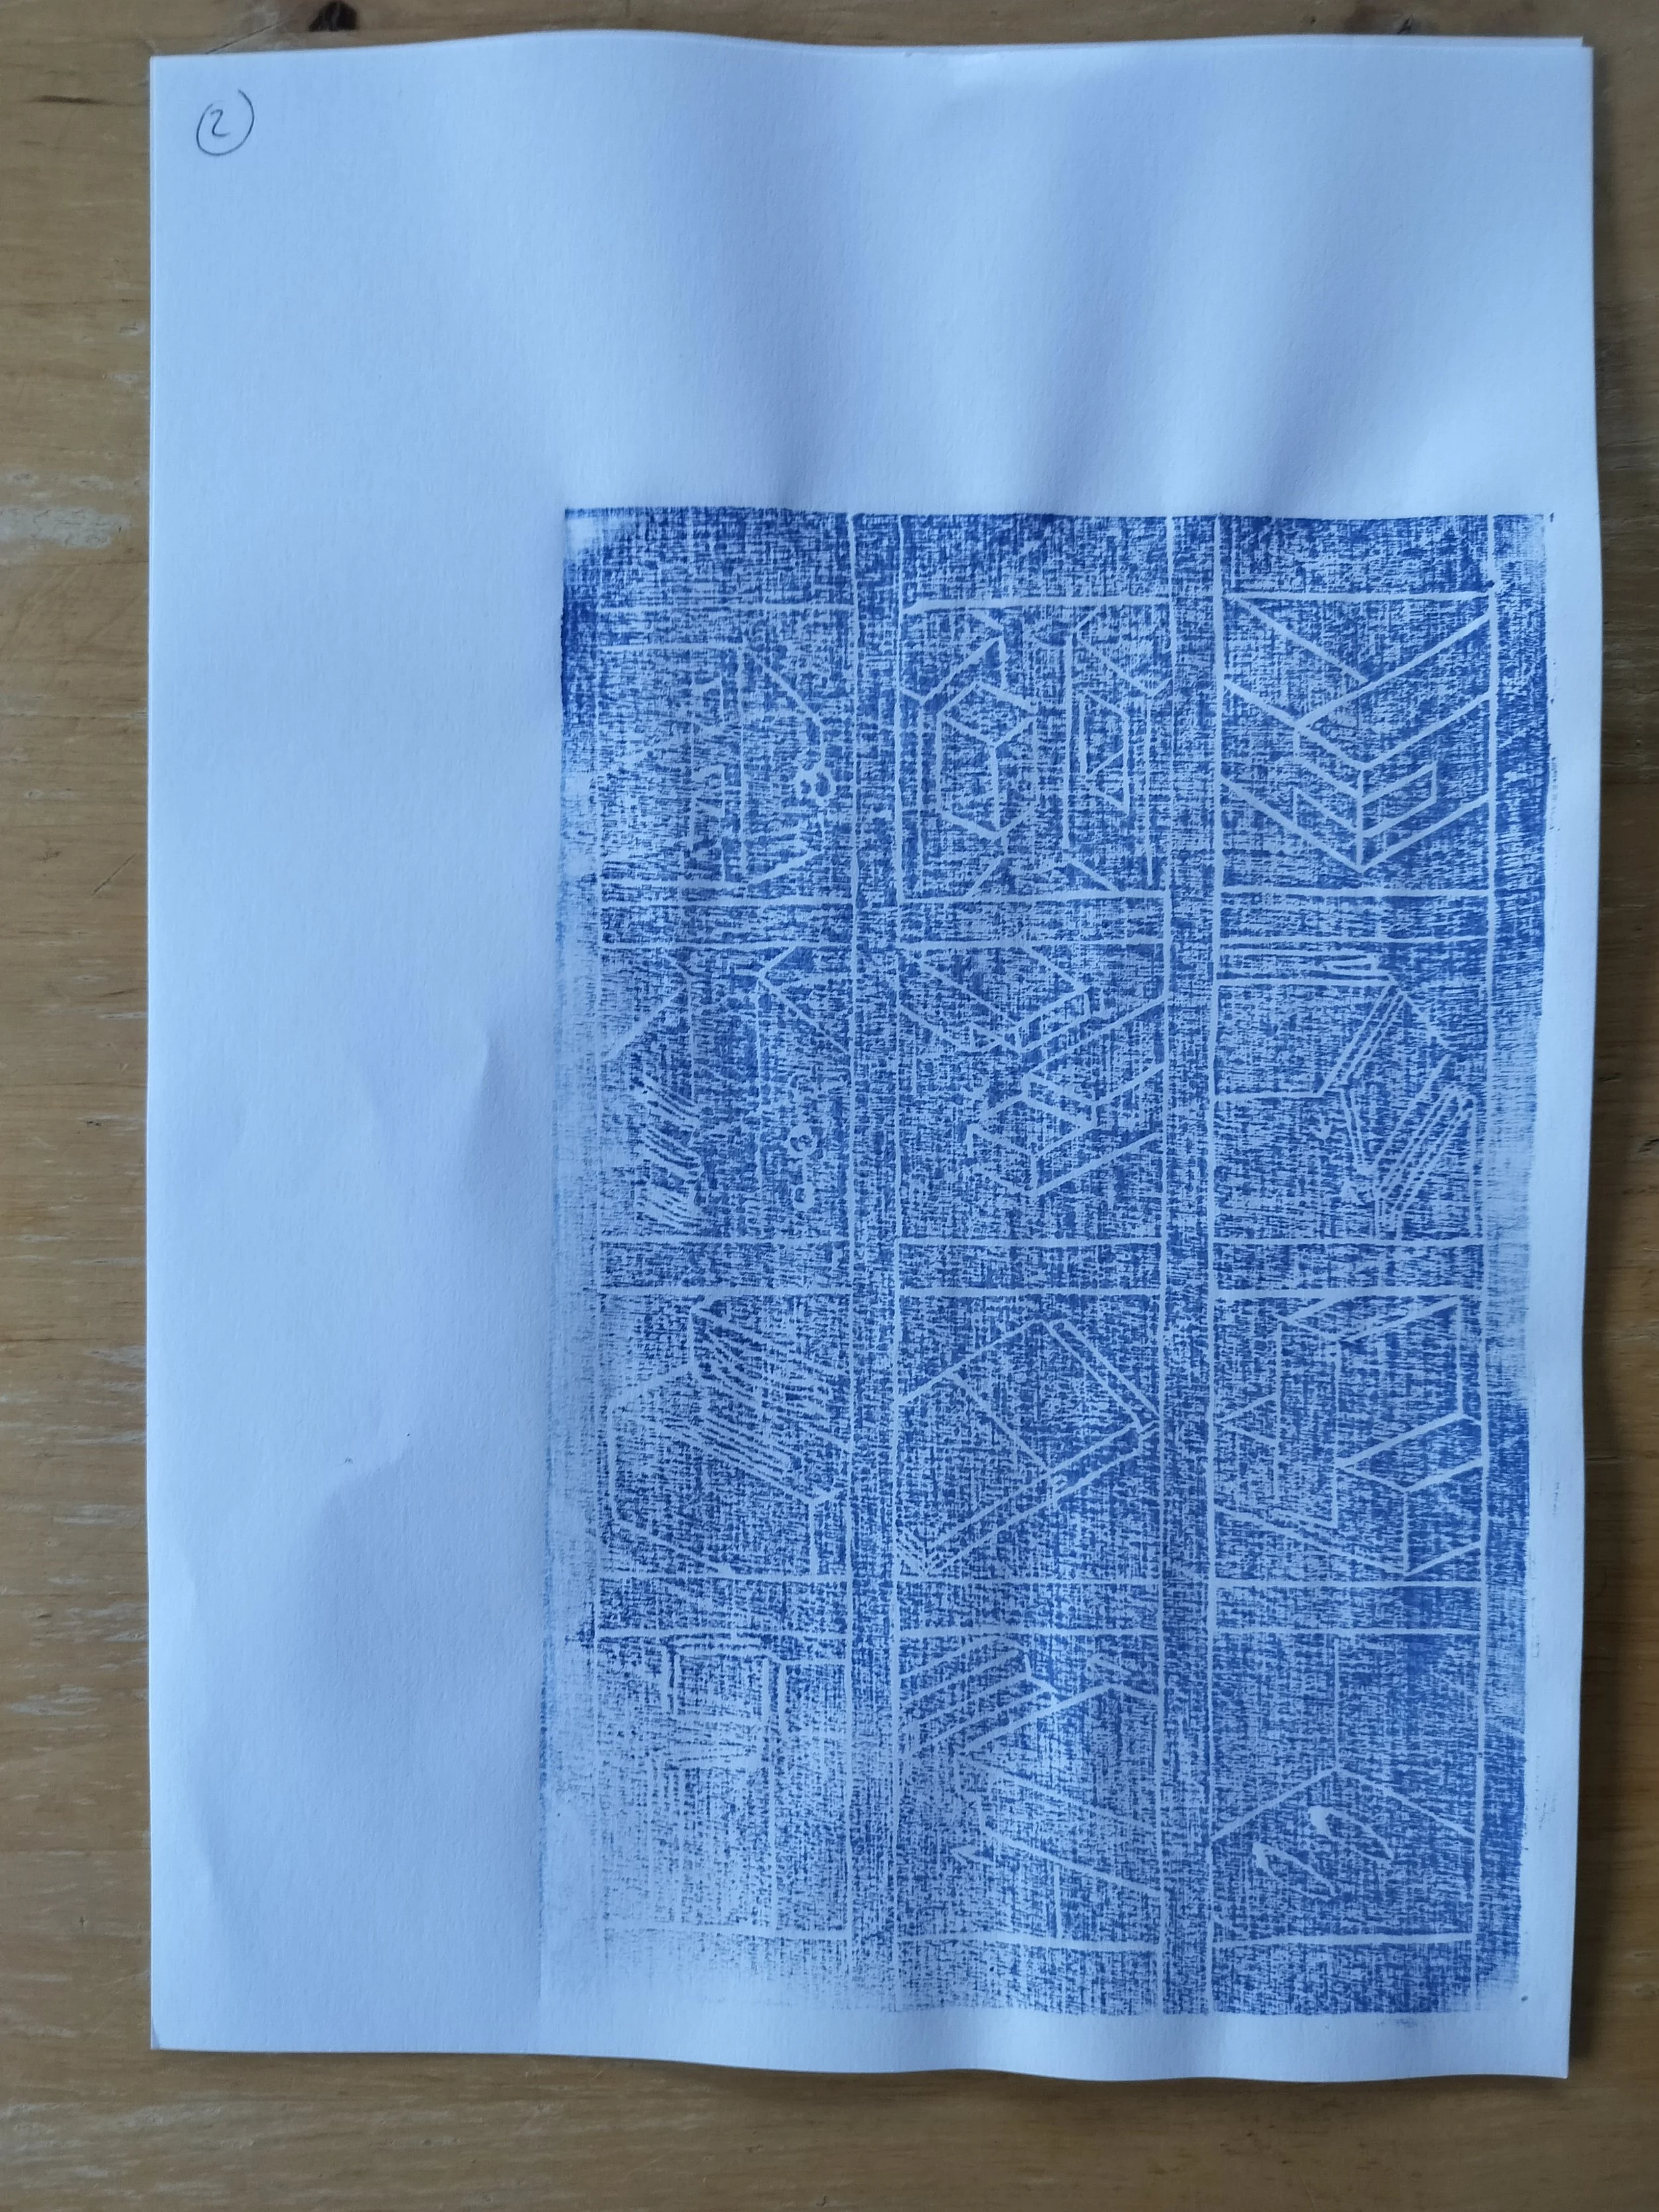
No. 2. At this point I decided to adjust the colour a bit before pulling the next print. It was a little patchy, not enough ink on the block.
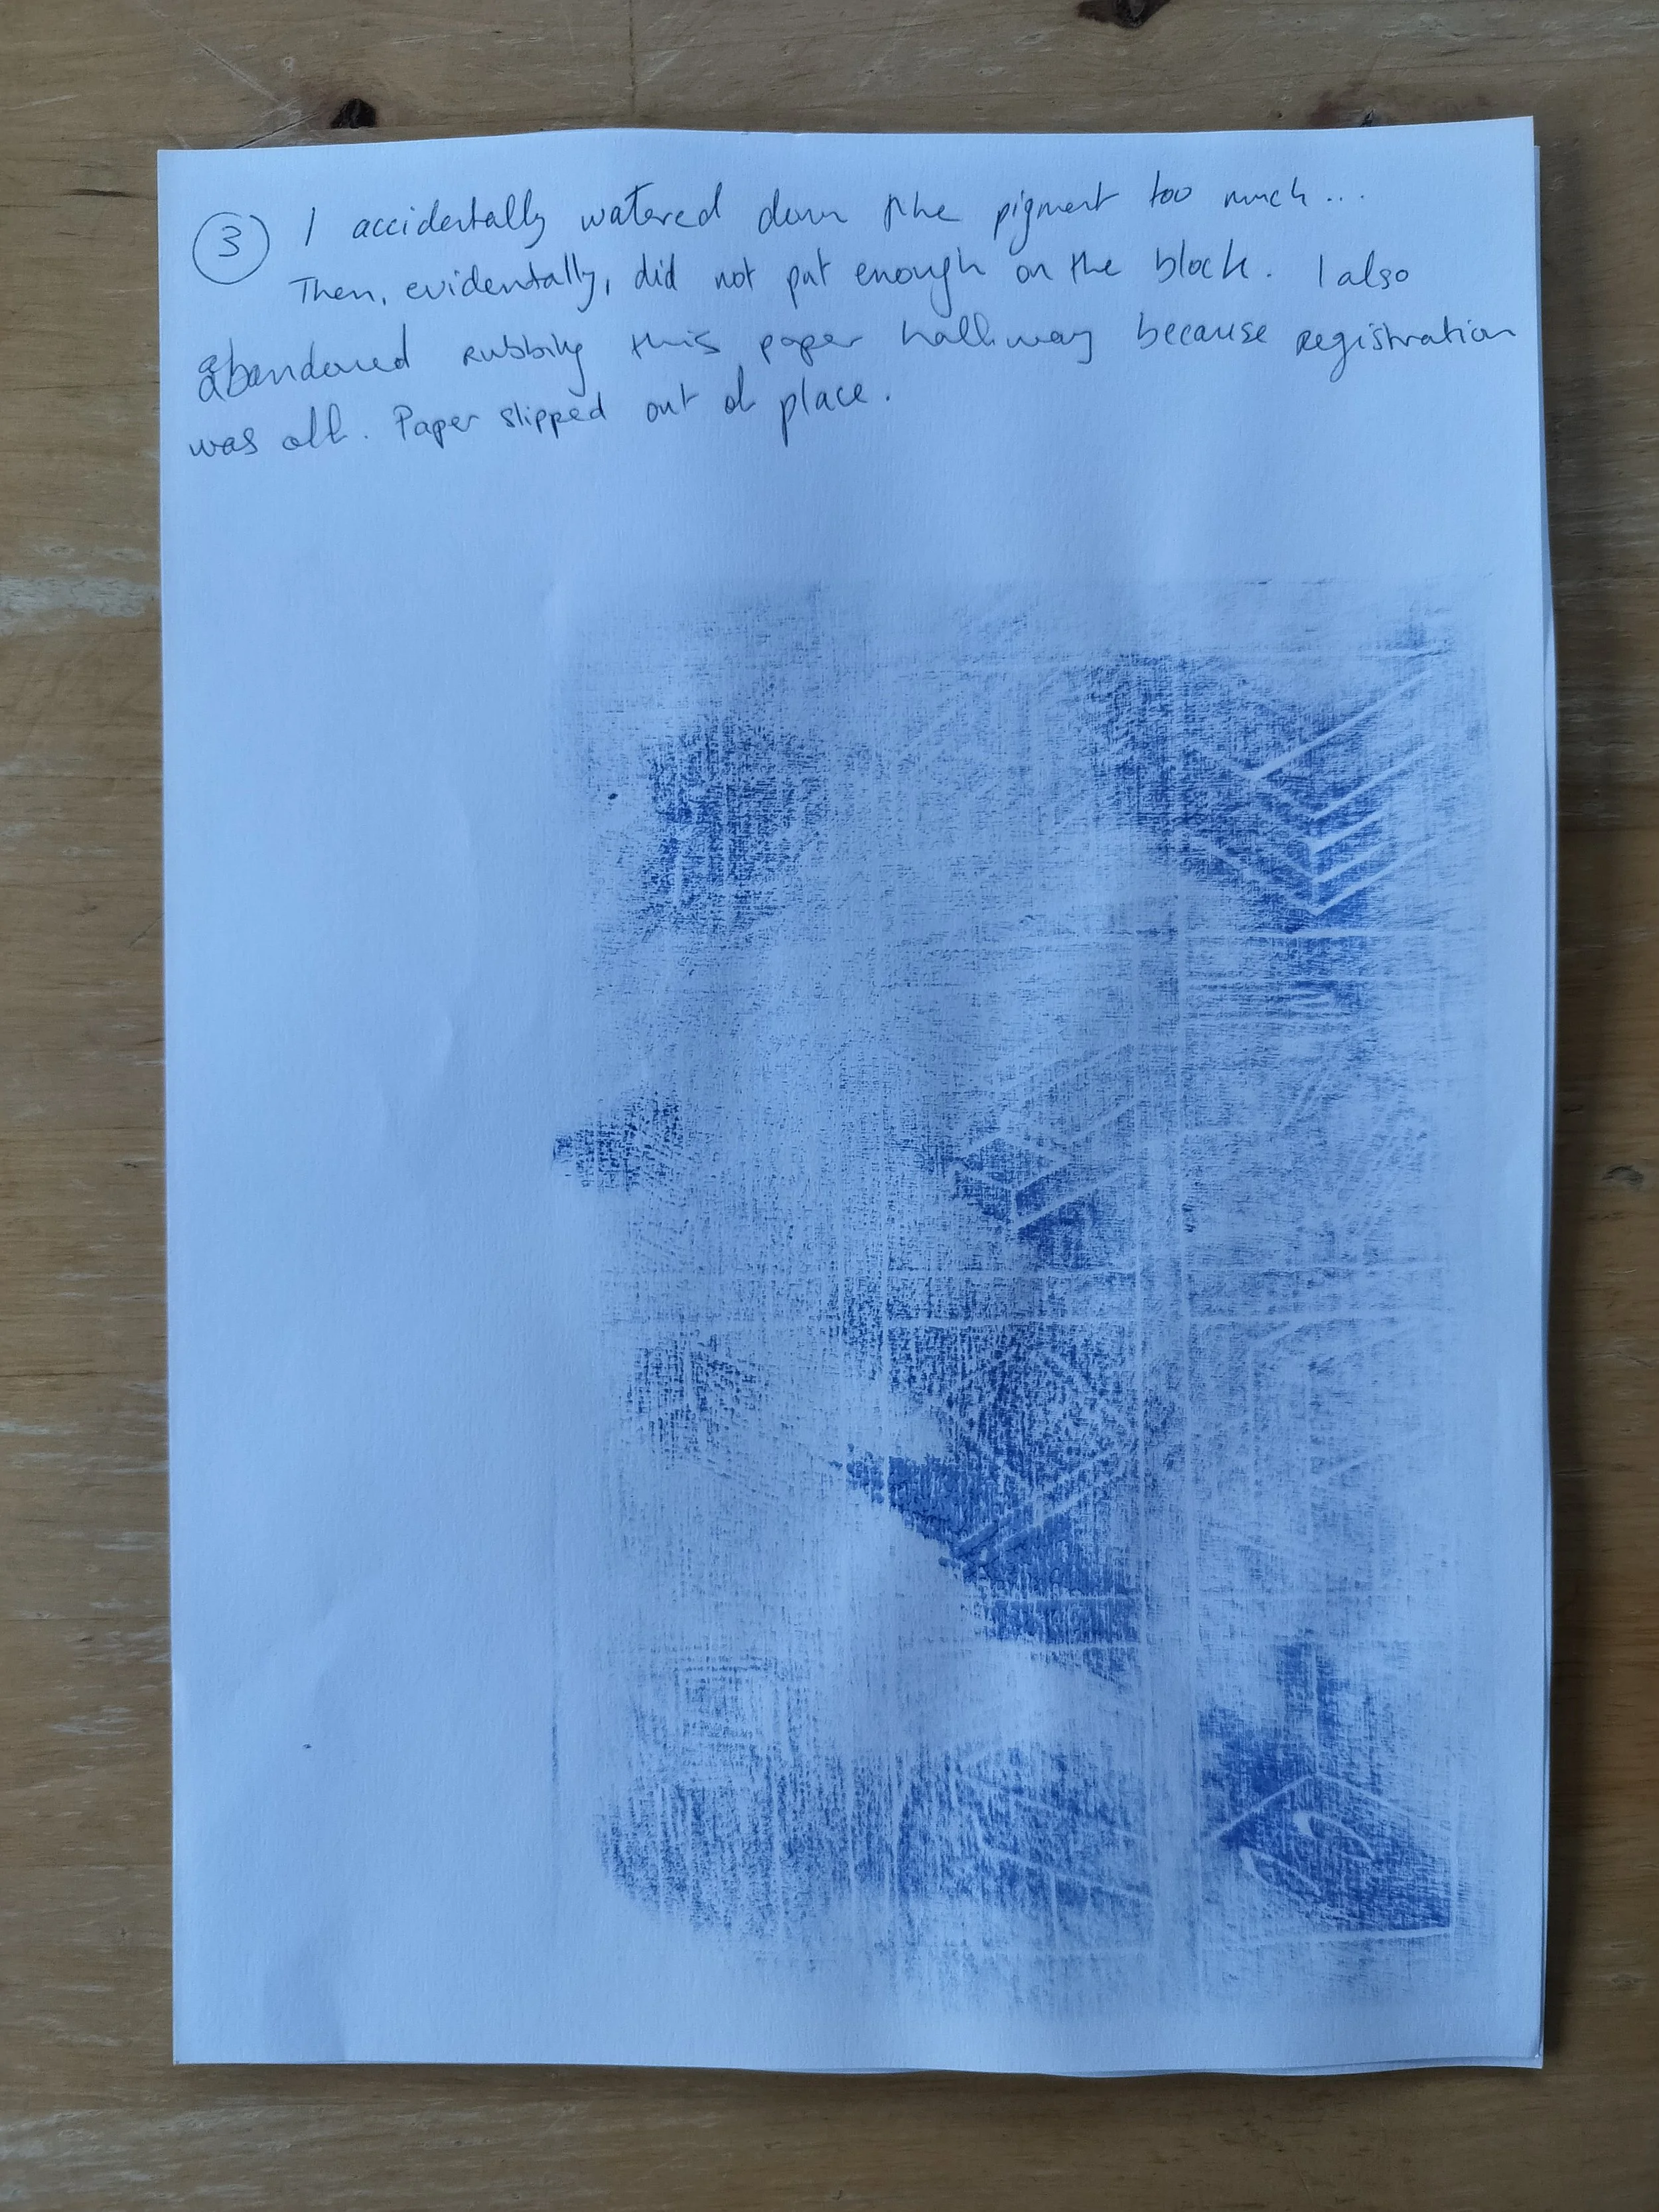
No. 3. As for the third pull… I accidentally added waaaaaay too much water to my pigment mixture. I also did not apply enough to the block, nor did I apply enough pressure with the barren and honestly I kinda abandoned the print halfway because I noticed that the paper had slipped so my registration was off. Oops…
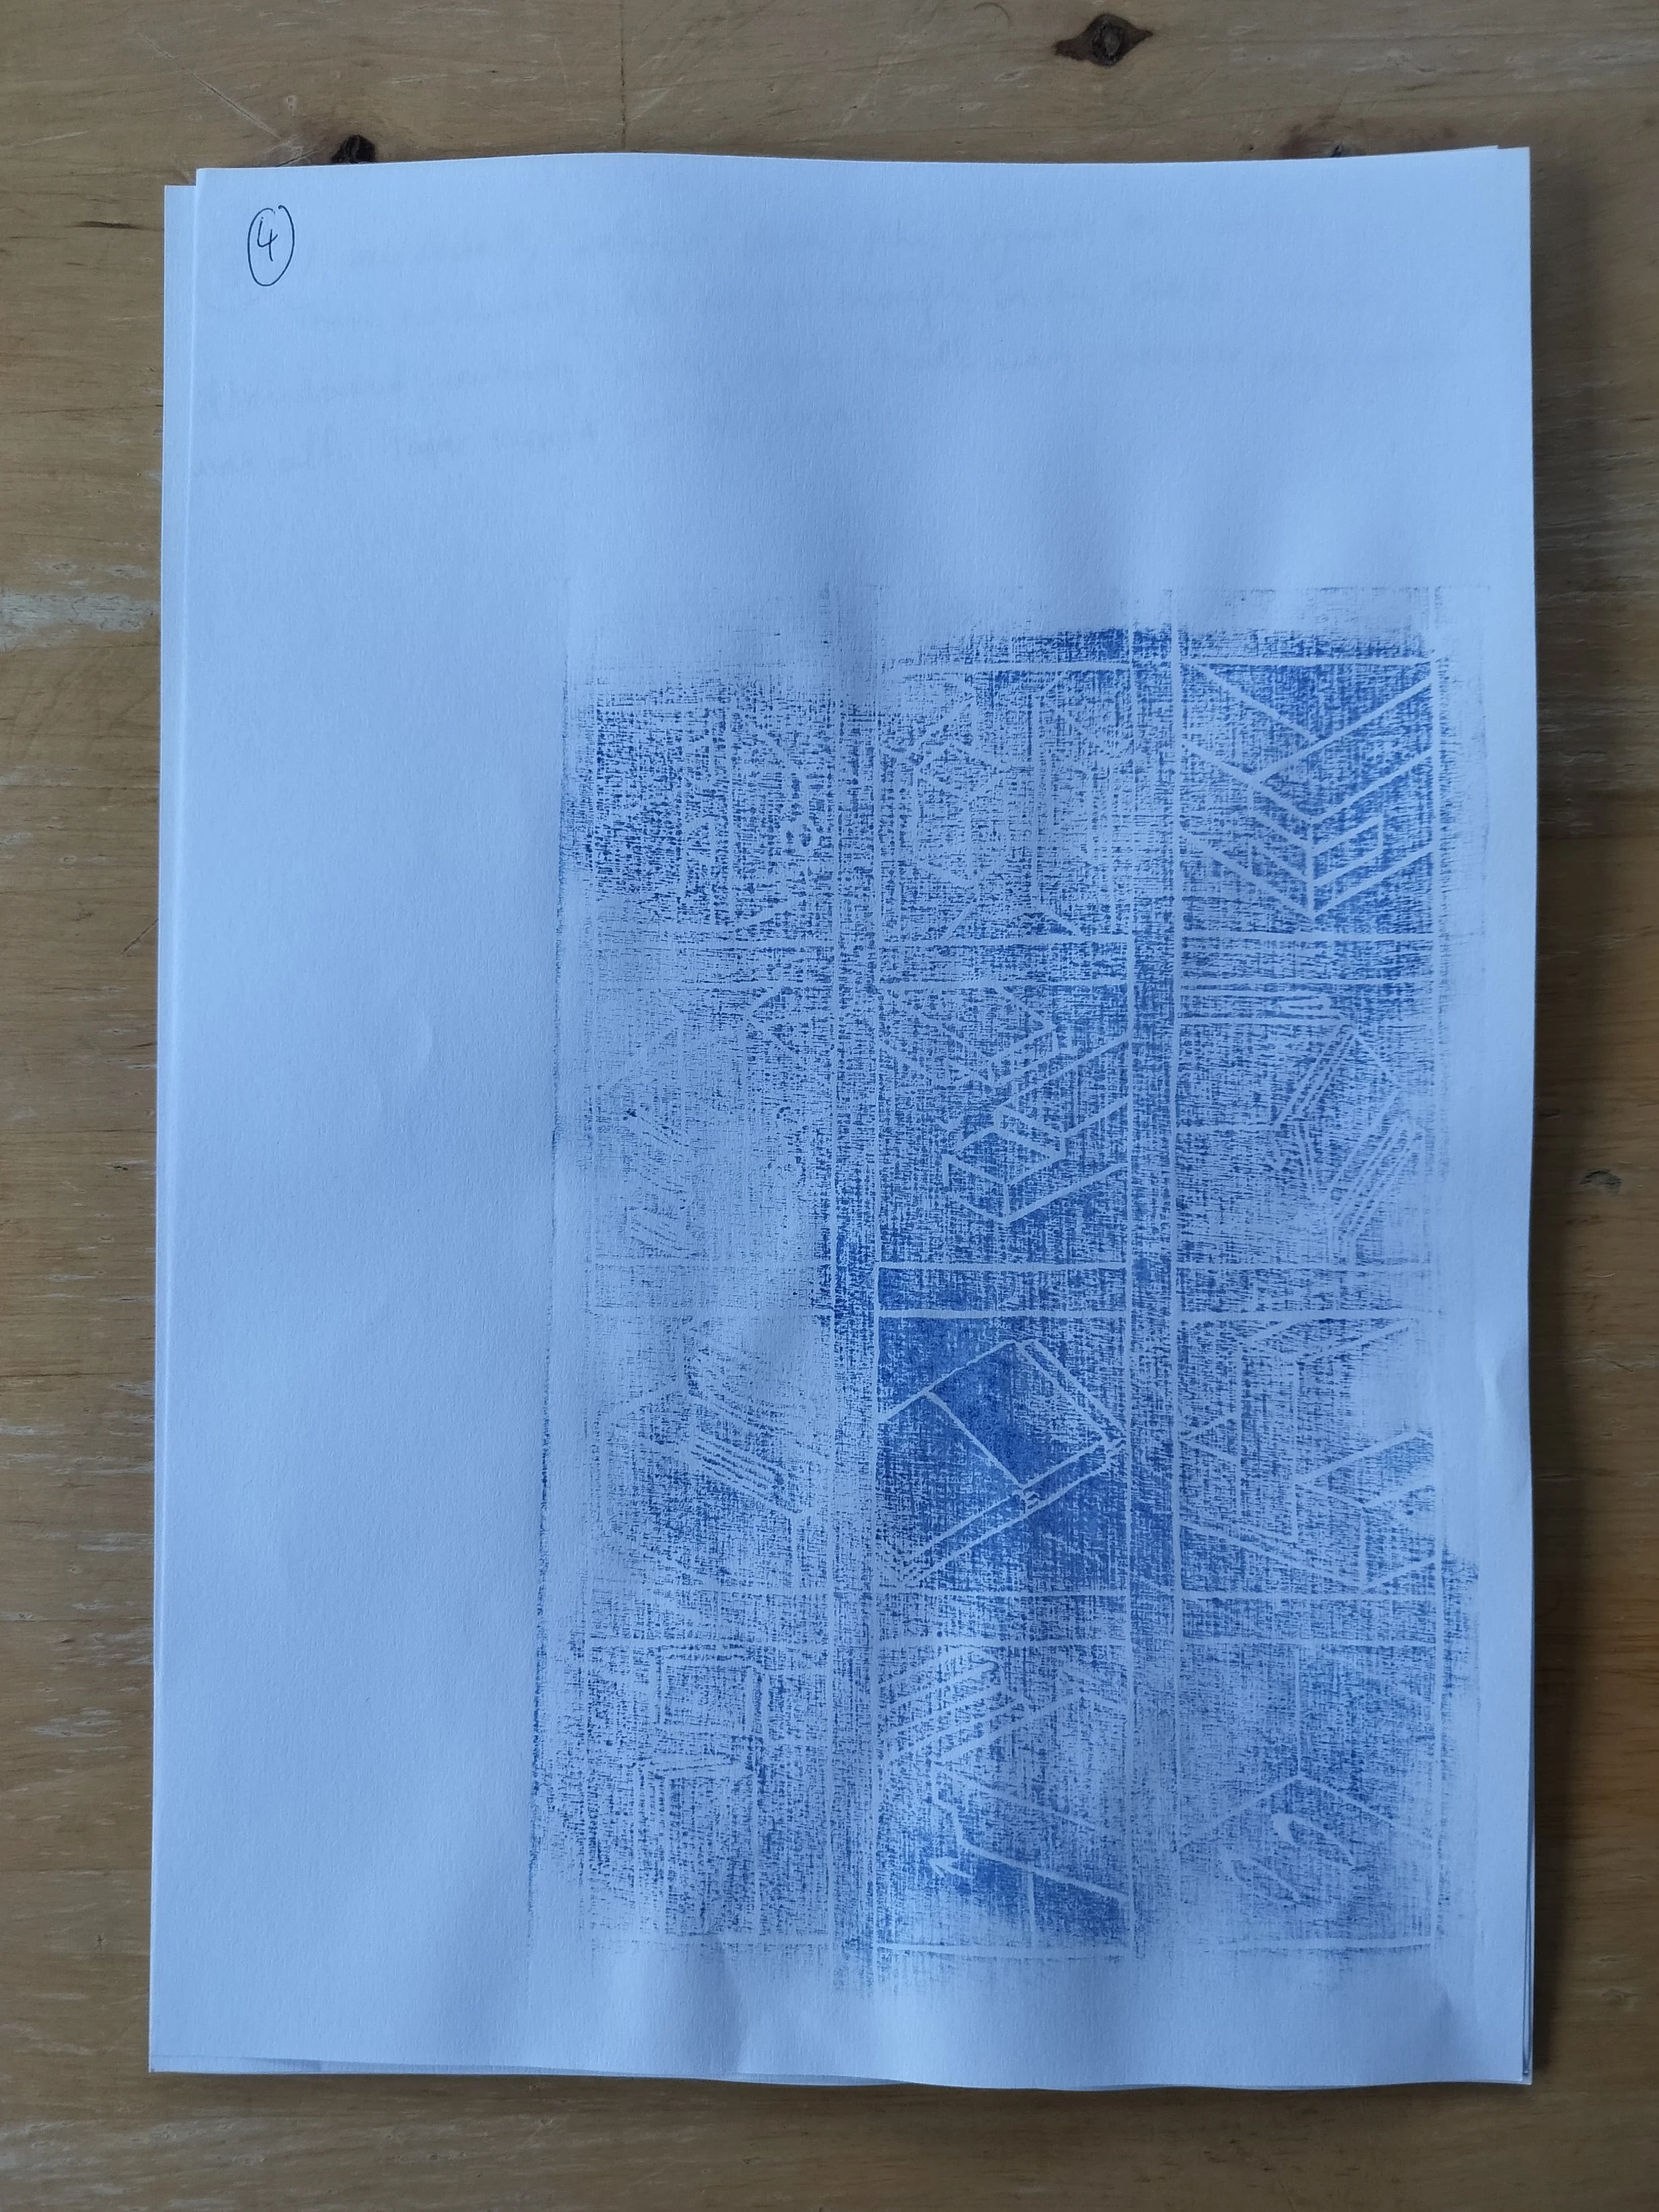
No. 4. Not enough ink on the wood.
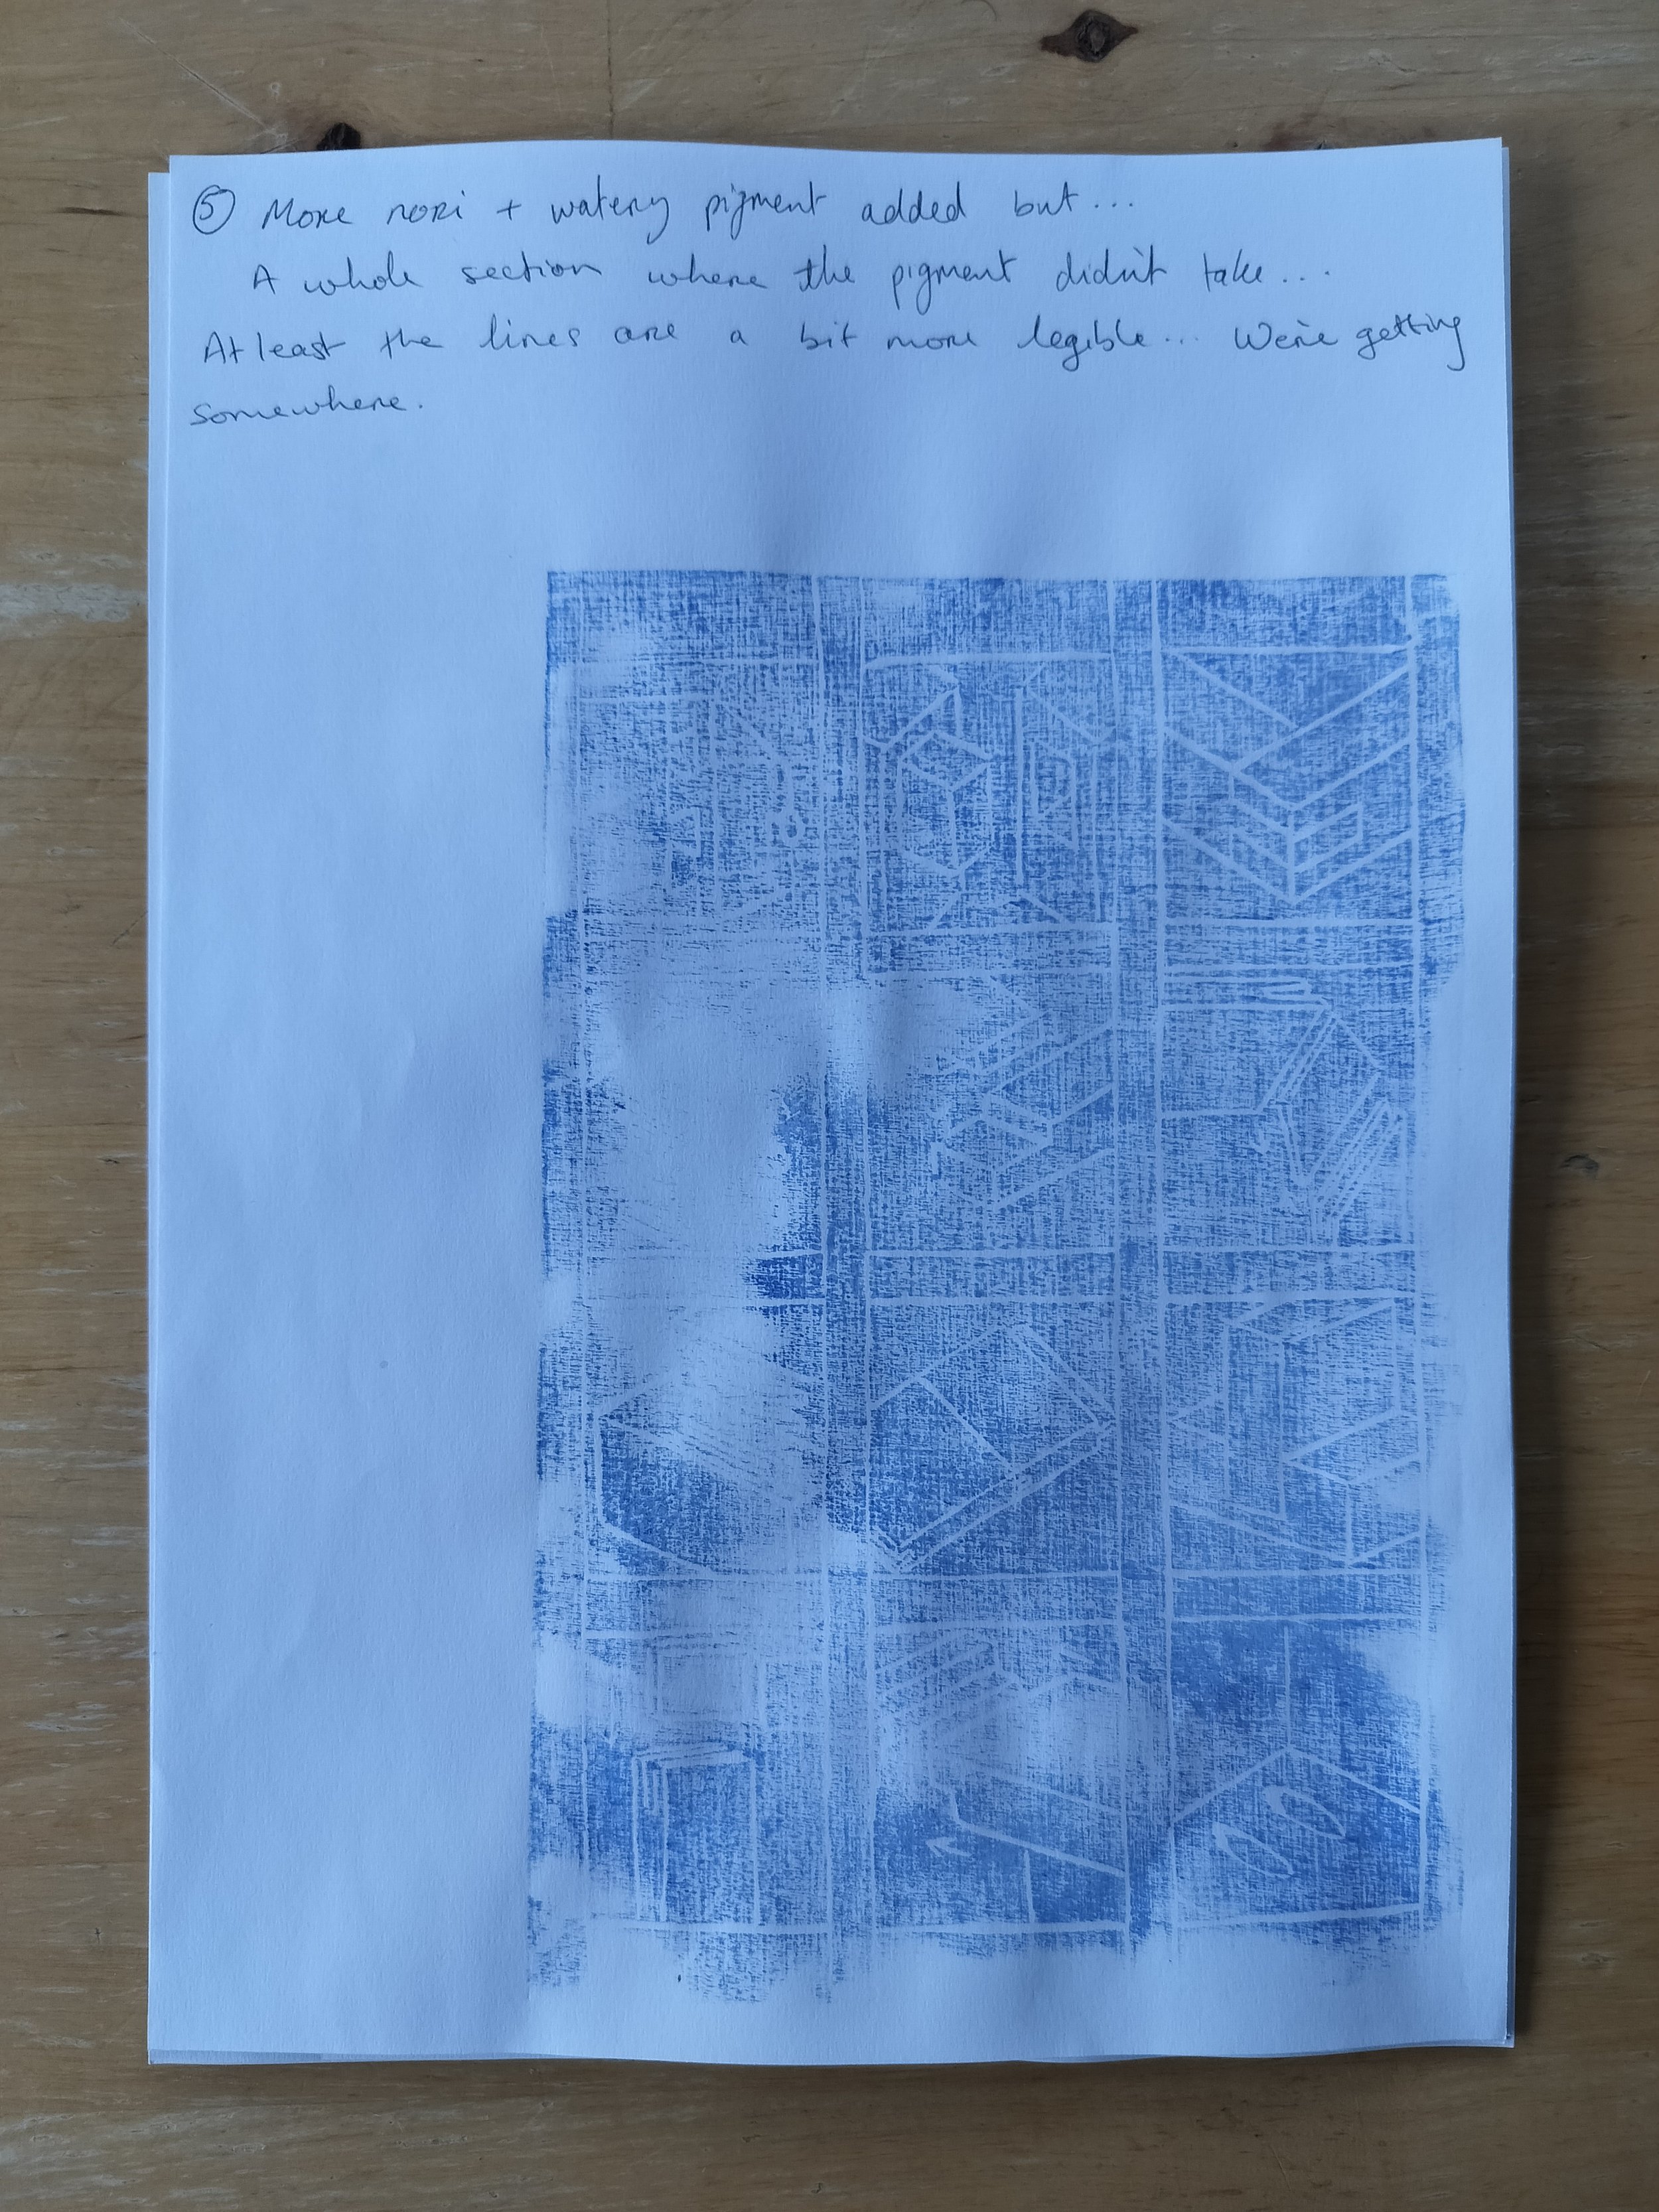
No. 5. More nori and watery pigment added but… There was a whole section where the pigment didn’t take. But at least the lines are becoming more legible. We’re getting somewhere.
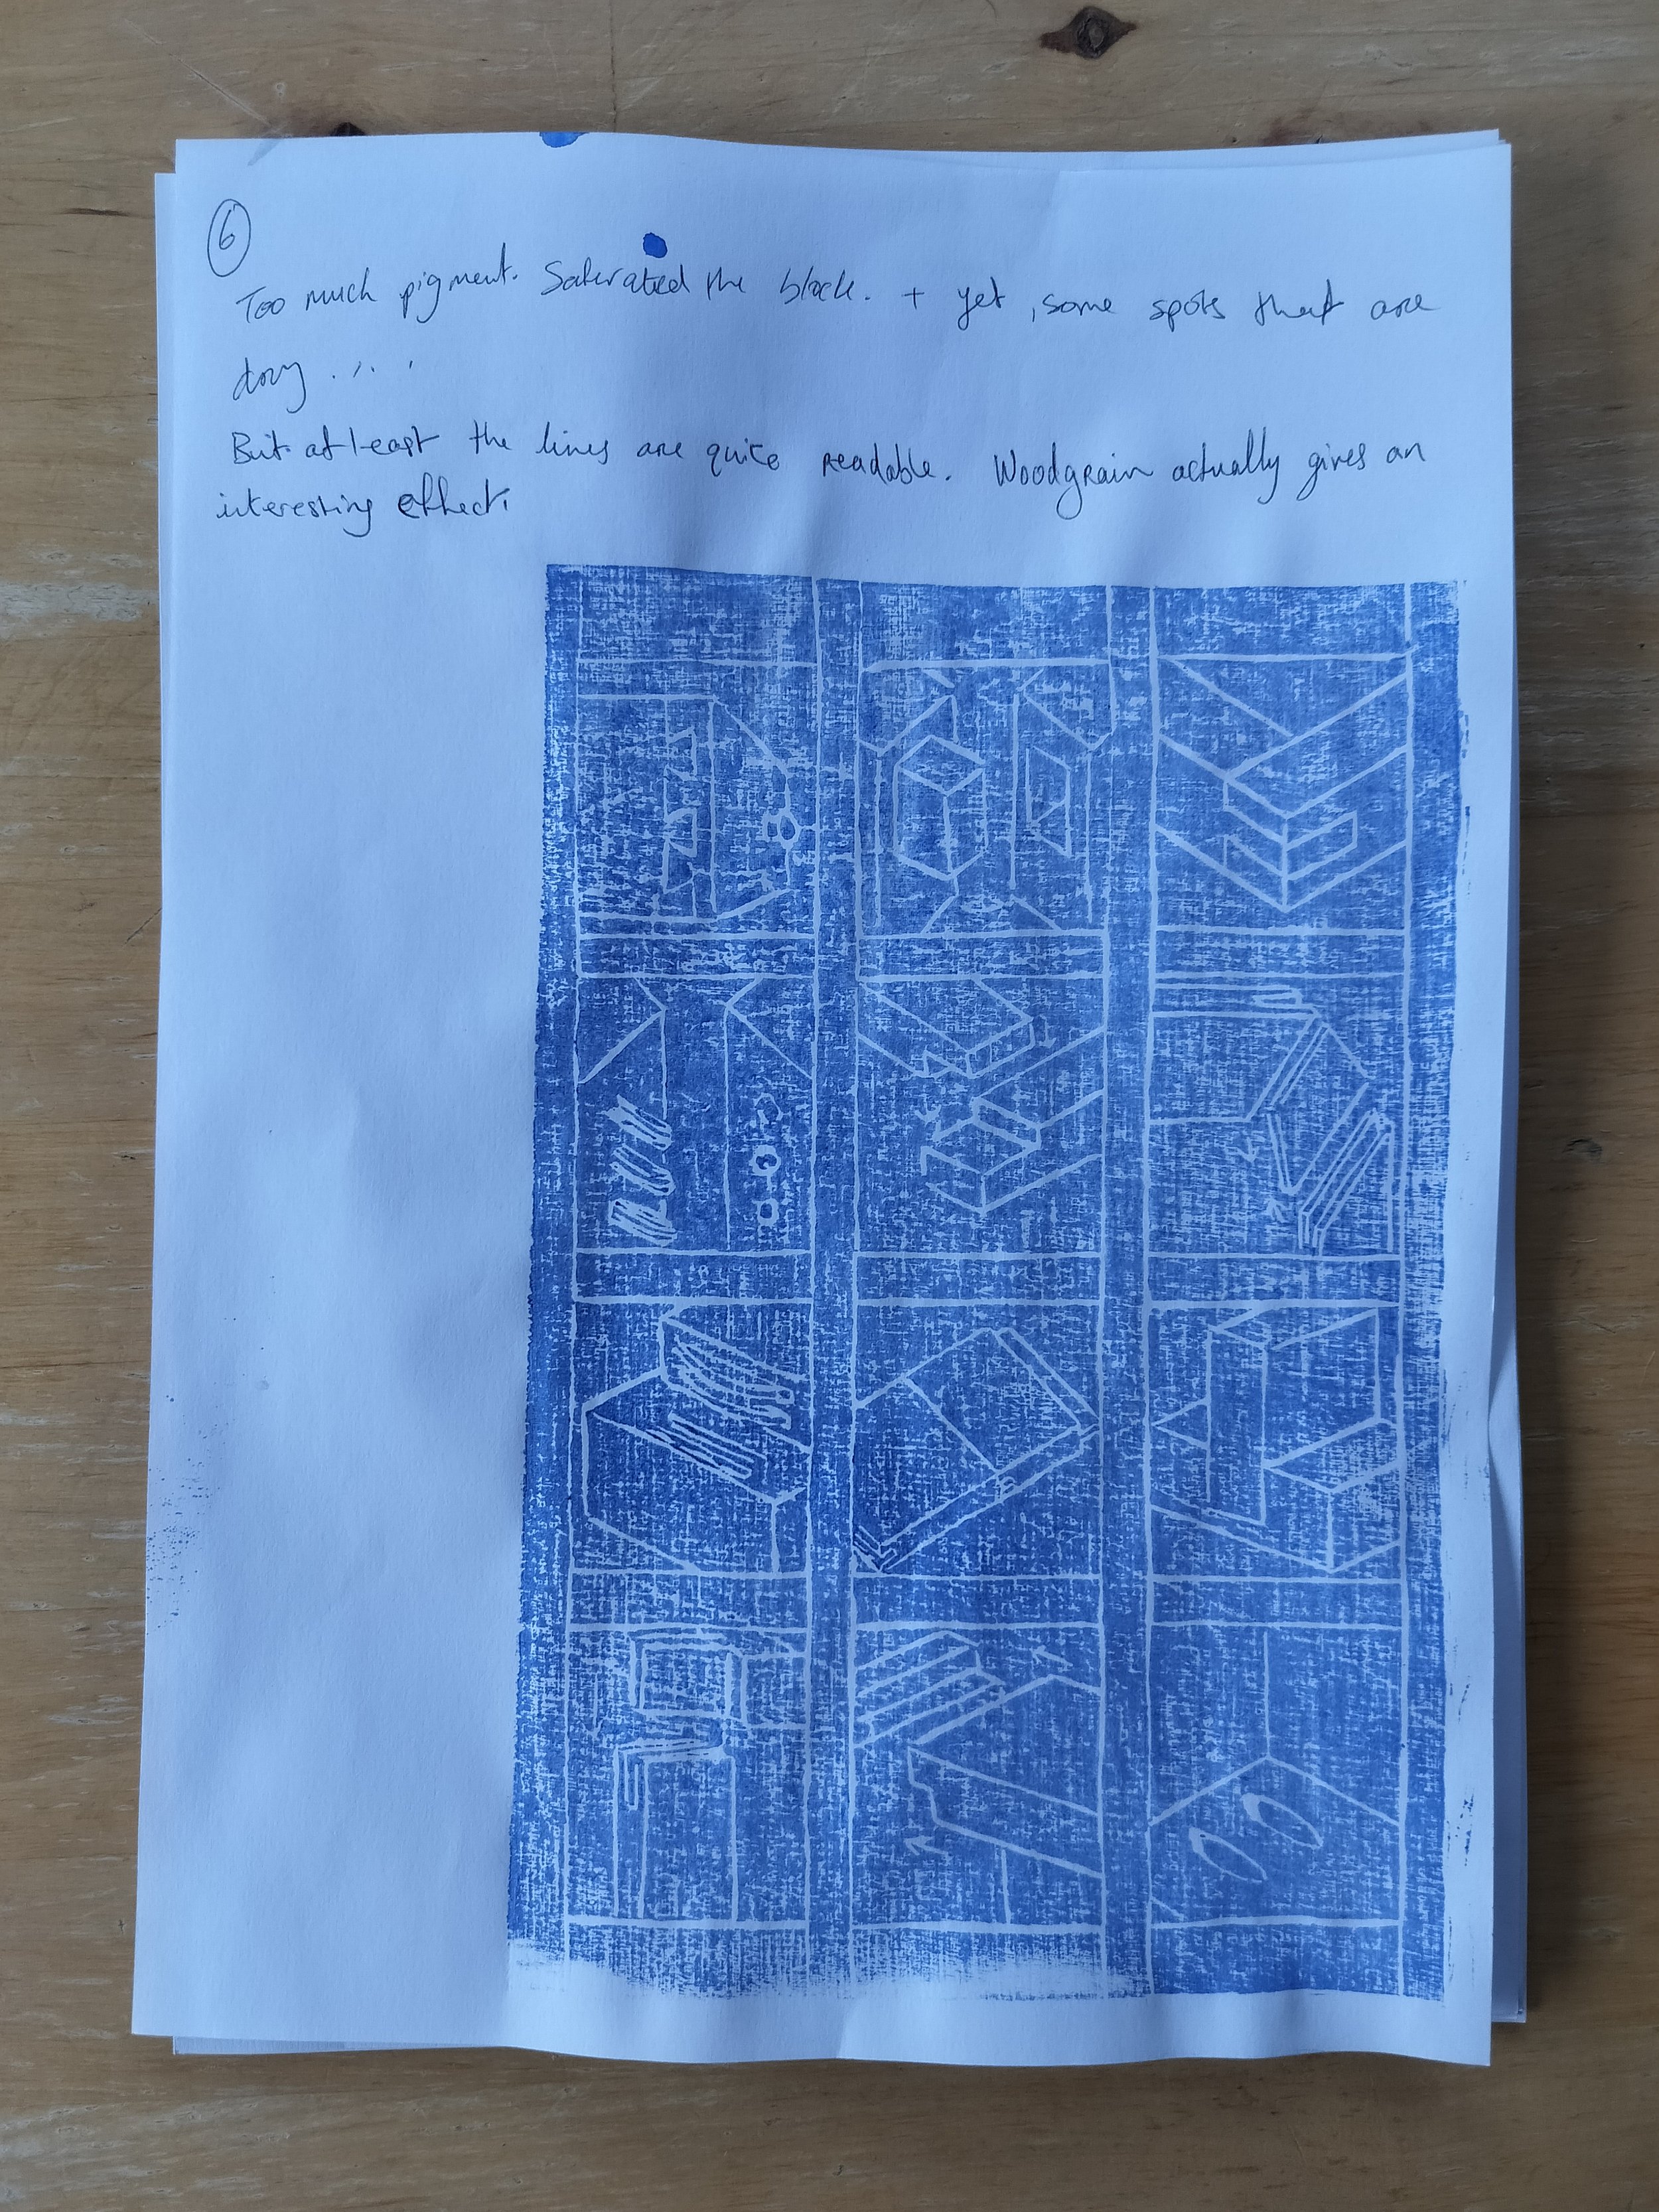
No. 6. Too much pigment. It saturated the block and yet… there are sill dry patches, particularly along the edges. But at least the lines are quite readable. The woodgrain gives an interesting effect too.

No. 7. Less pigment applied.
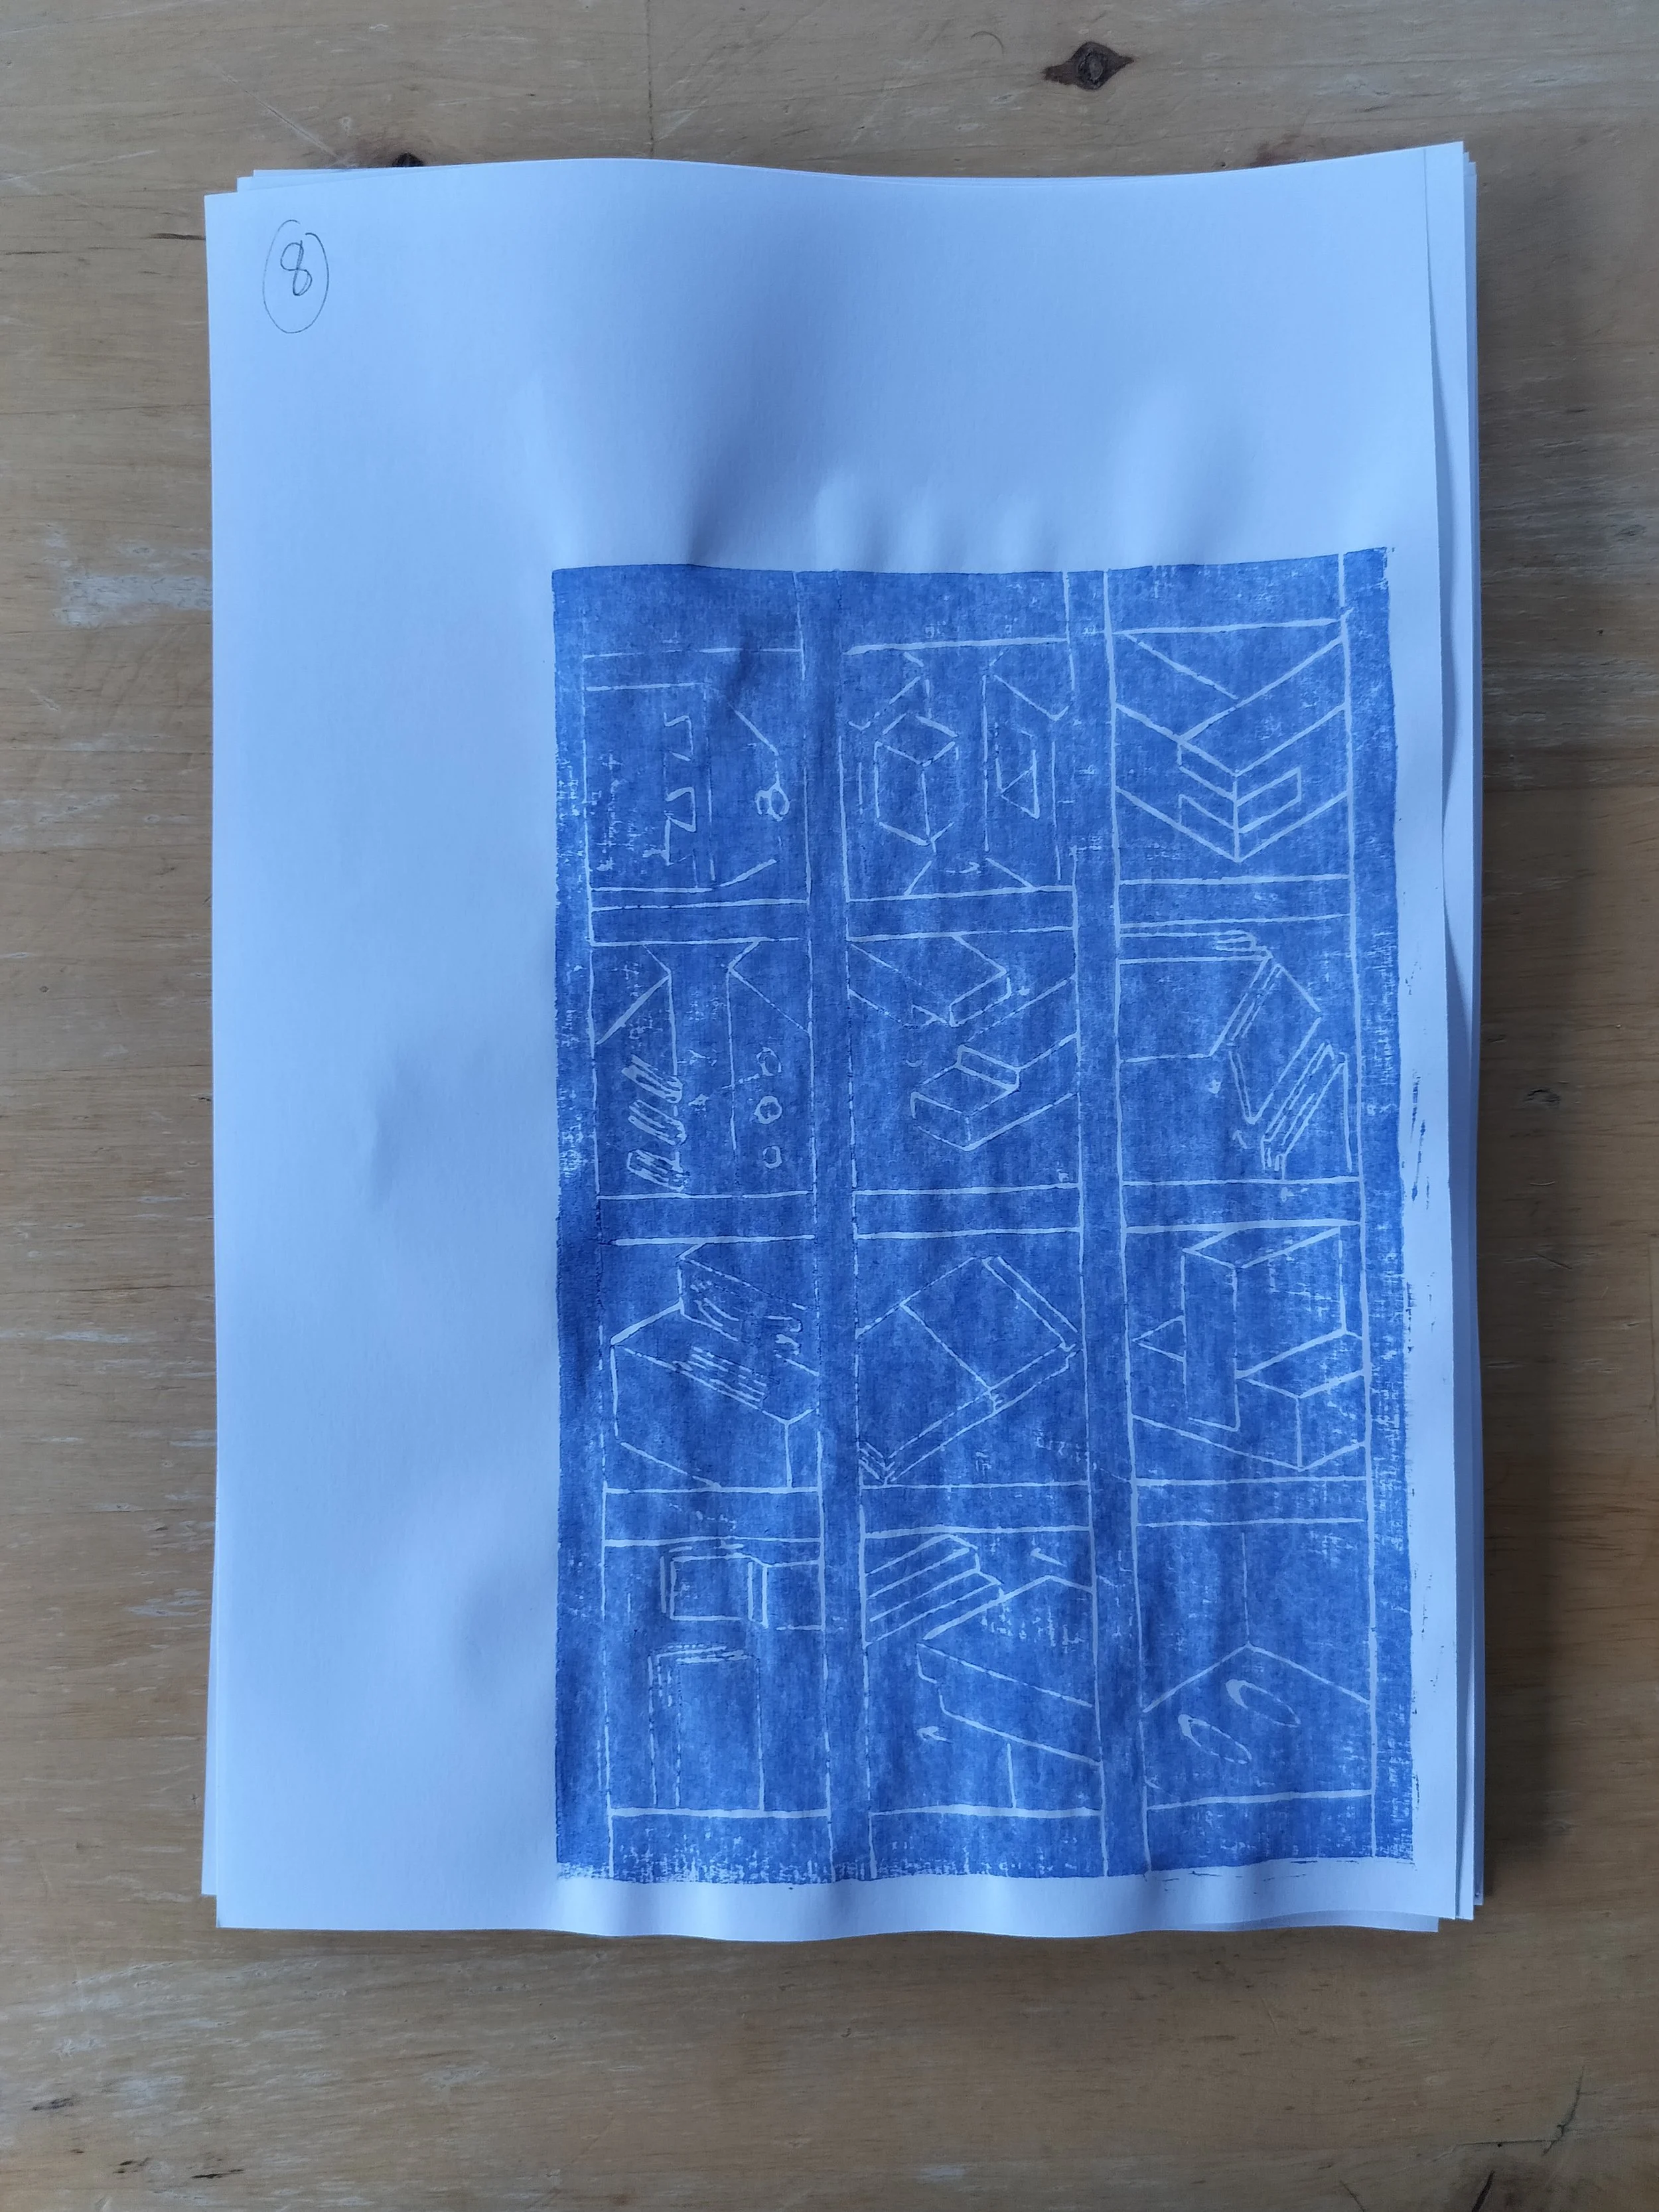
No. 8. The colour is exactly what I wanted… but the lines have bled so the lines are not as crisp as I’d like.
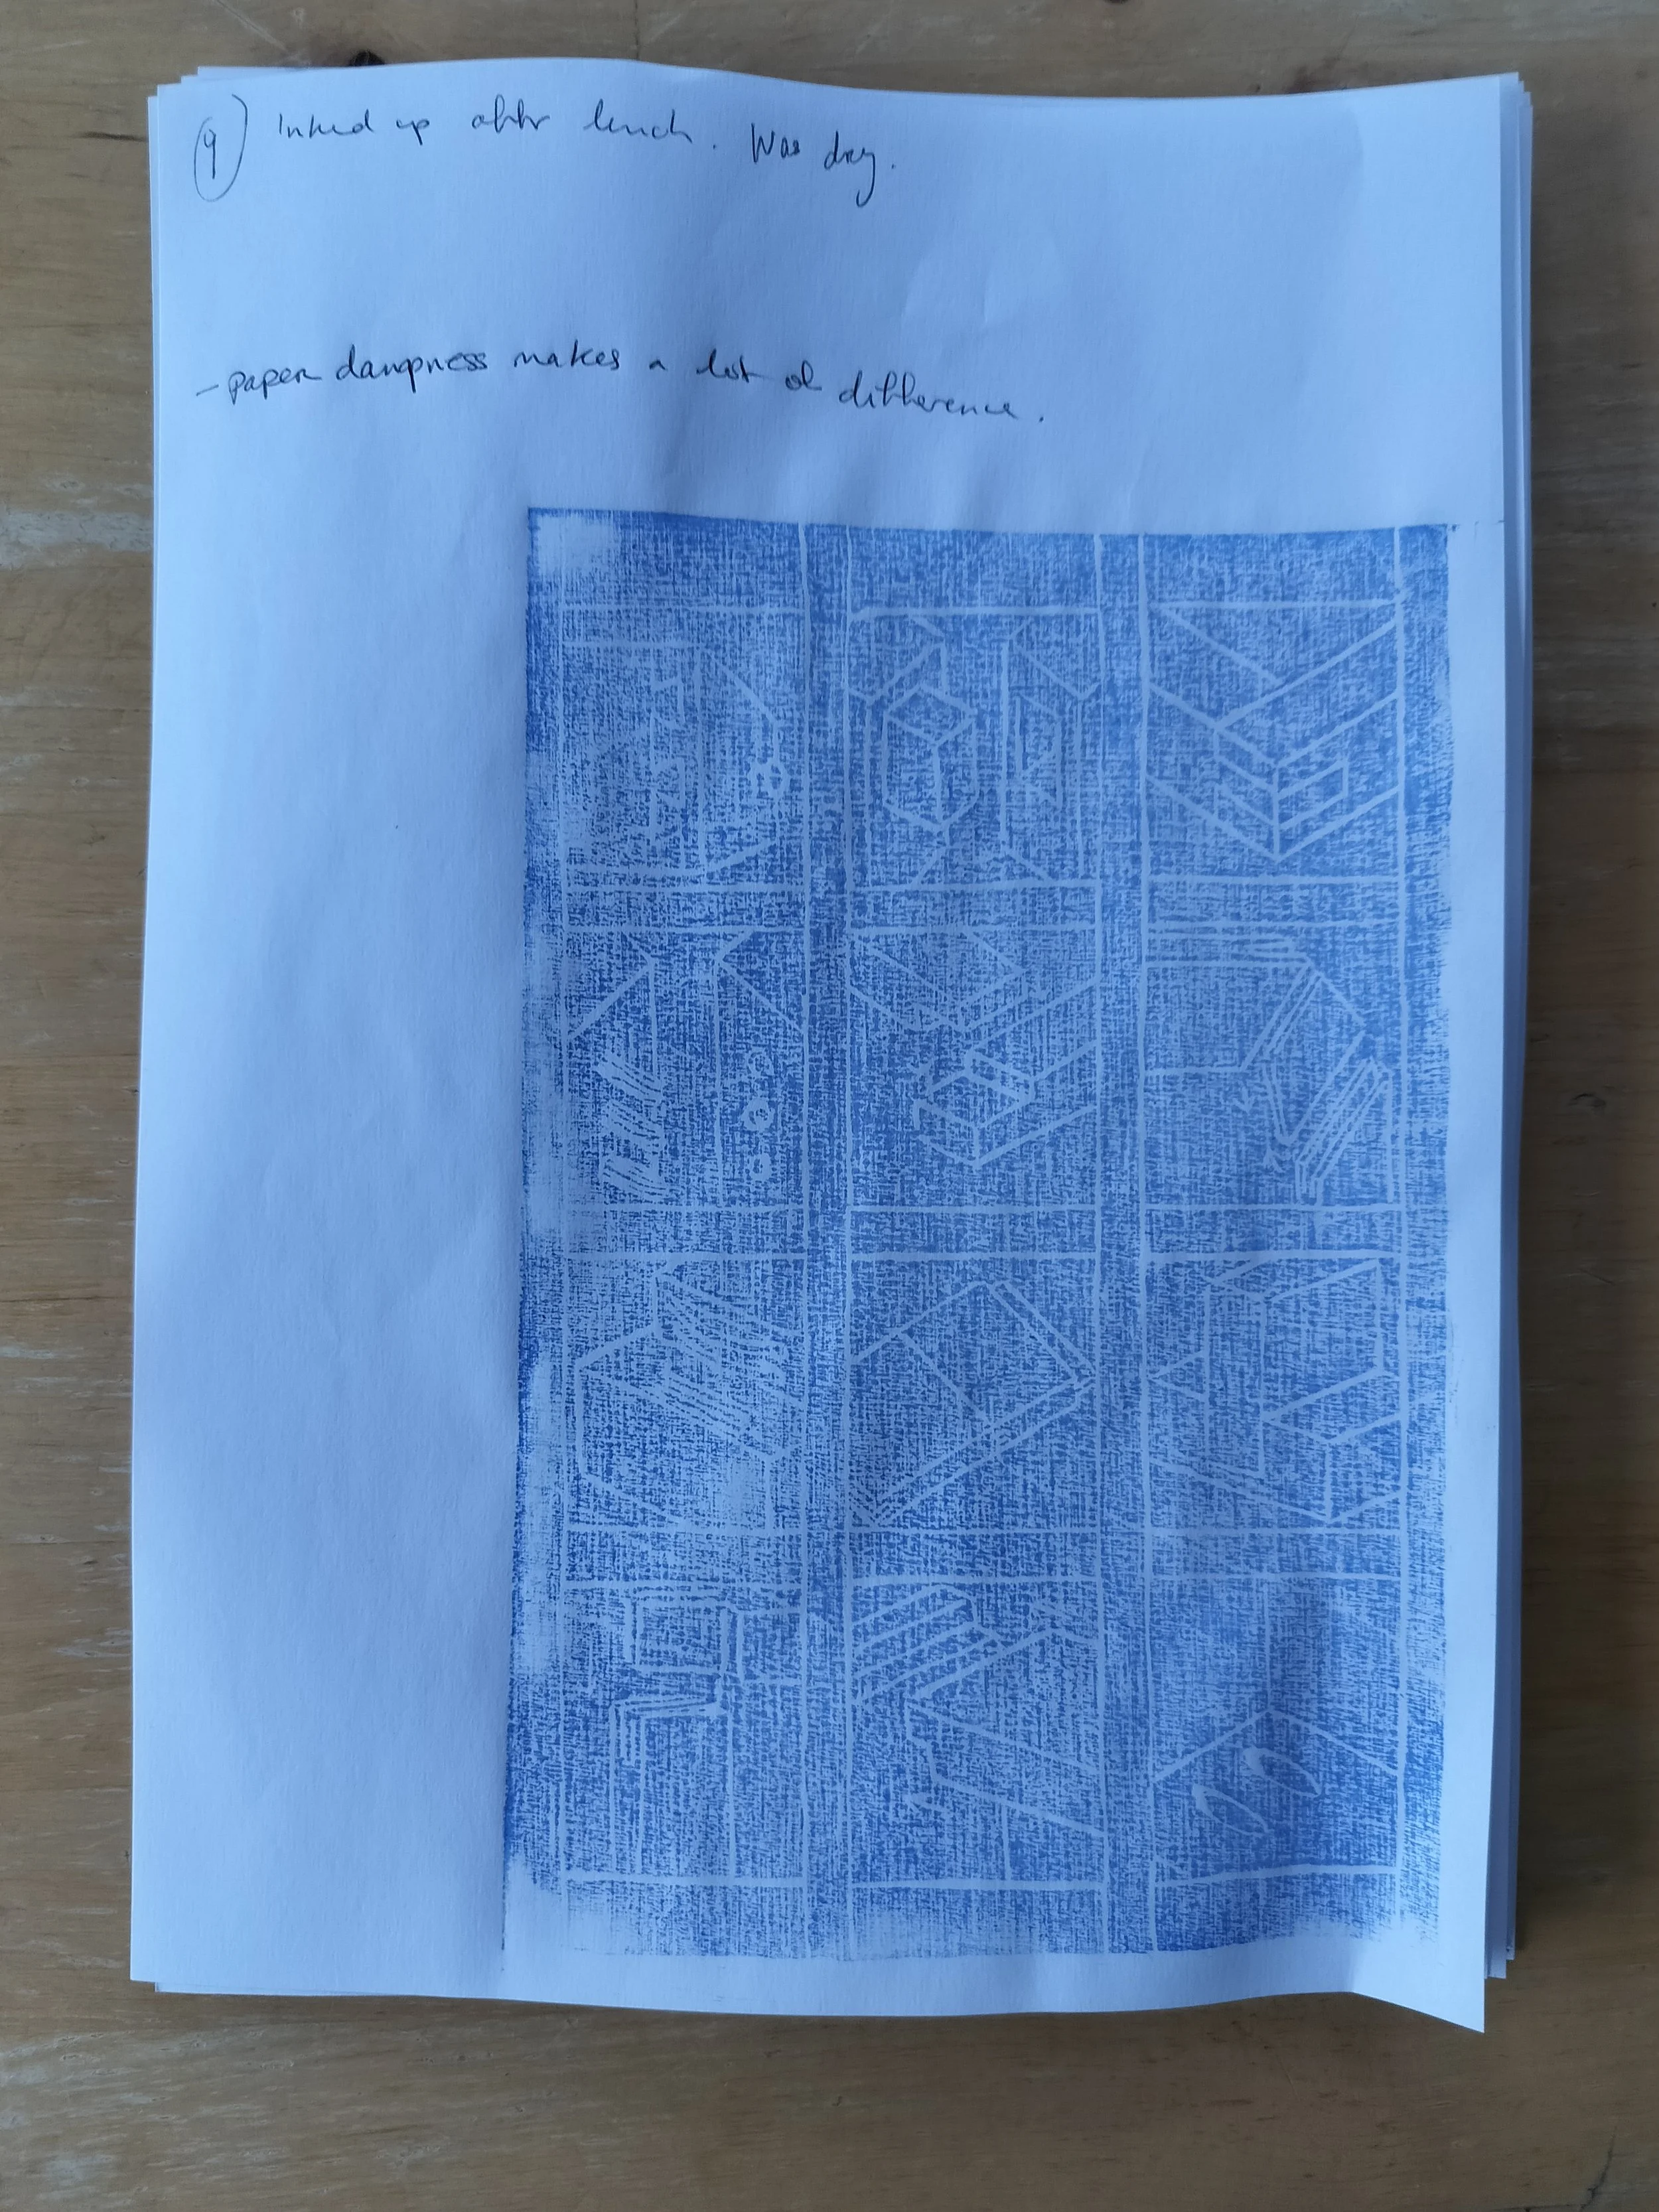
No. 9. I stopped for lunch and then did this print. The block was dry so I had to apply more ink than the previous print but it’s still a little too light. But I think the damp paper helped (I used it to press some other paper I was preparing). So yeah, paper dampness does make a bit of difference.
After that, I switched from ordinary copier paper to more high-end paper. I picked up this AWAGAMI Okawa Select paper from the actual Awagami Factory workshop in Tokushima when I visited Japan last year. (Did a whole papermaking workshop that I can tell ye all about another time. FYI, this is sooooo not the paper I made. Mine pales in comparison lol.)
I wanted to see the difference between prints done on different paper but I struggled with this. Specifically wetting the paper. How wet does it need to be? How long should I wait? How long is too long to wait? Also, which side do I print on? Smooth or rough?
So I know that I did things wrong and each paper was a different dampness. No control for this experiment, sorry…
It’s frustrating when things don’t go as envisioned.
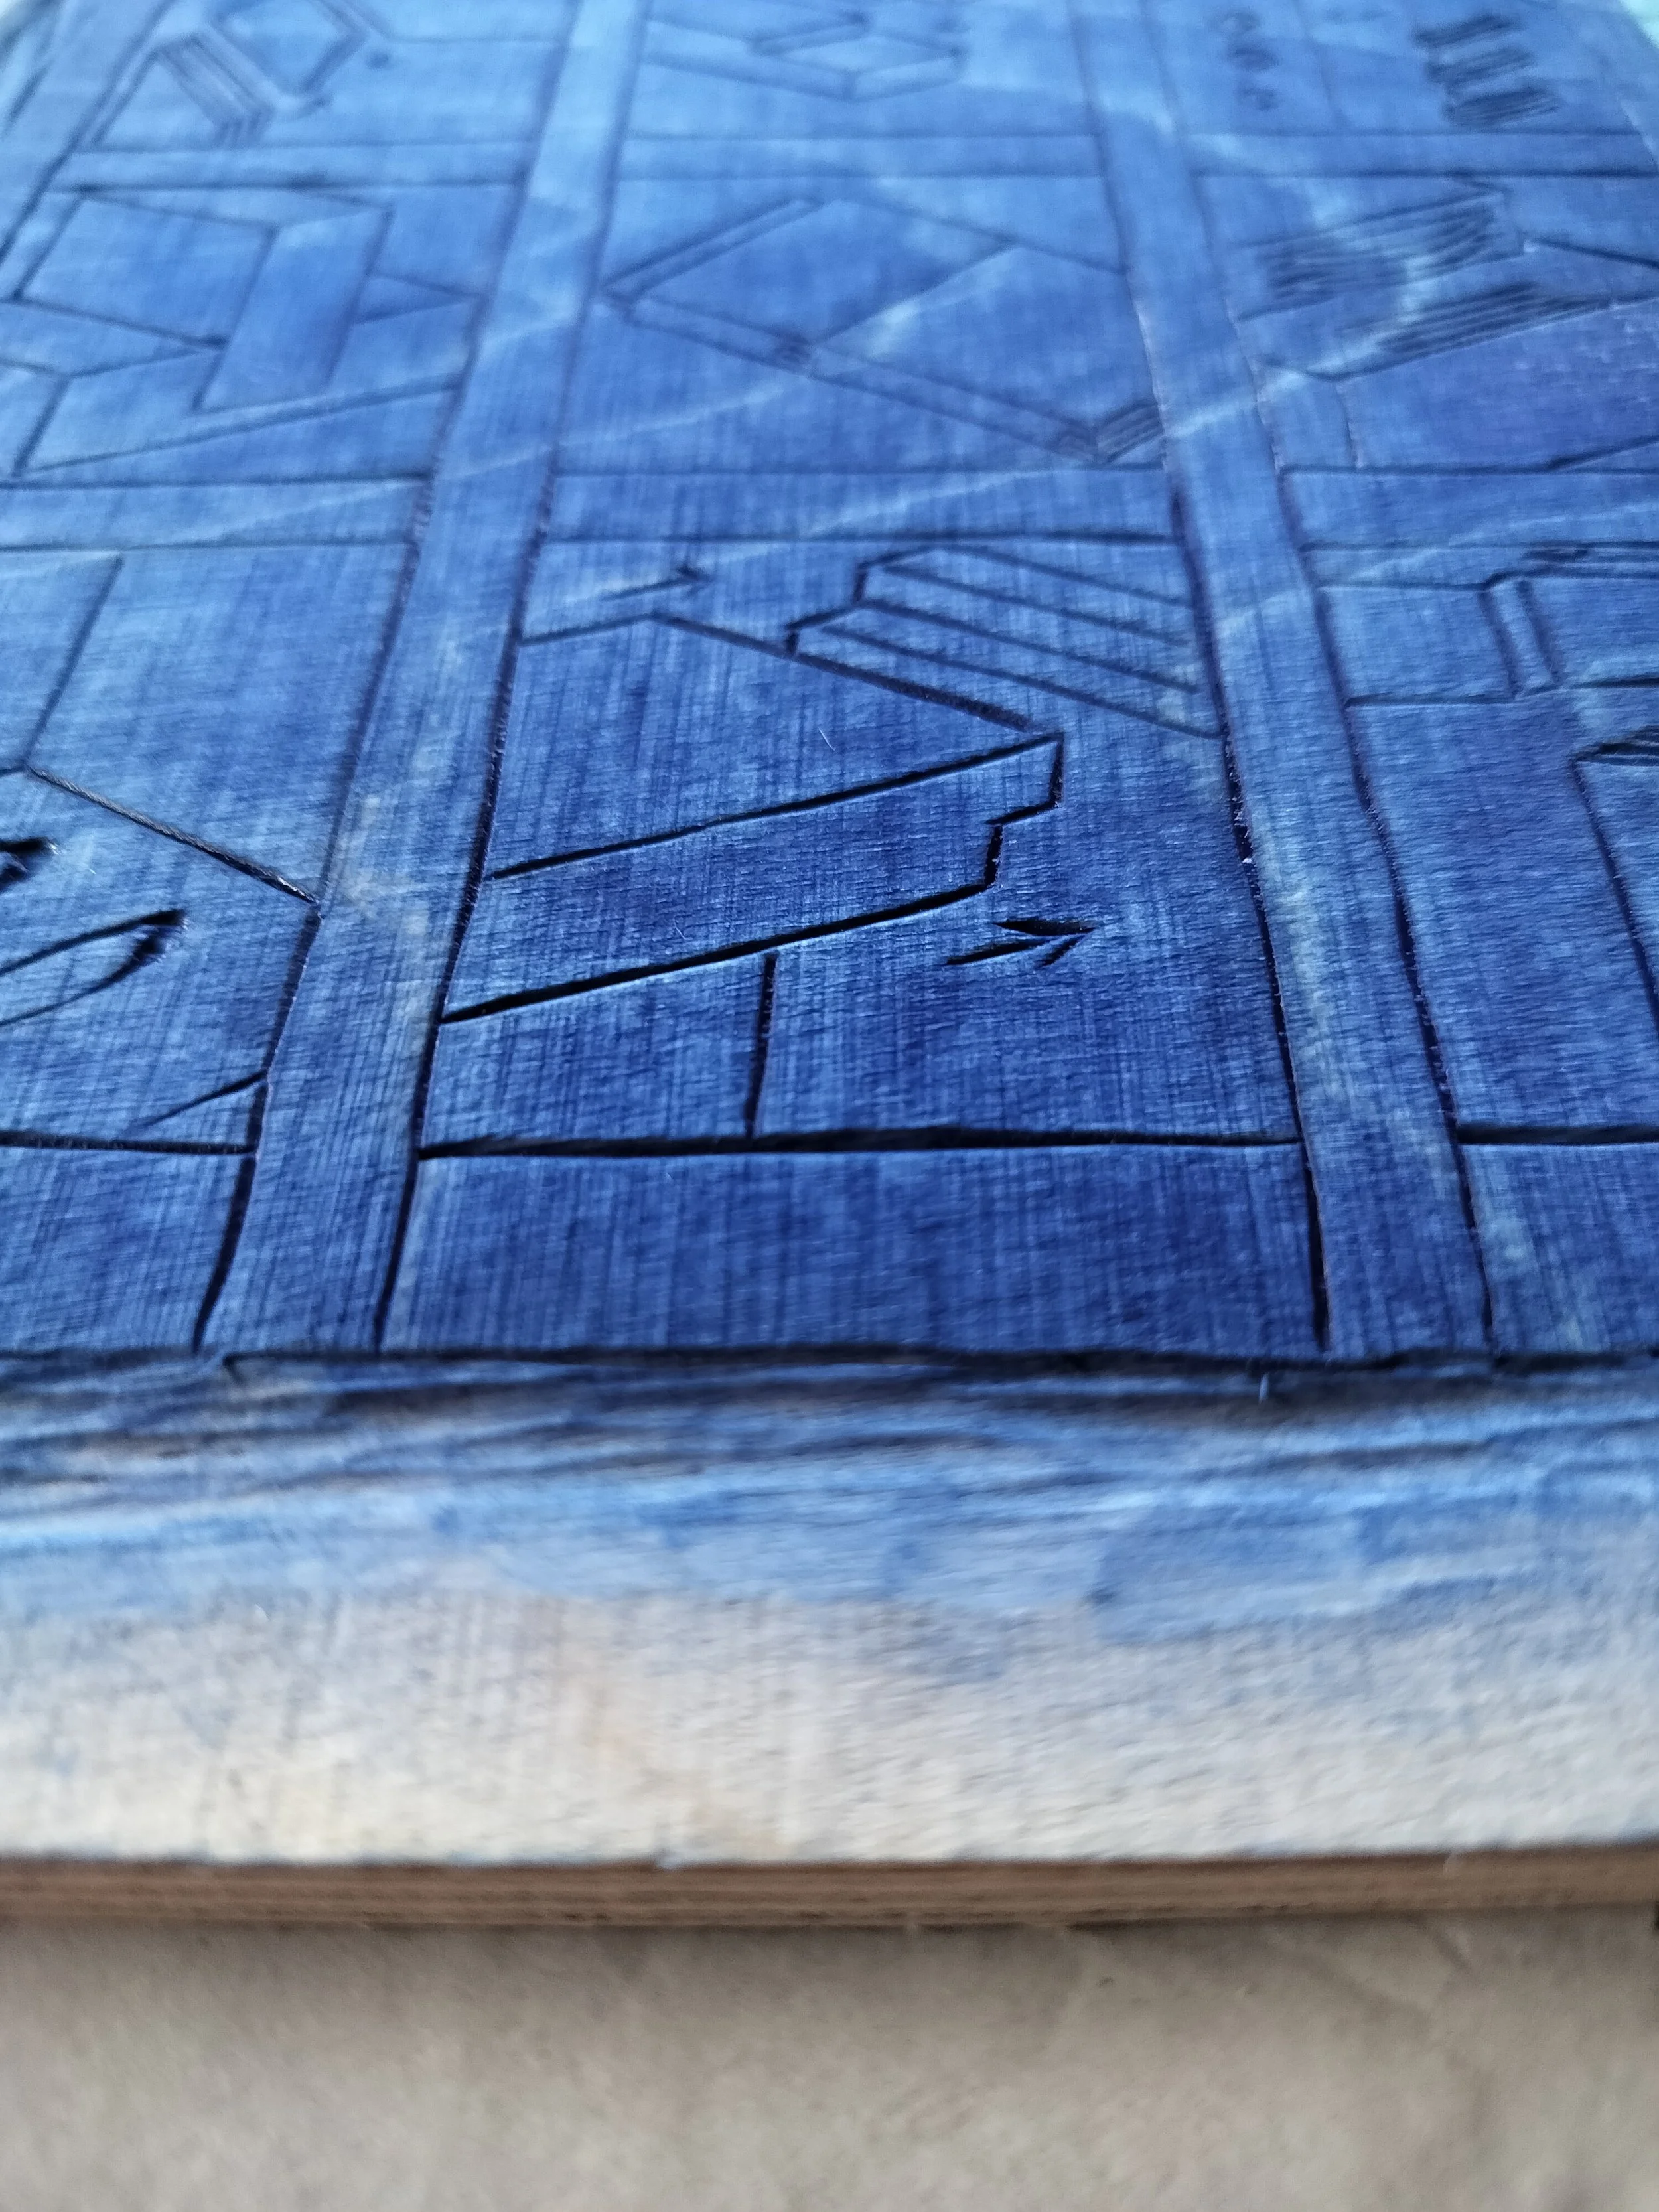
When I had previously printed on this very same type of wood it came out so much smoother and picked up a lot less of the grain. I know that this is just a natural by-product of working with this kind of wood but… it’s still frustrating.
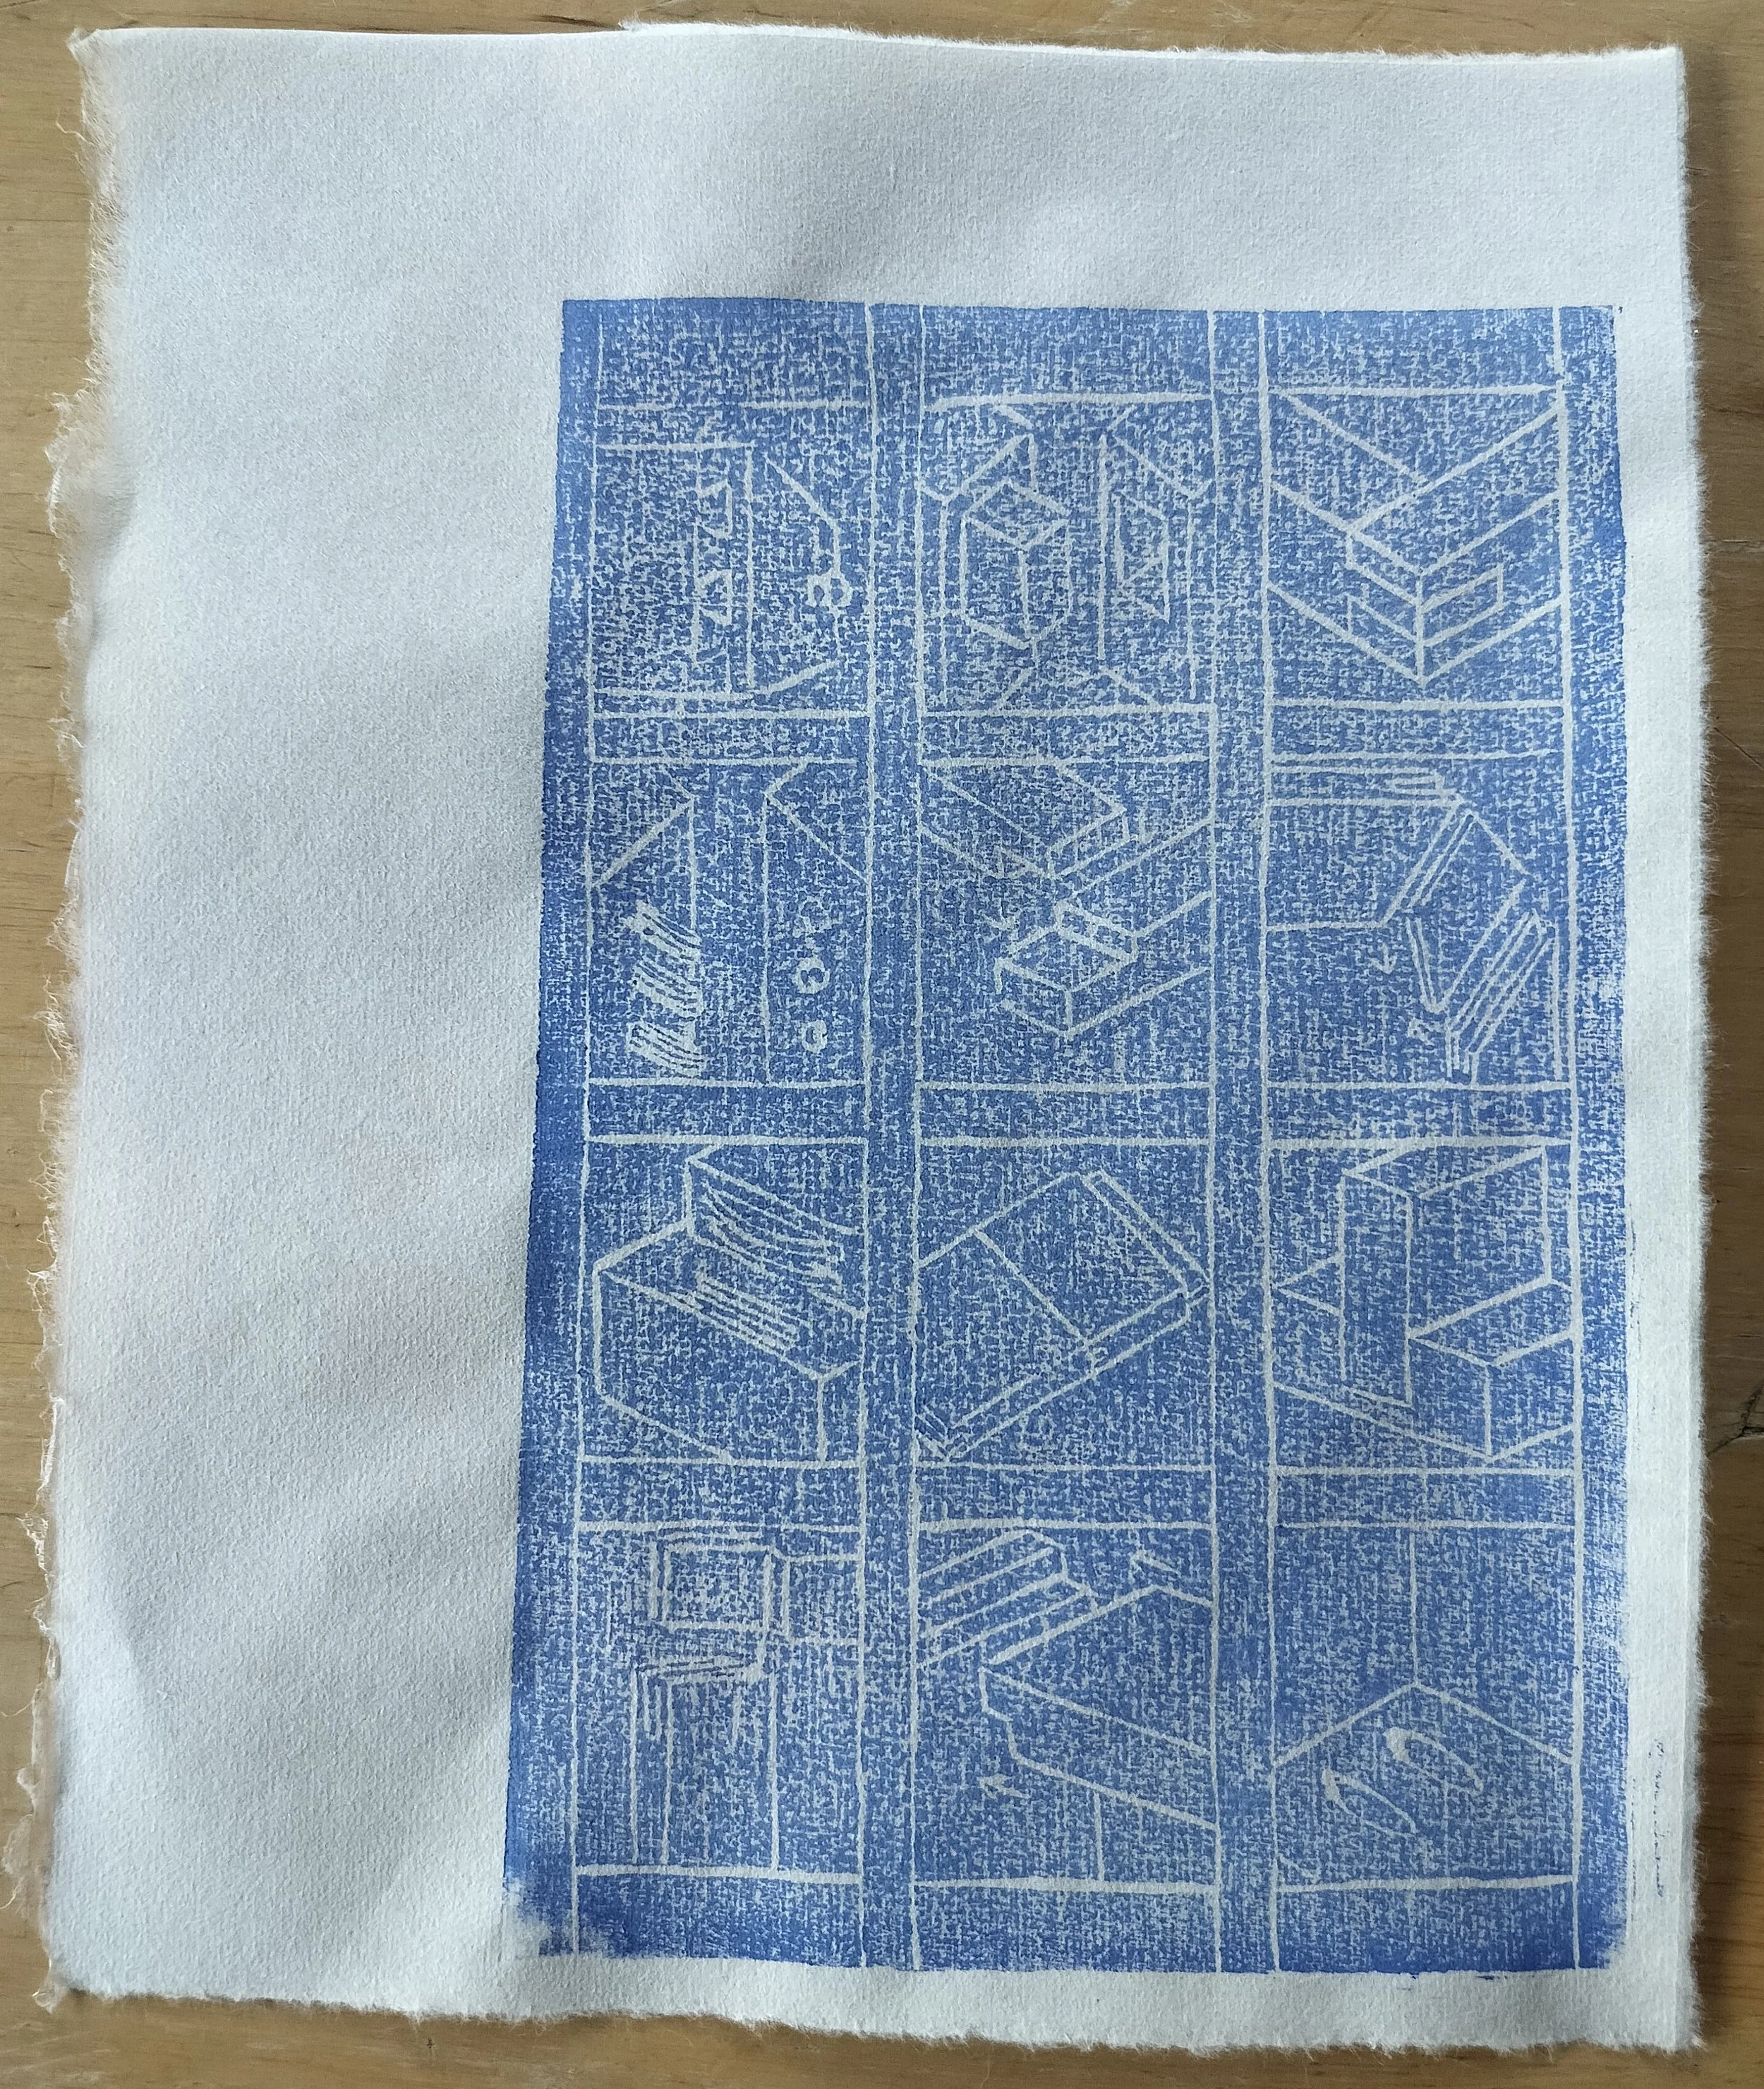
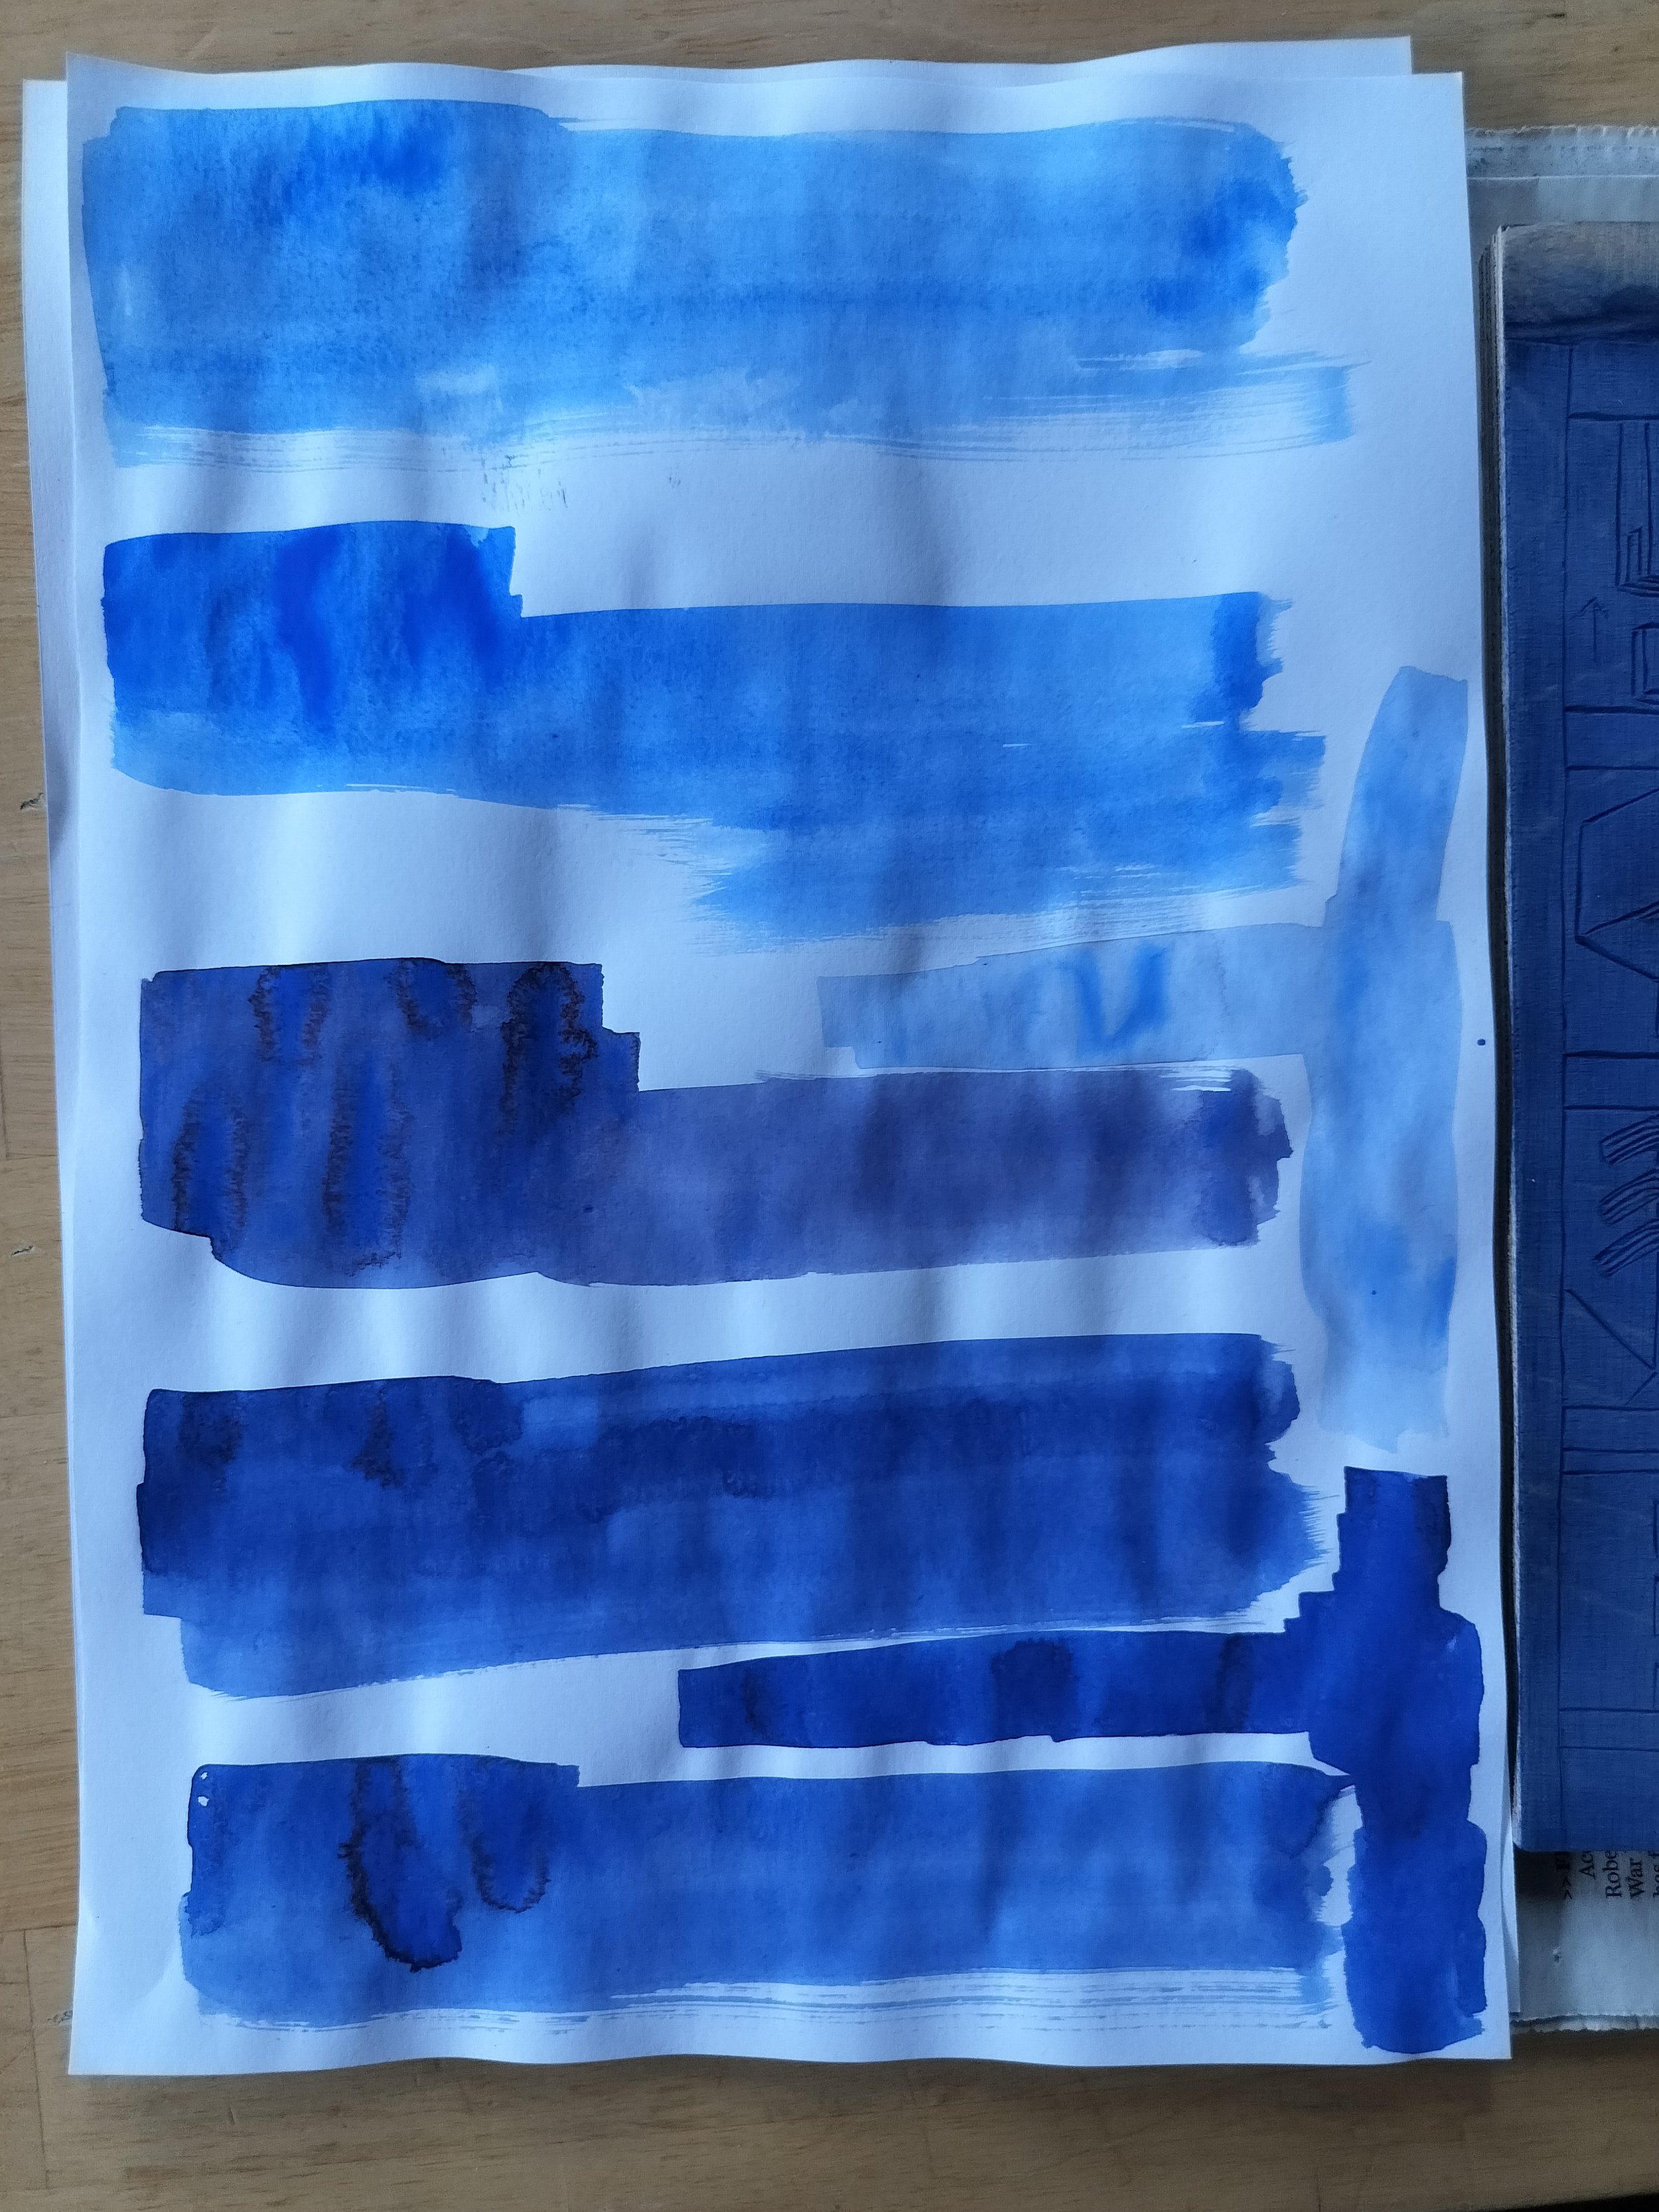
The first print came out pretty evenly, pigment application-wise. But my god that grain!! It just makes the whole print so noisy.
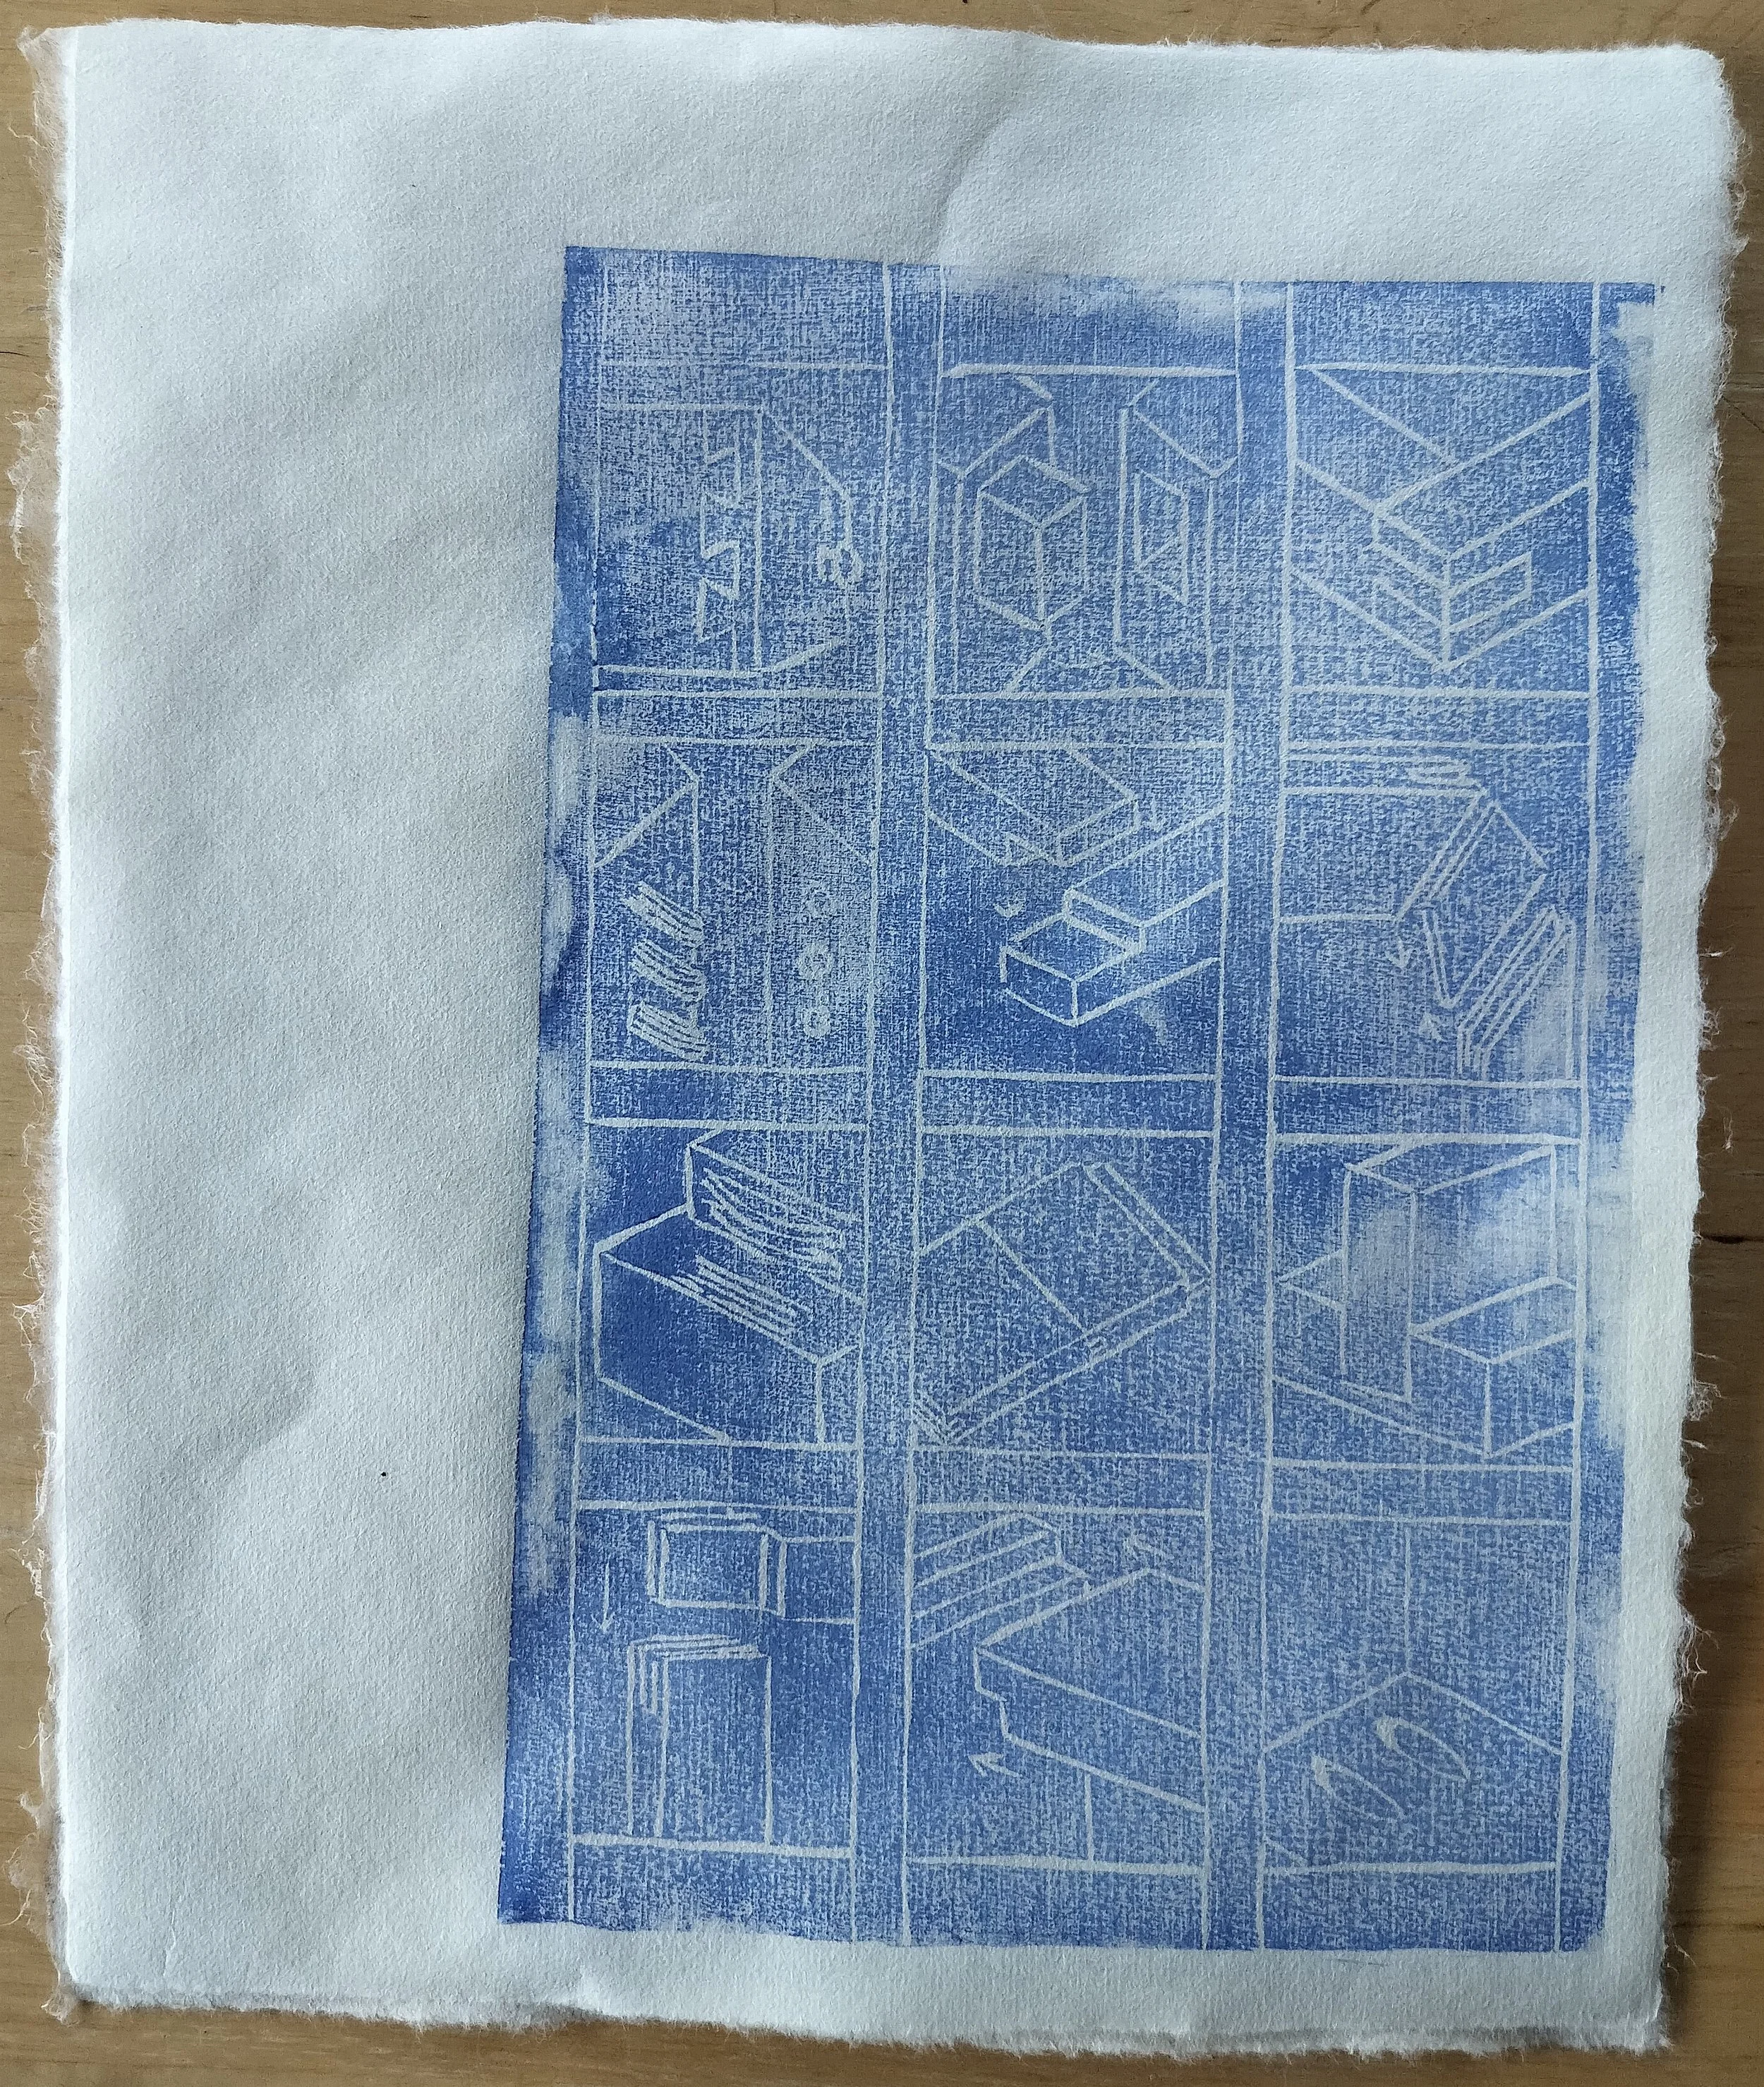
A stronger more even colour in some places but then patchy in others… Why can’t my whole print be as nice as that 3rd square down on the left???
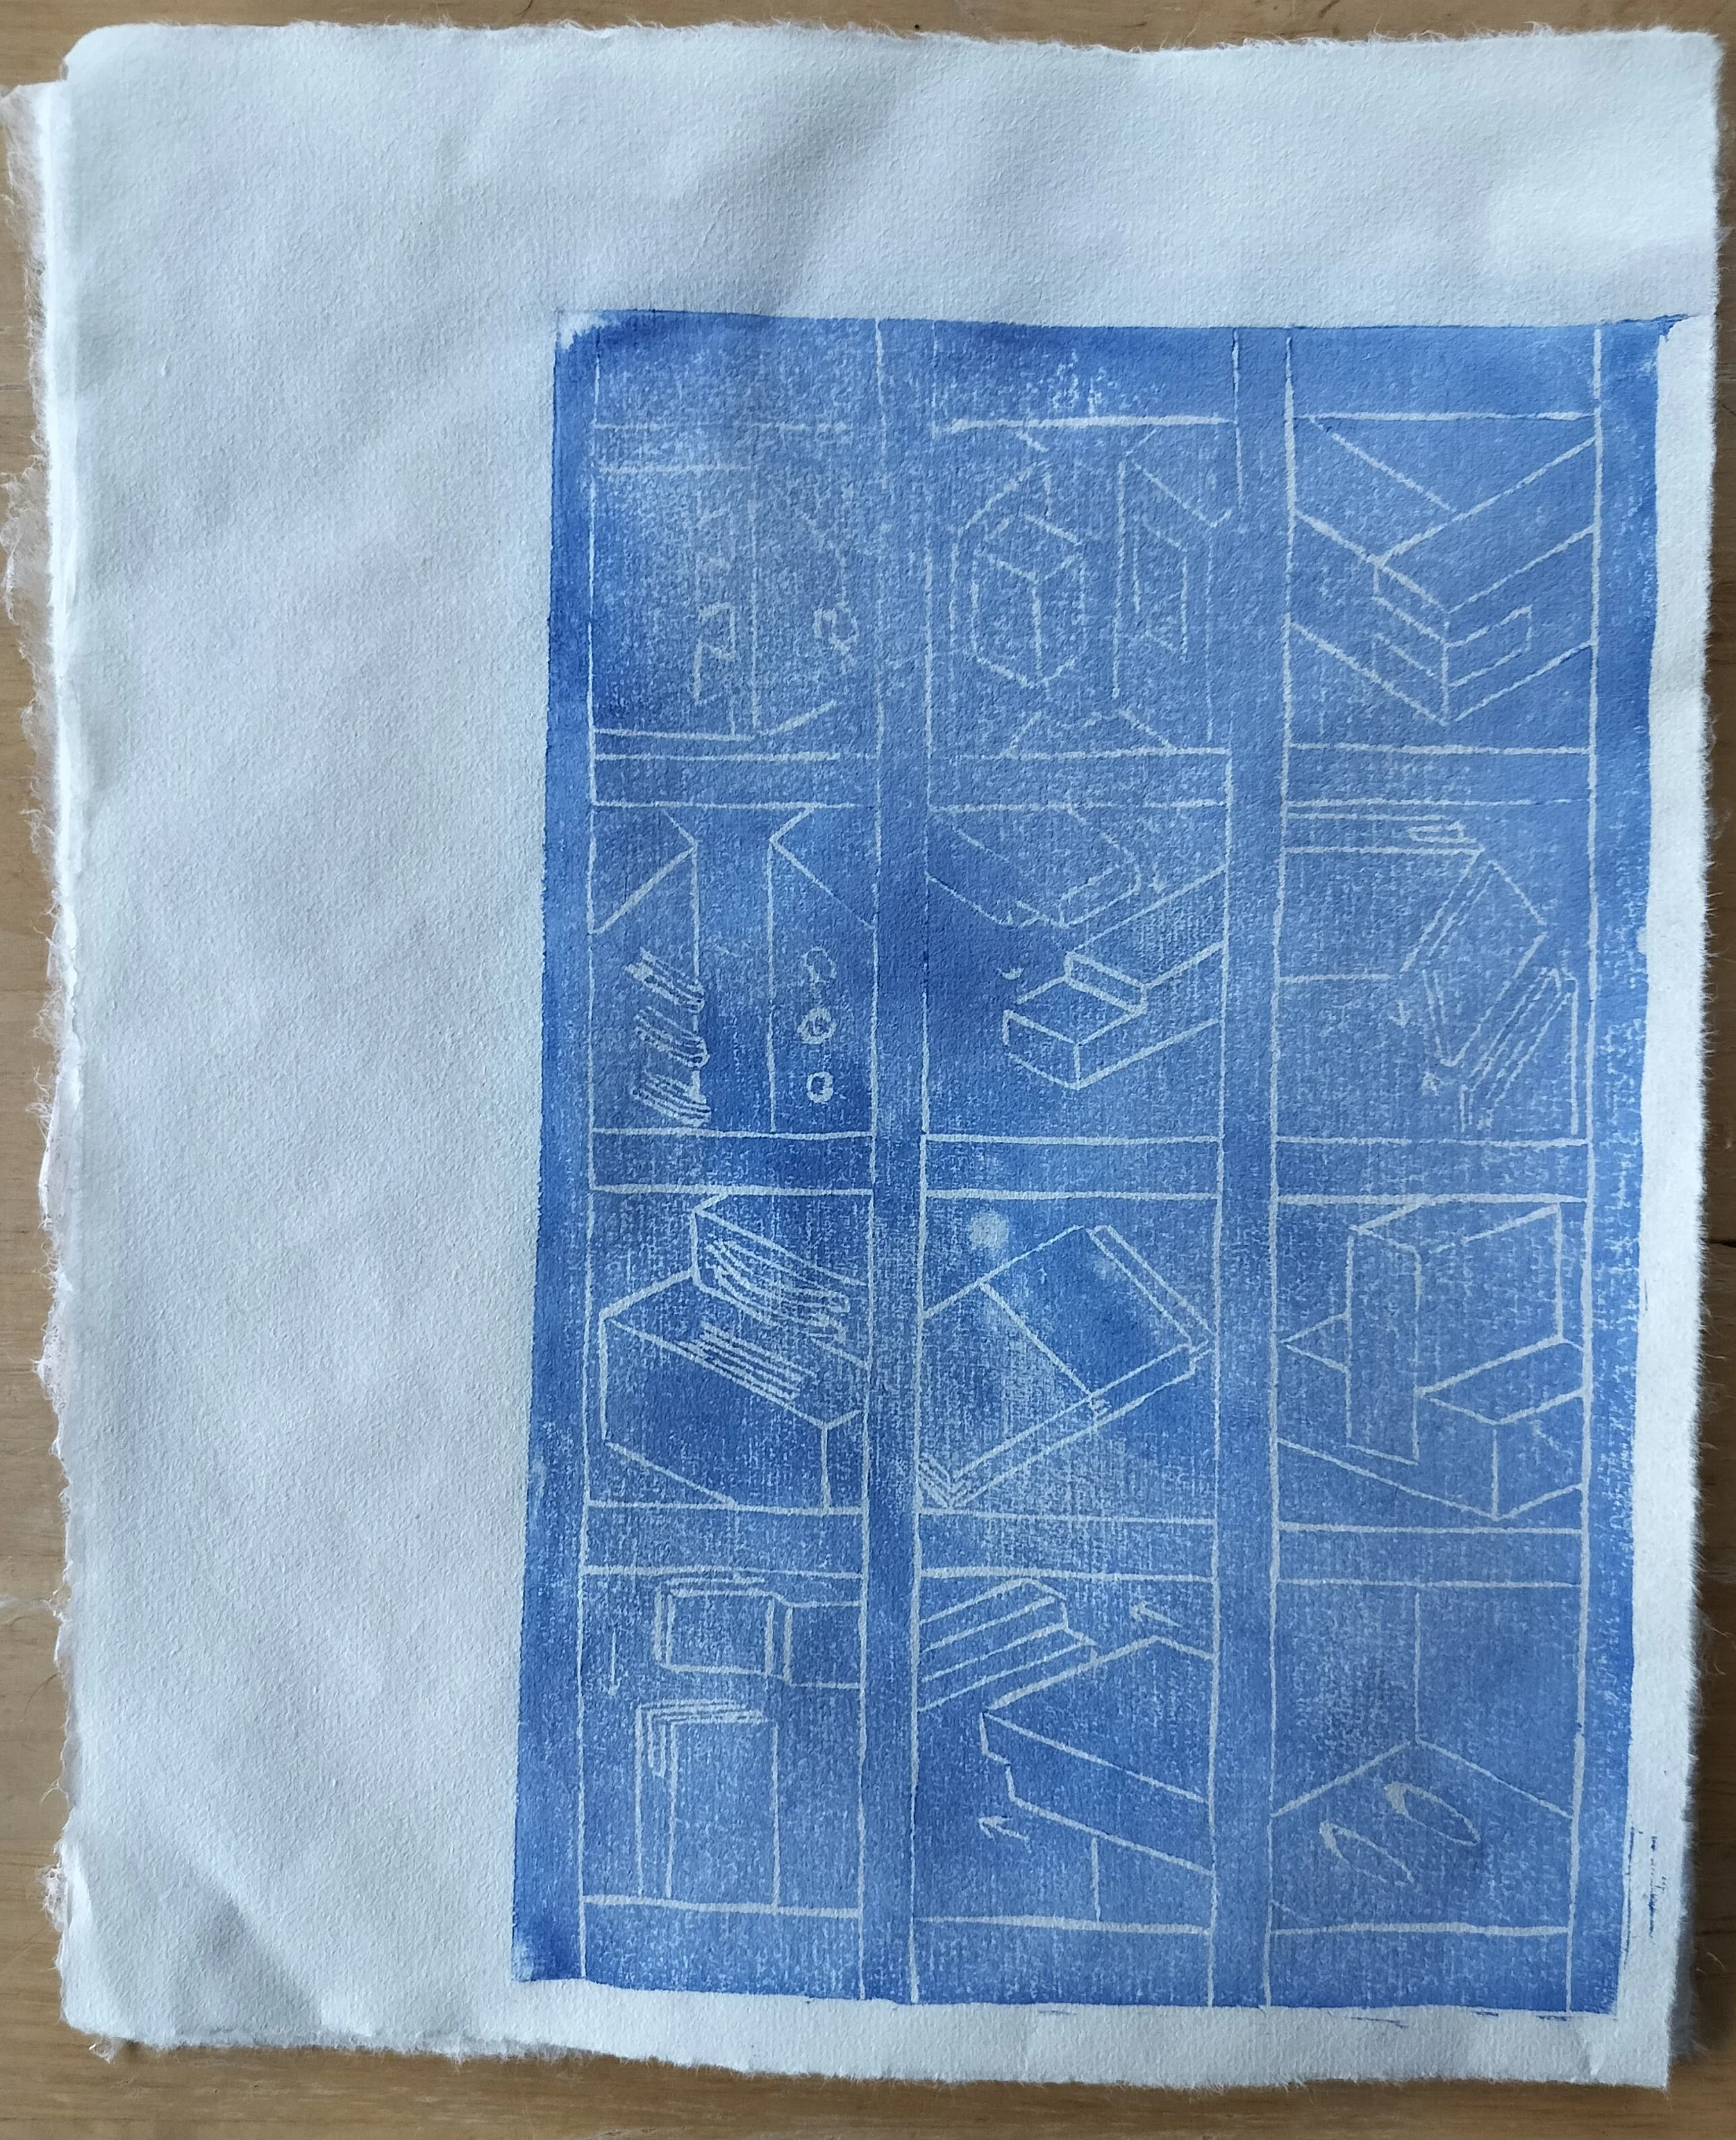
3. Oh look, I applied too much ink and the paper was too damp so the colour bled into the lines in places… Honestly, the bottom half of the print isn’t too bad, it’s the top that’s all blurry. If it wasn’t for that then I’d say this print was a success.
4. The paper was less damp than the last one.
Conclusion:
I have to be a lot more consistent.
The grain coming through so strongly really tripped me up.
My ink application could use some work, too many patches.
At least the colour was what I wanted, so wooo, one good thing.
Don’t switch to the fancy paper until I’ve gotten a few clean prints.
I’ll have to do another printing session. When at first you don’t succeed…
Wish me luck!