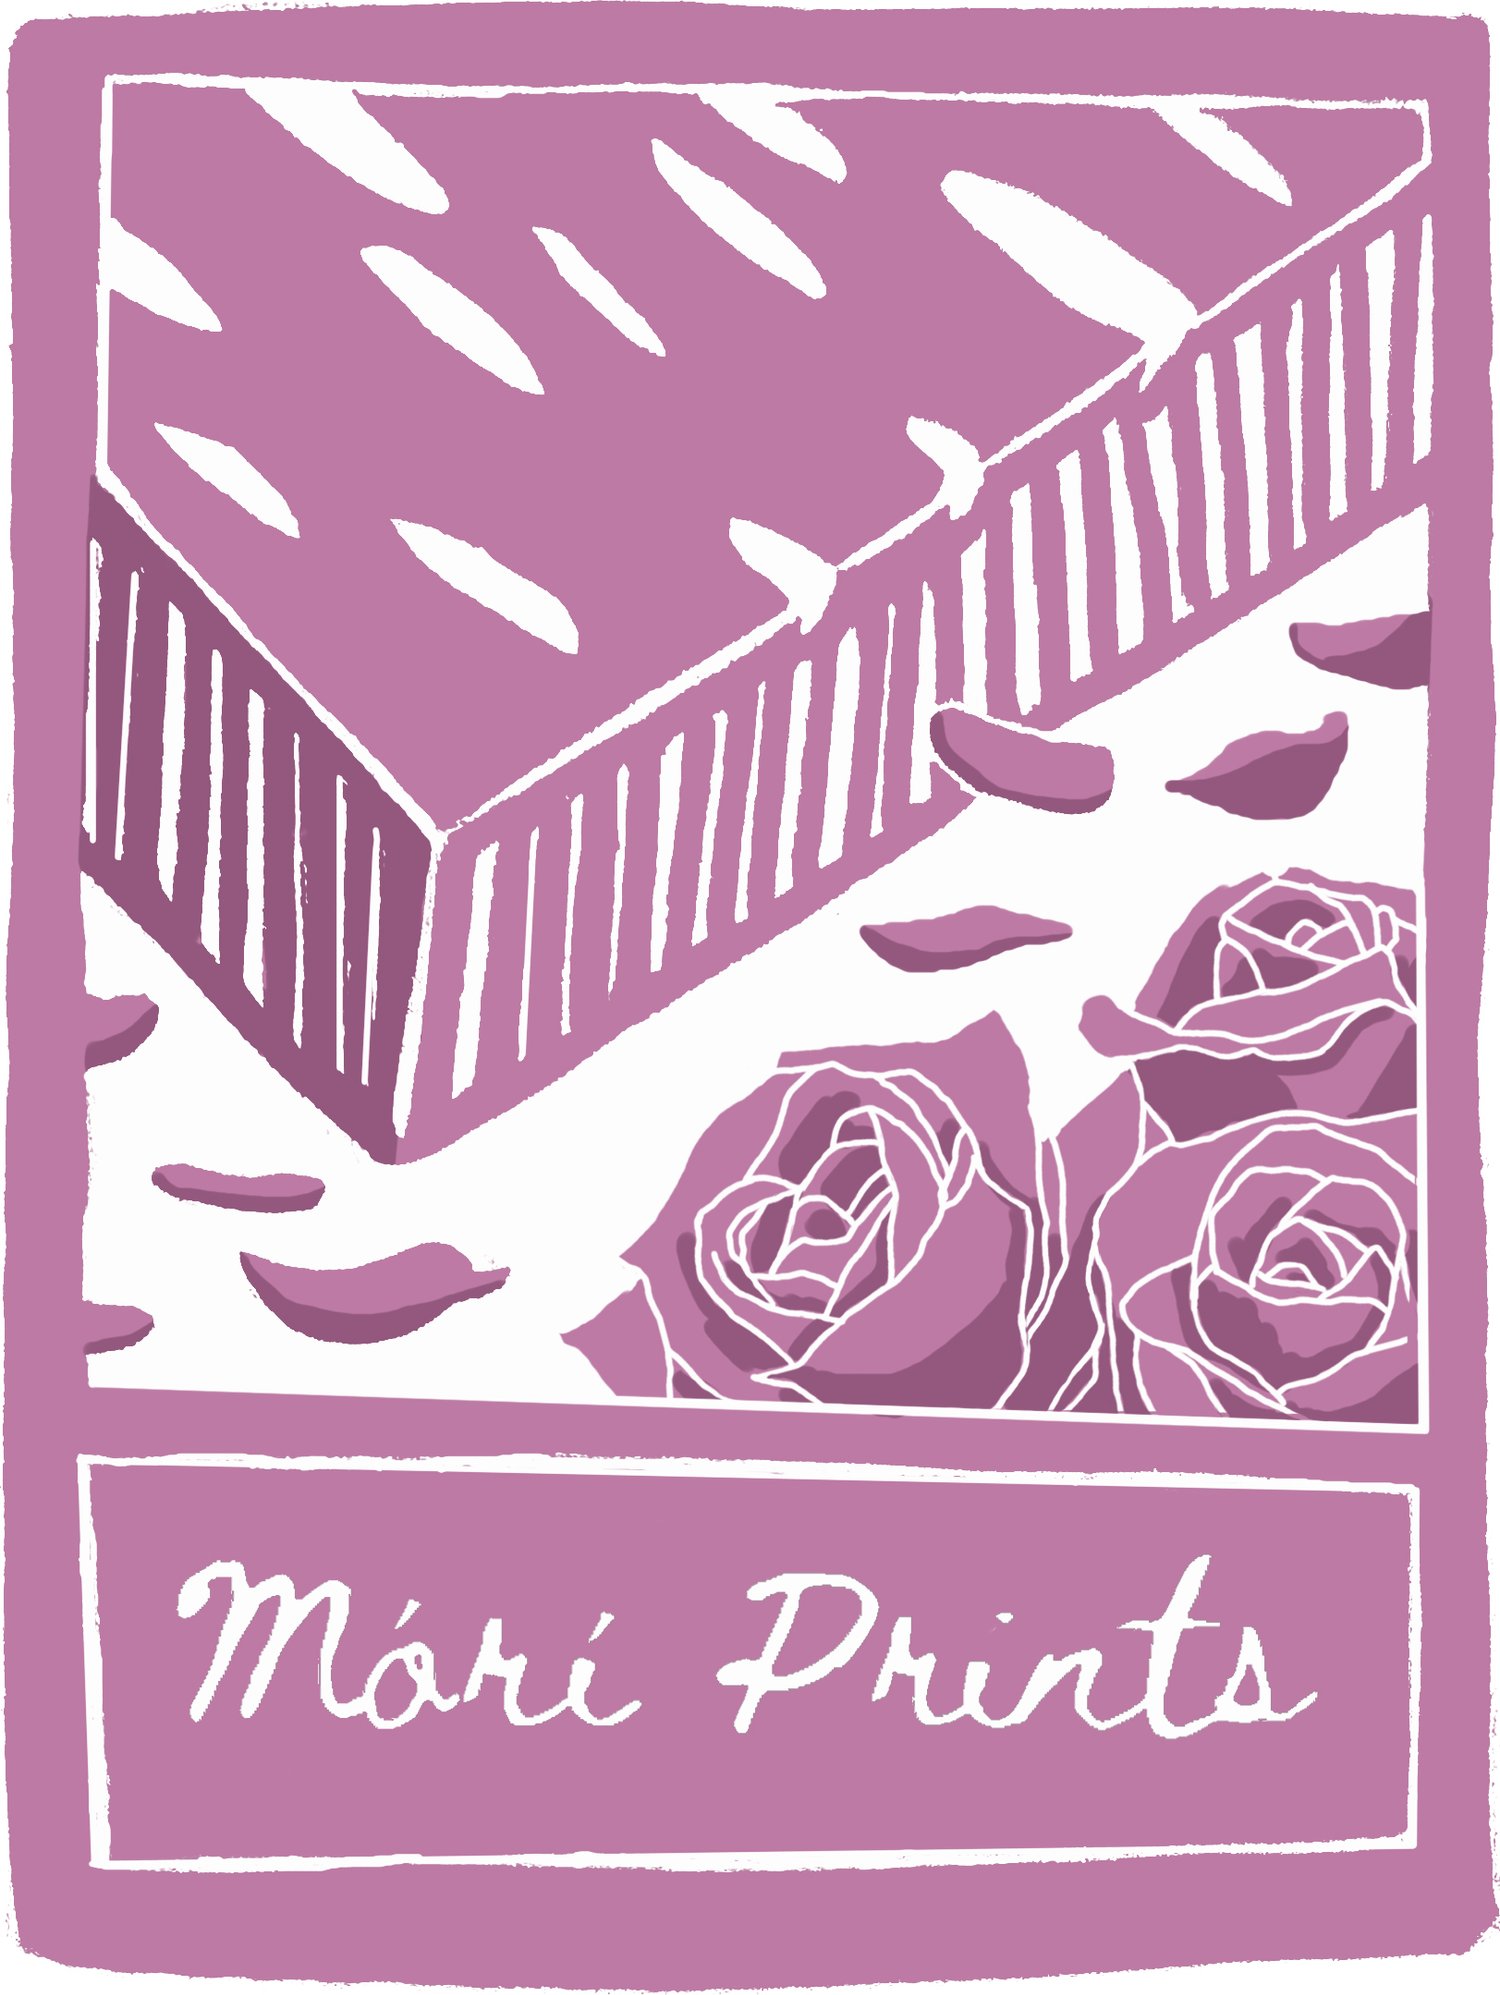

mokuhanga studies #4
Carving is hard guys.
Especially when I’ve been so out of practice. My first carving session in a while left me with a stiff neck and numb fingertips from gripping the carving tool too tightly. My thumb is still not back to normal yet!
I really did notice a difference between carving into lino and mdf in comparison to wood (Shina wood specifically). I’m also using a different set of tools, ones that I have used only once or twice and have never sharpened before. (I’ll figure out how to sharpen them eventually. Every video I’ve seen has stressed the importance of taking care of your tools but I’m still lost on what whet stone or sharpening tool to get. Another time…)
Now, I can’t say I love the wood I’m working with. It feels very… splintery? I’ve seen videos of people carving into blocks of cherry wood, with buttery smooth chips of wood coming off, but mine is all sharp points. I’m still a beginner so I’ll probably be sticking with the cheaper stuff, but one day, ONE DAY! I’ll carve into the good stuff.
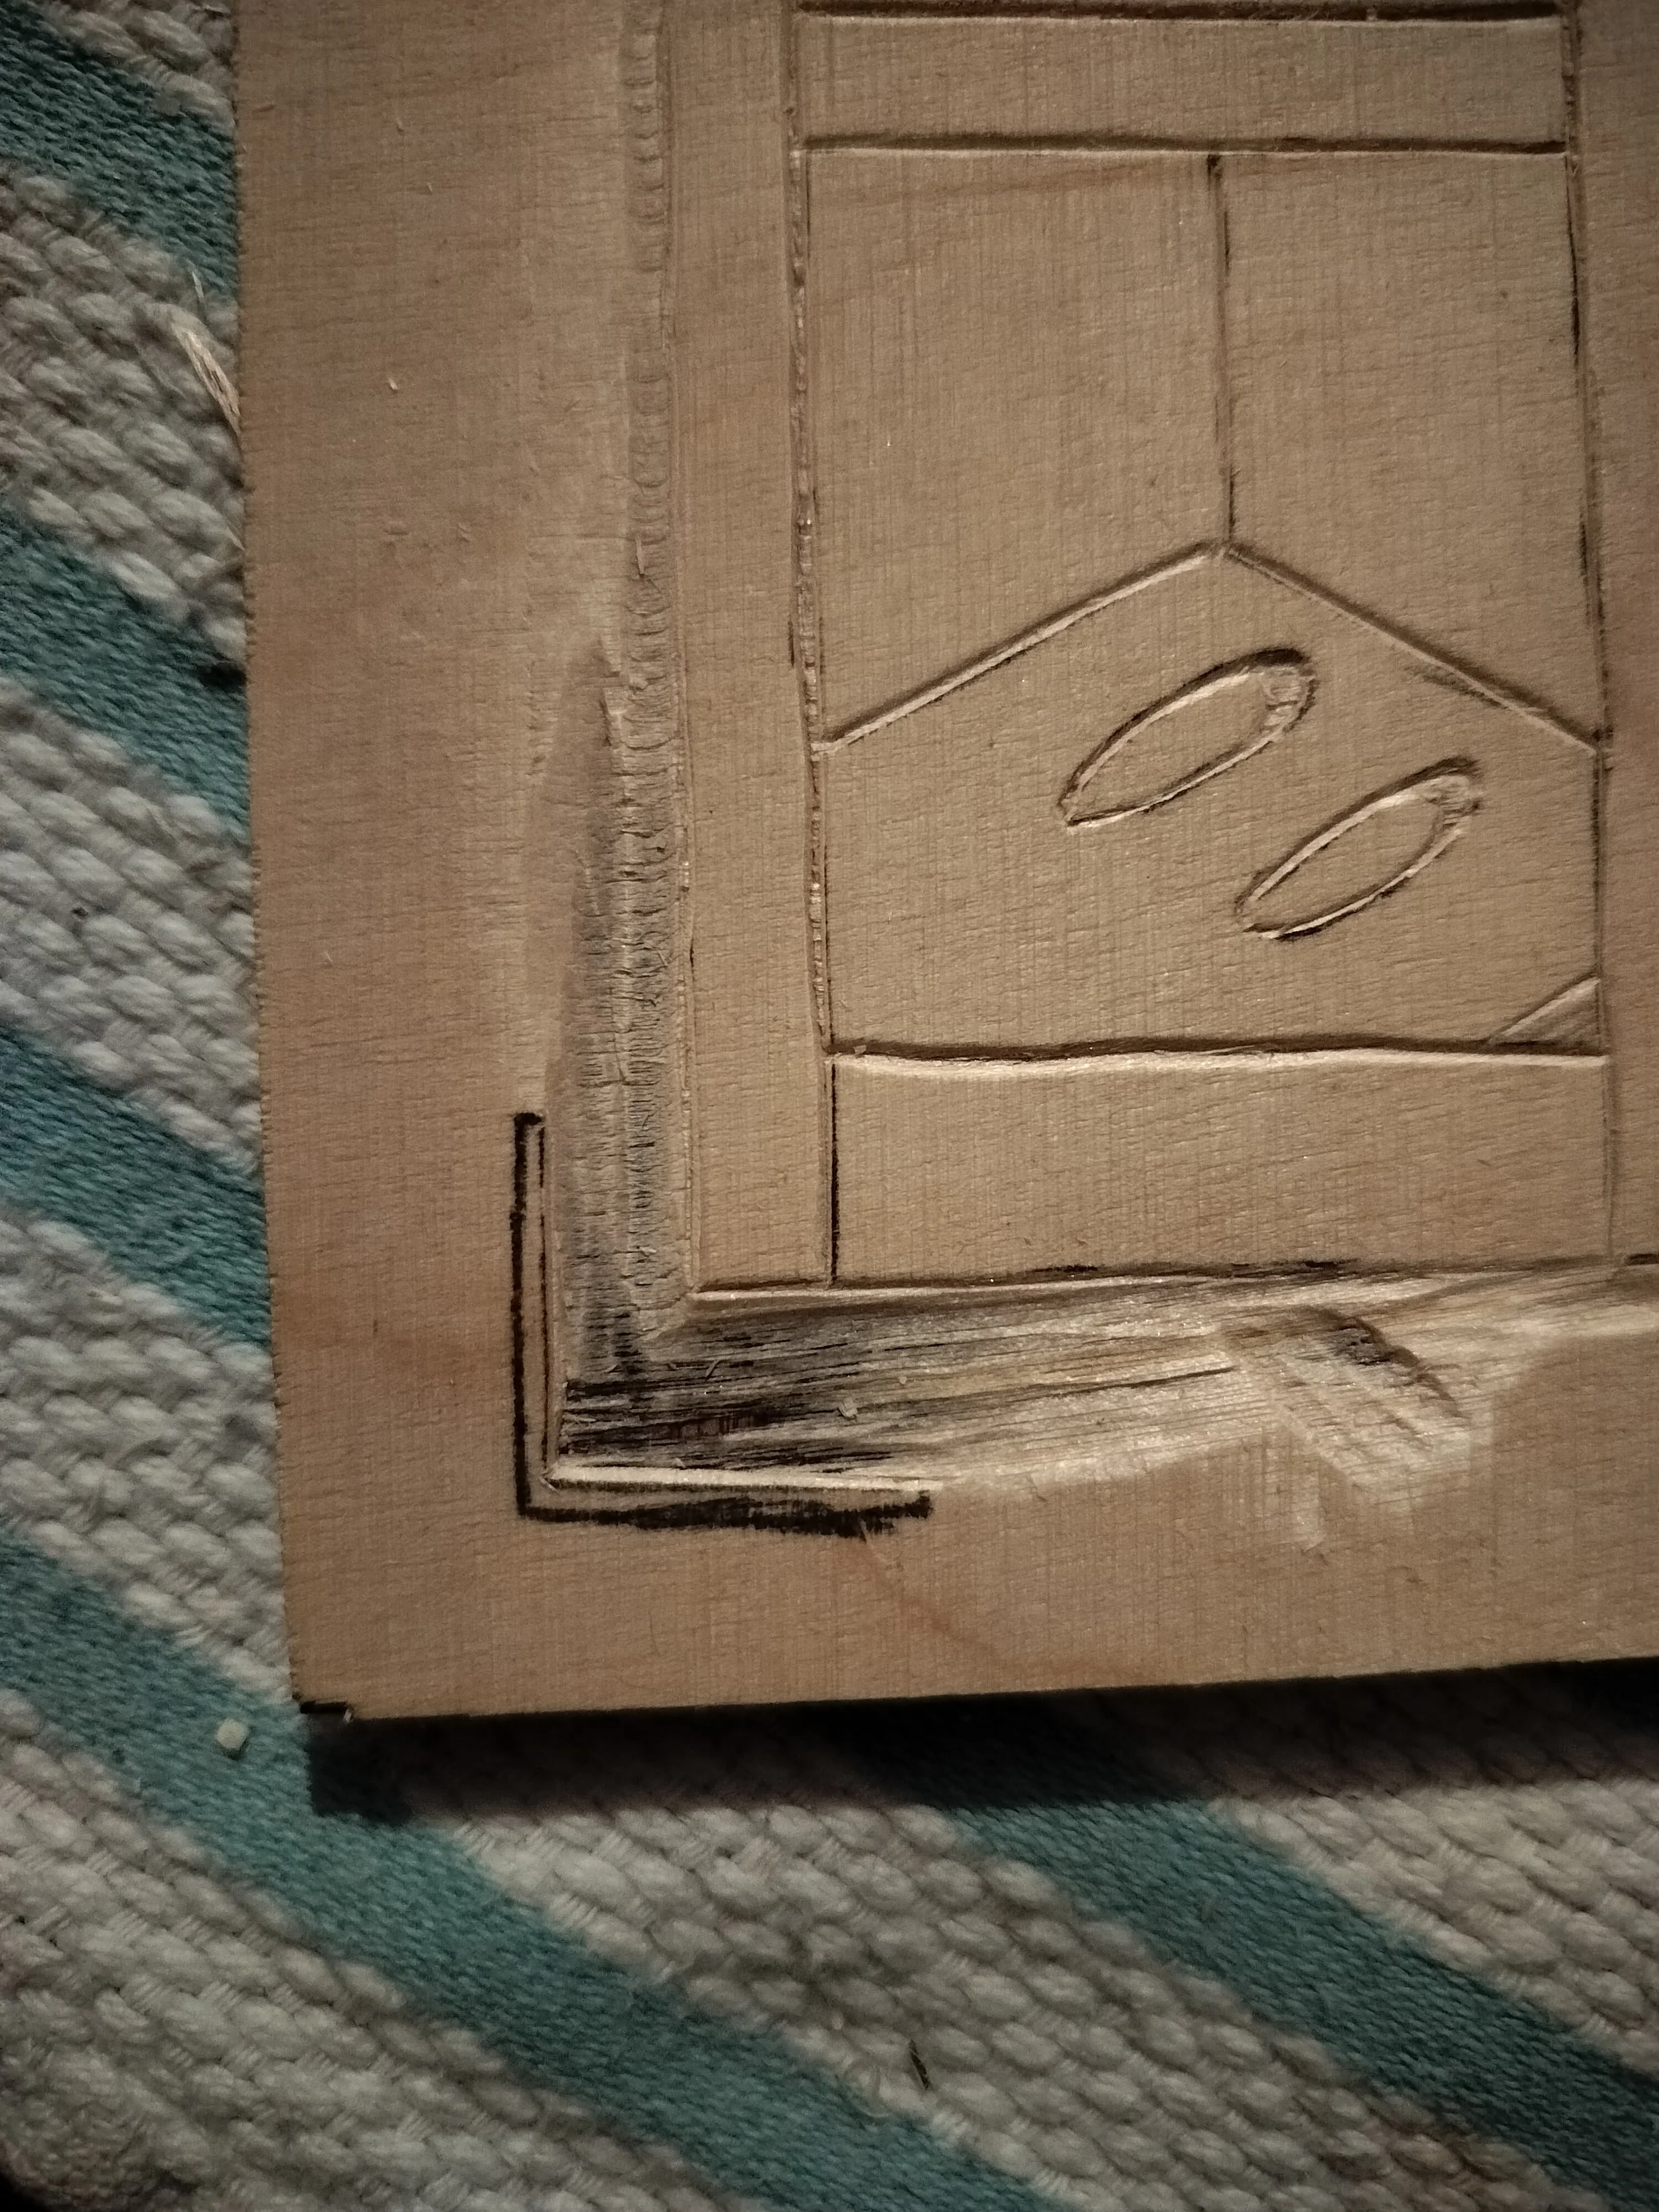
And with wonky lines like these… It’ll probably be a while before I can even think about good quality wood.
But the rustic look isn’t too bad and as an artist, I know how to spin it conceptually to make it make sense, like “Ah, yes, the lines are not as straight as a ruler for a reason. To highlight work made by hand and not a computer, to acknowledge how human it is to make mistakes and embrace the imperfect.”
Actually, that doesn’t sound too bad… Might keep that.
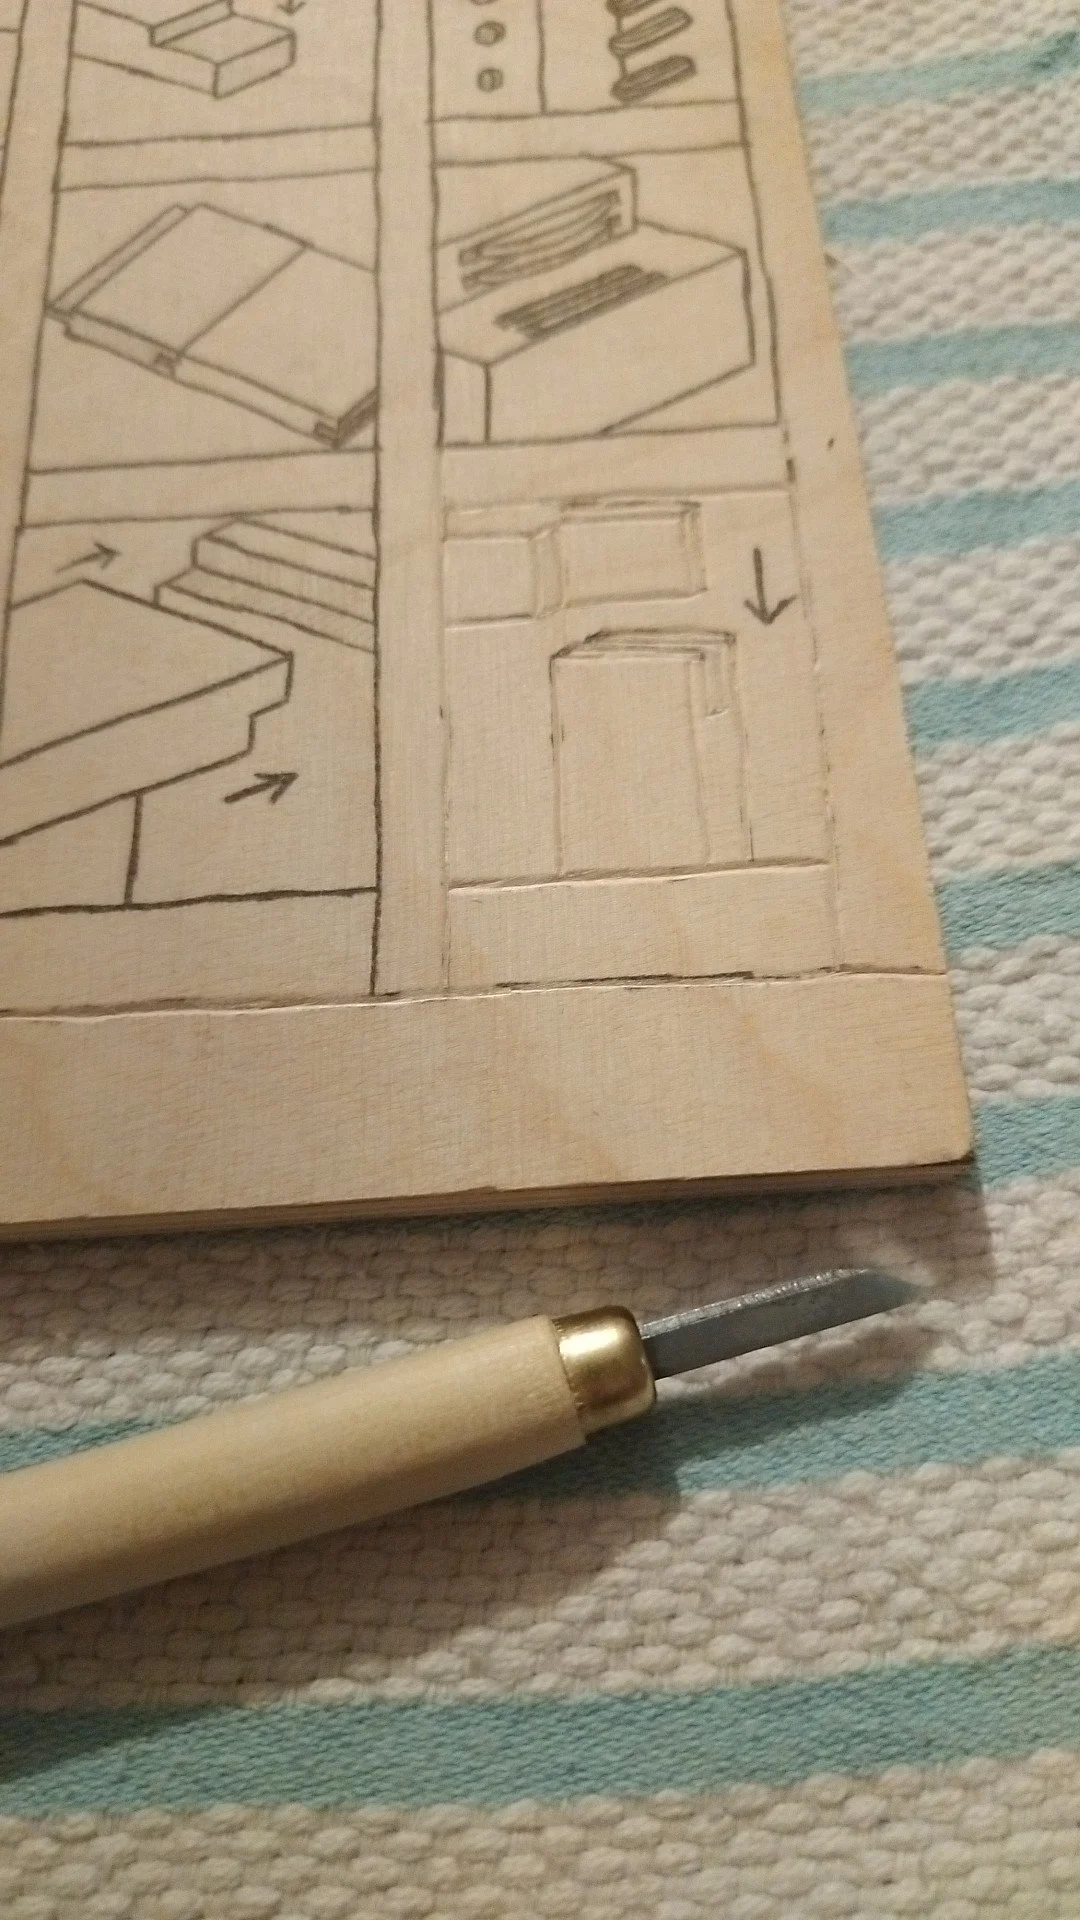
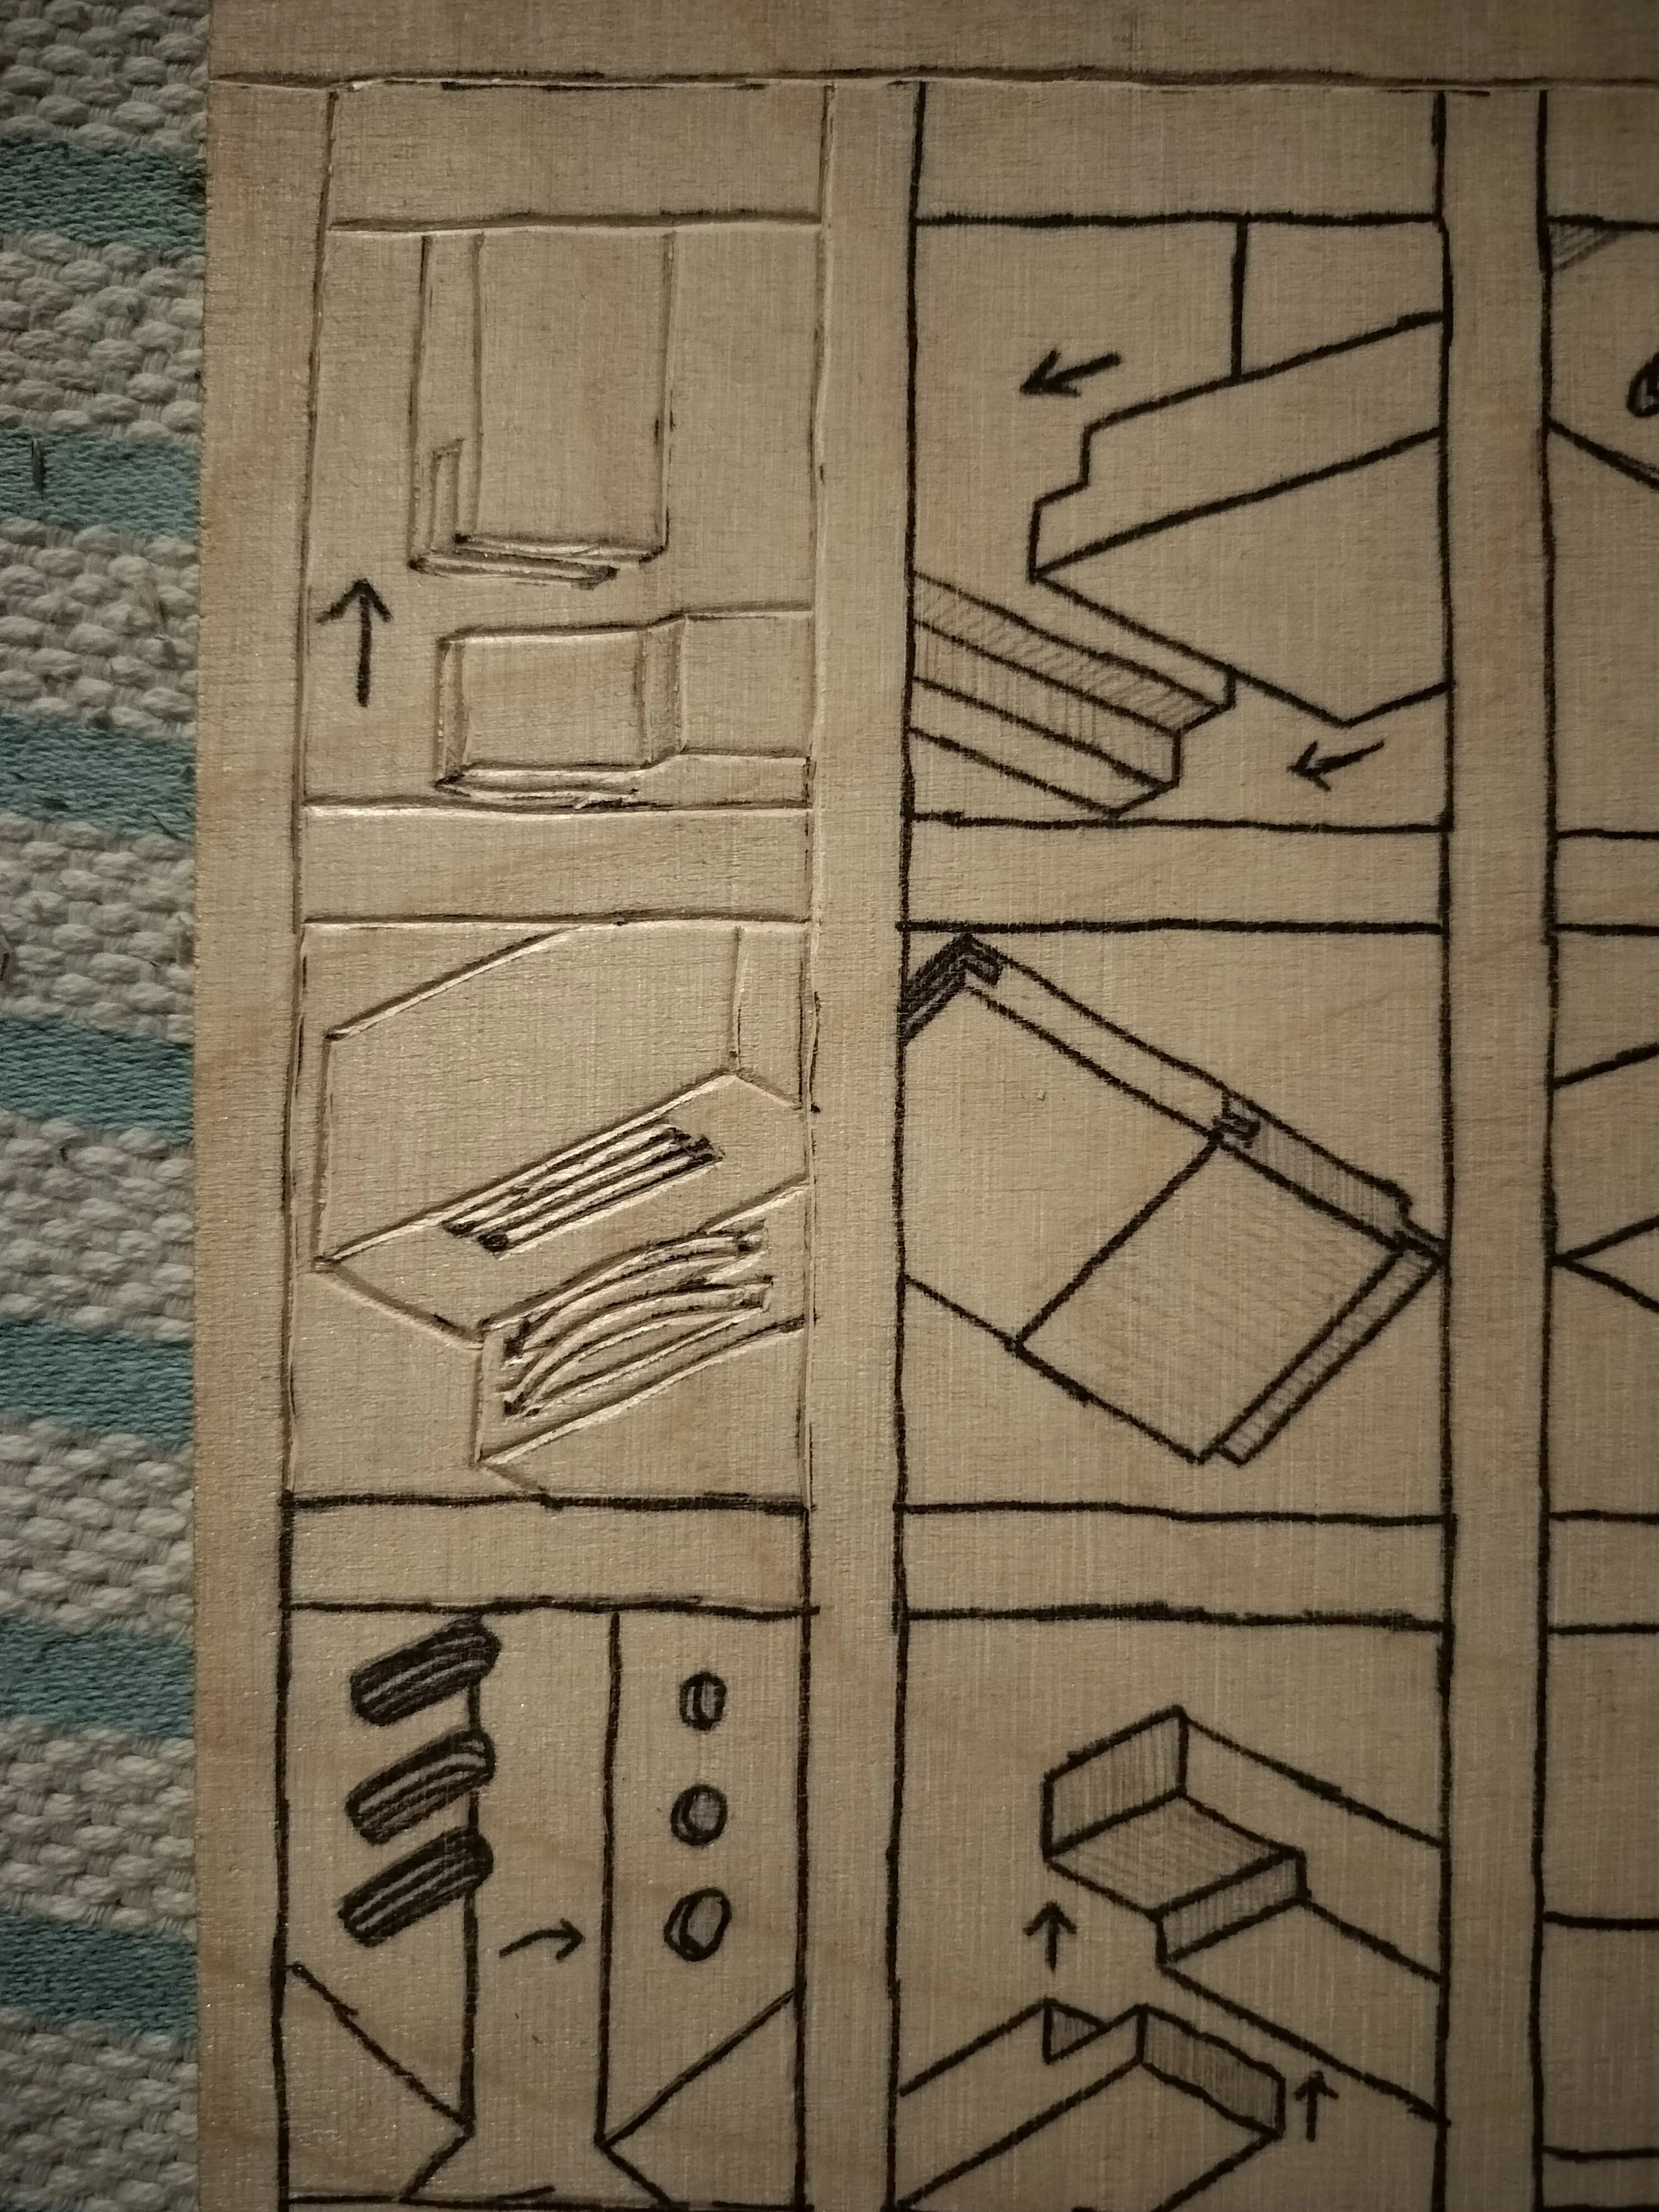
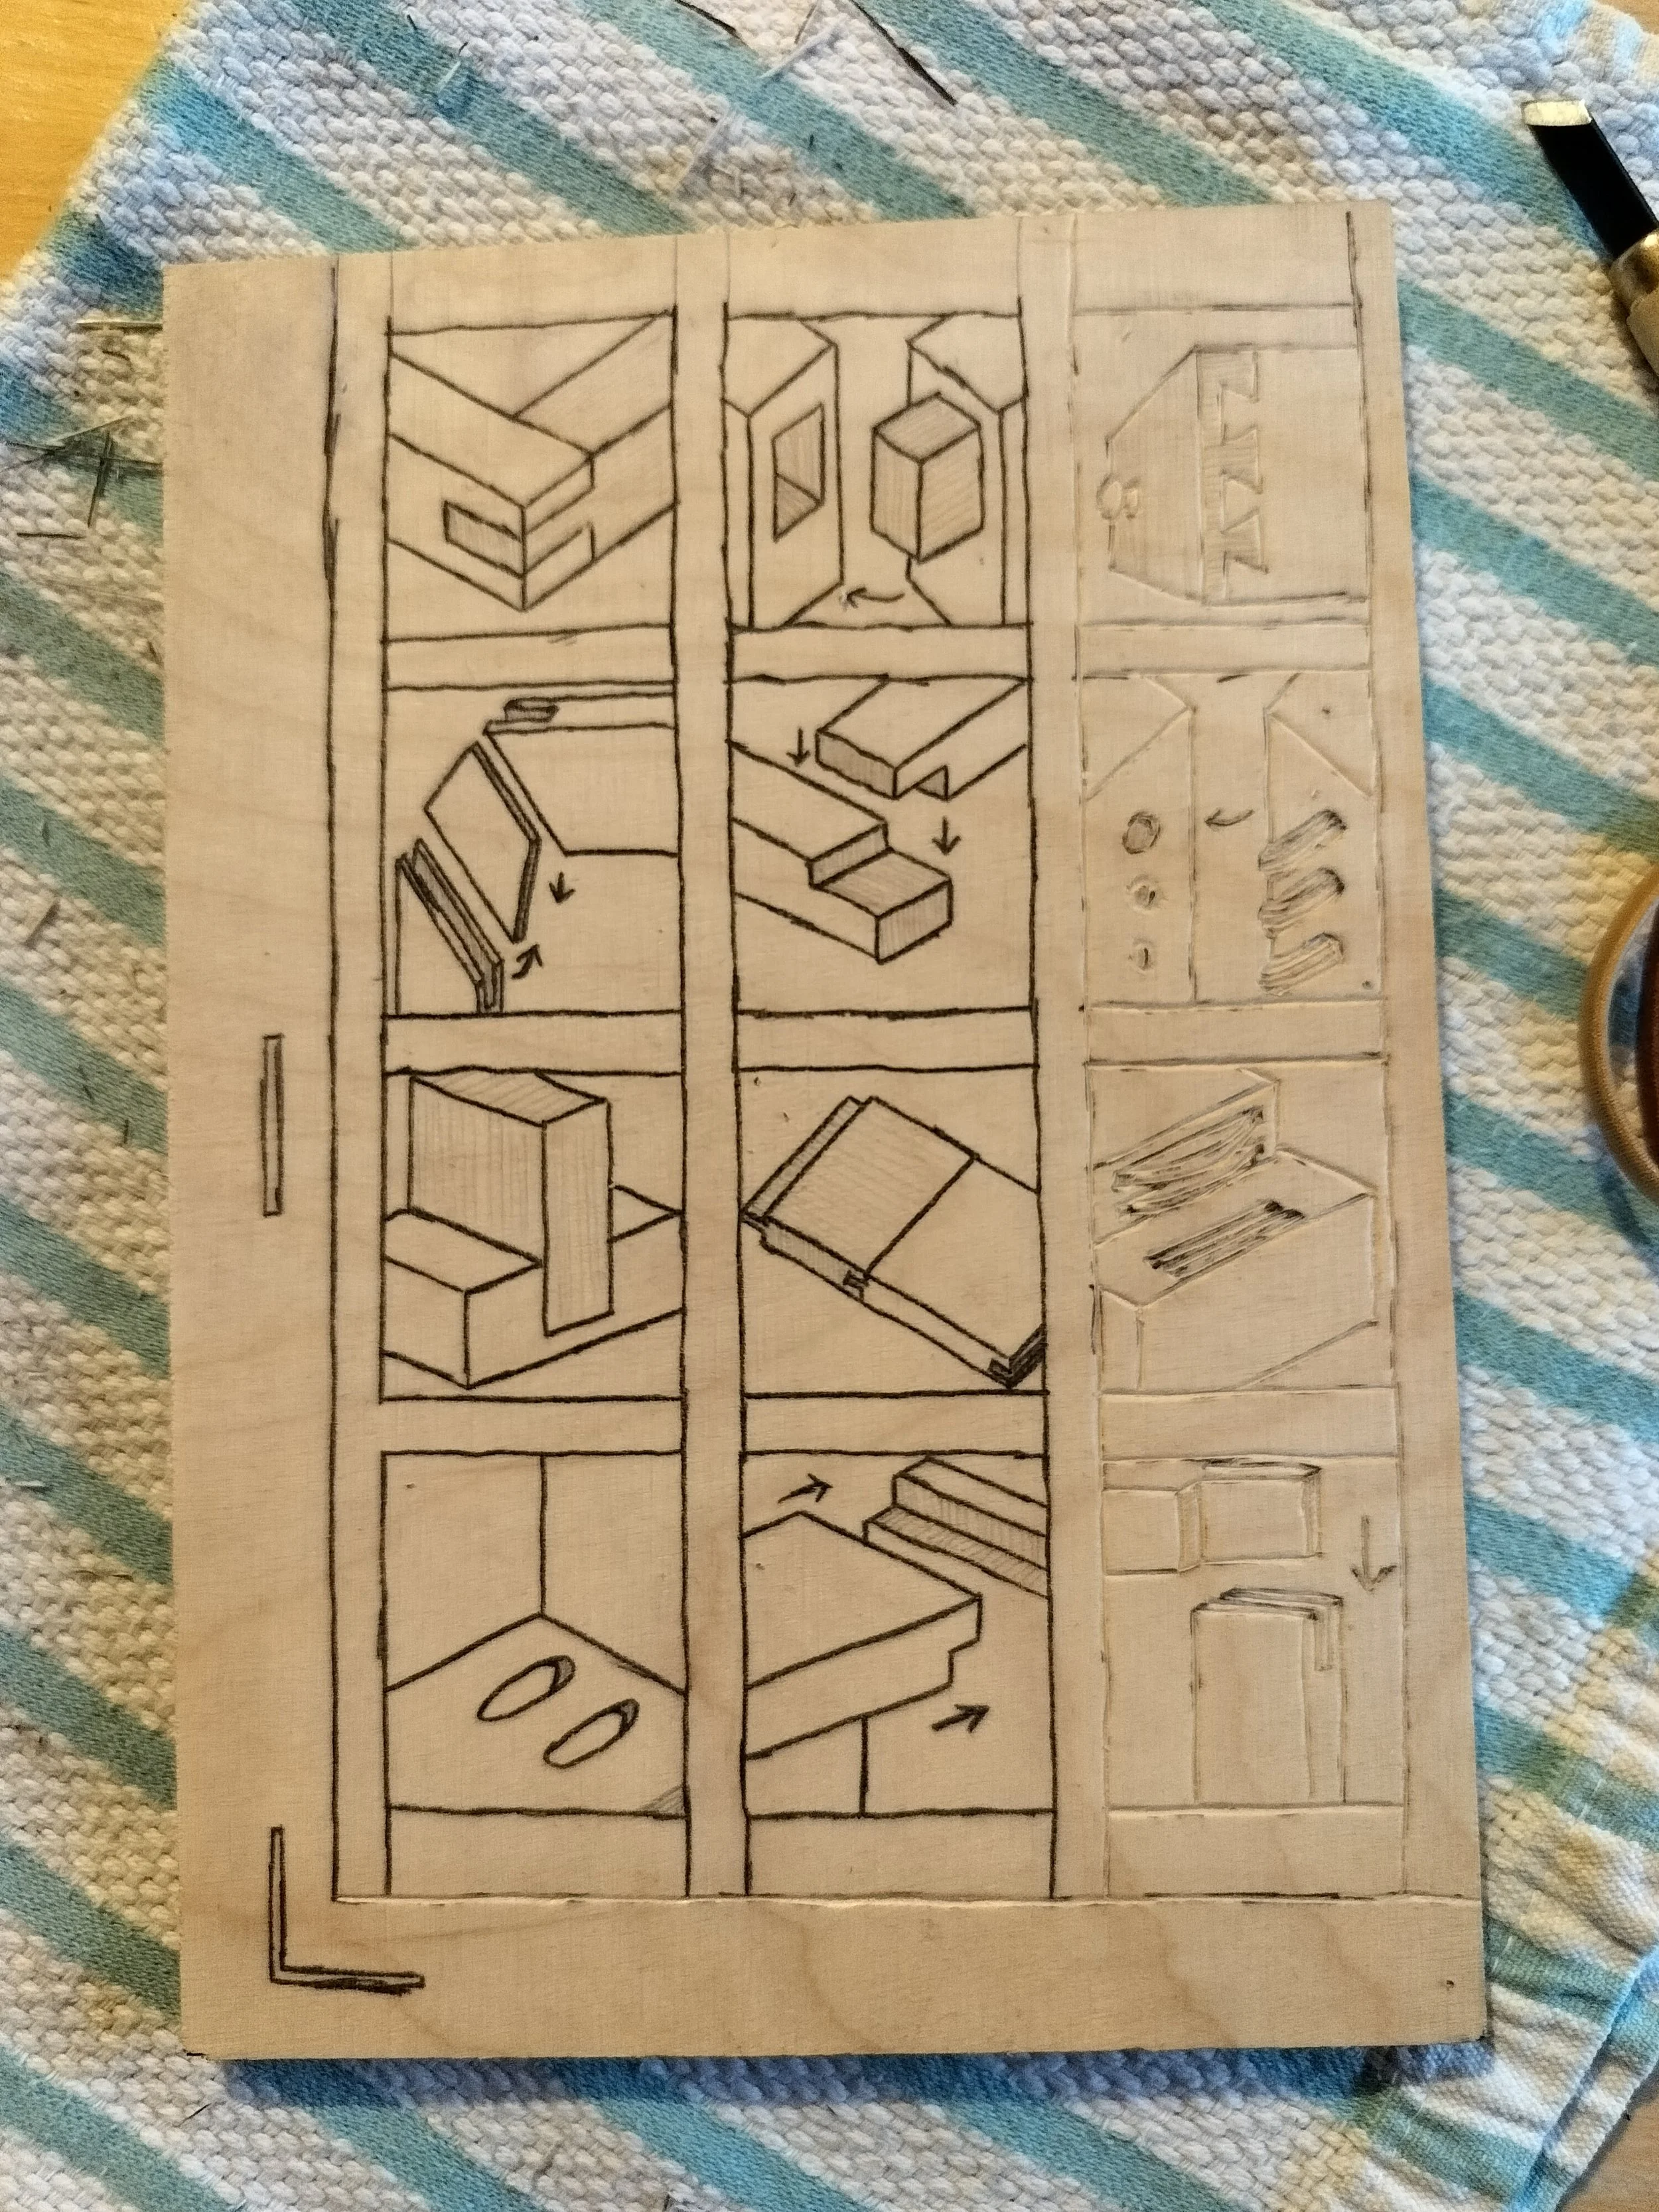
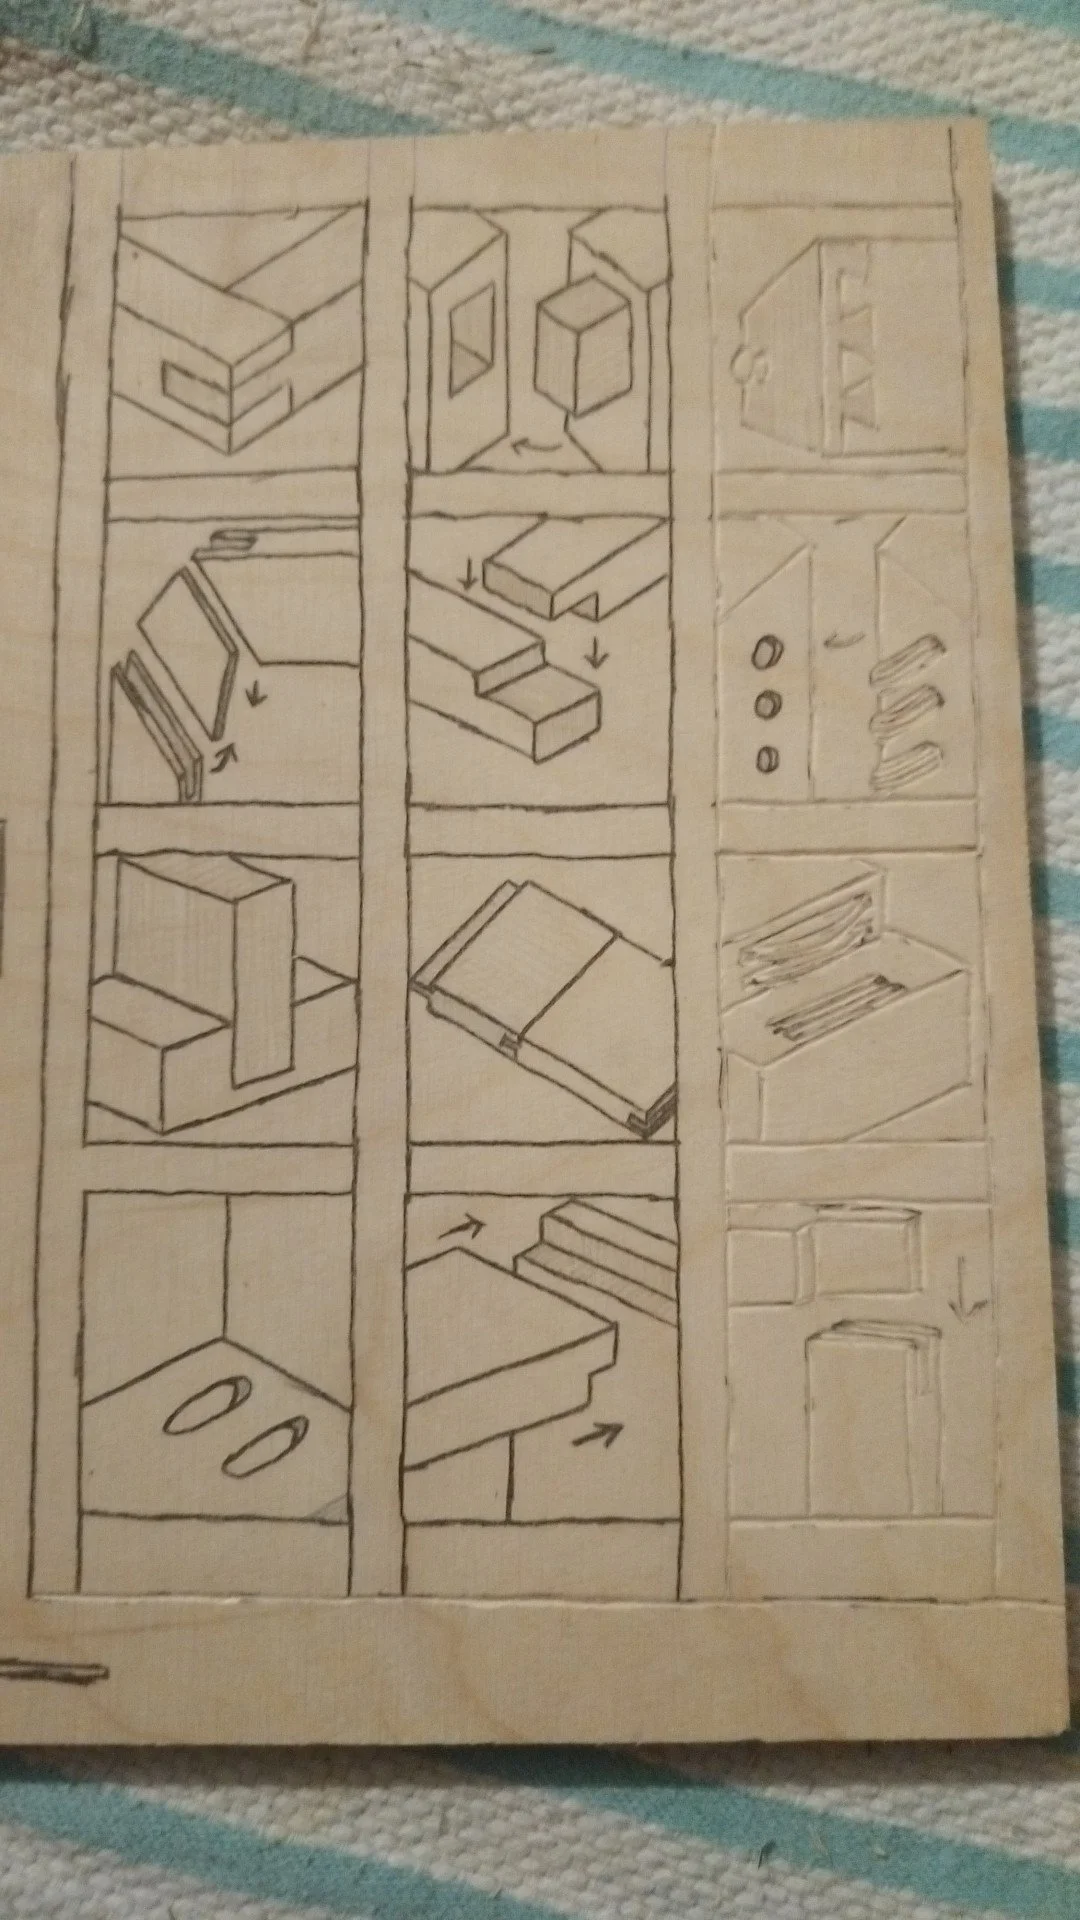
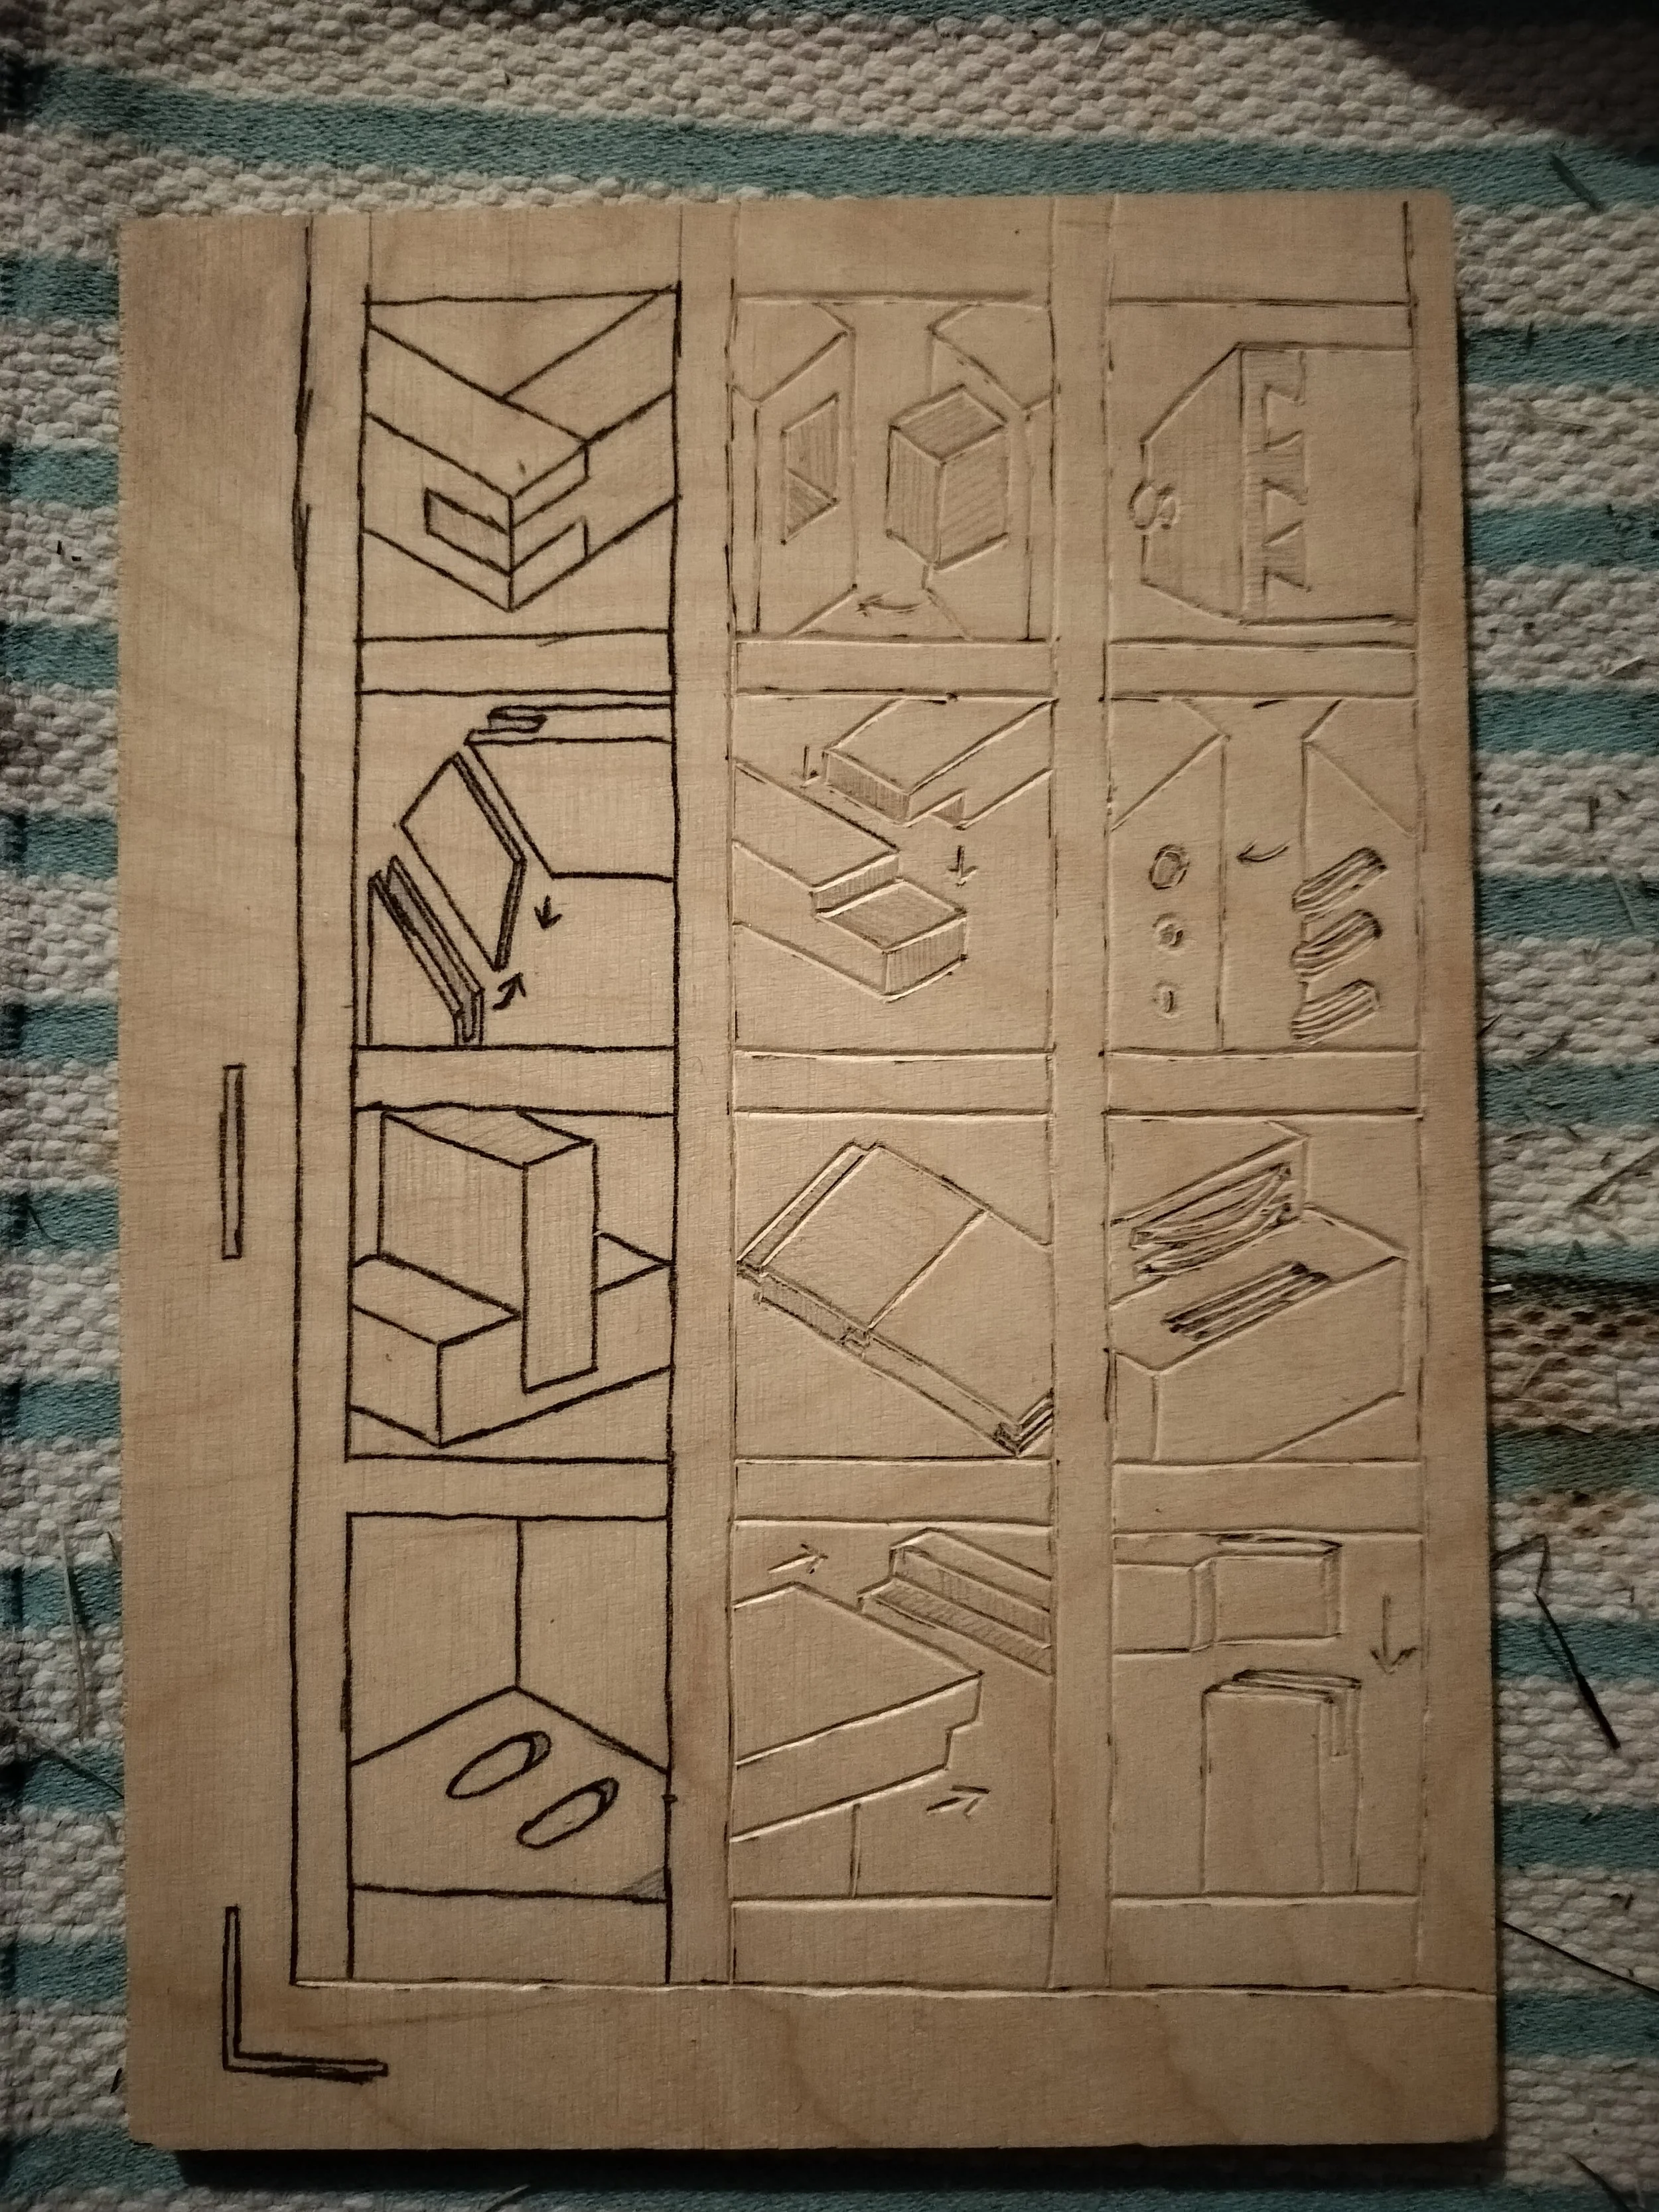
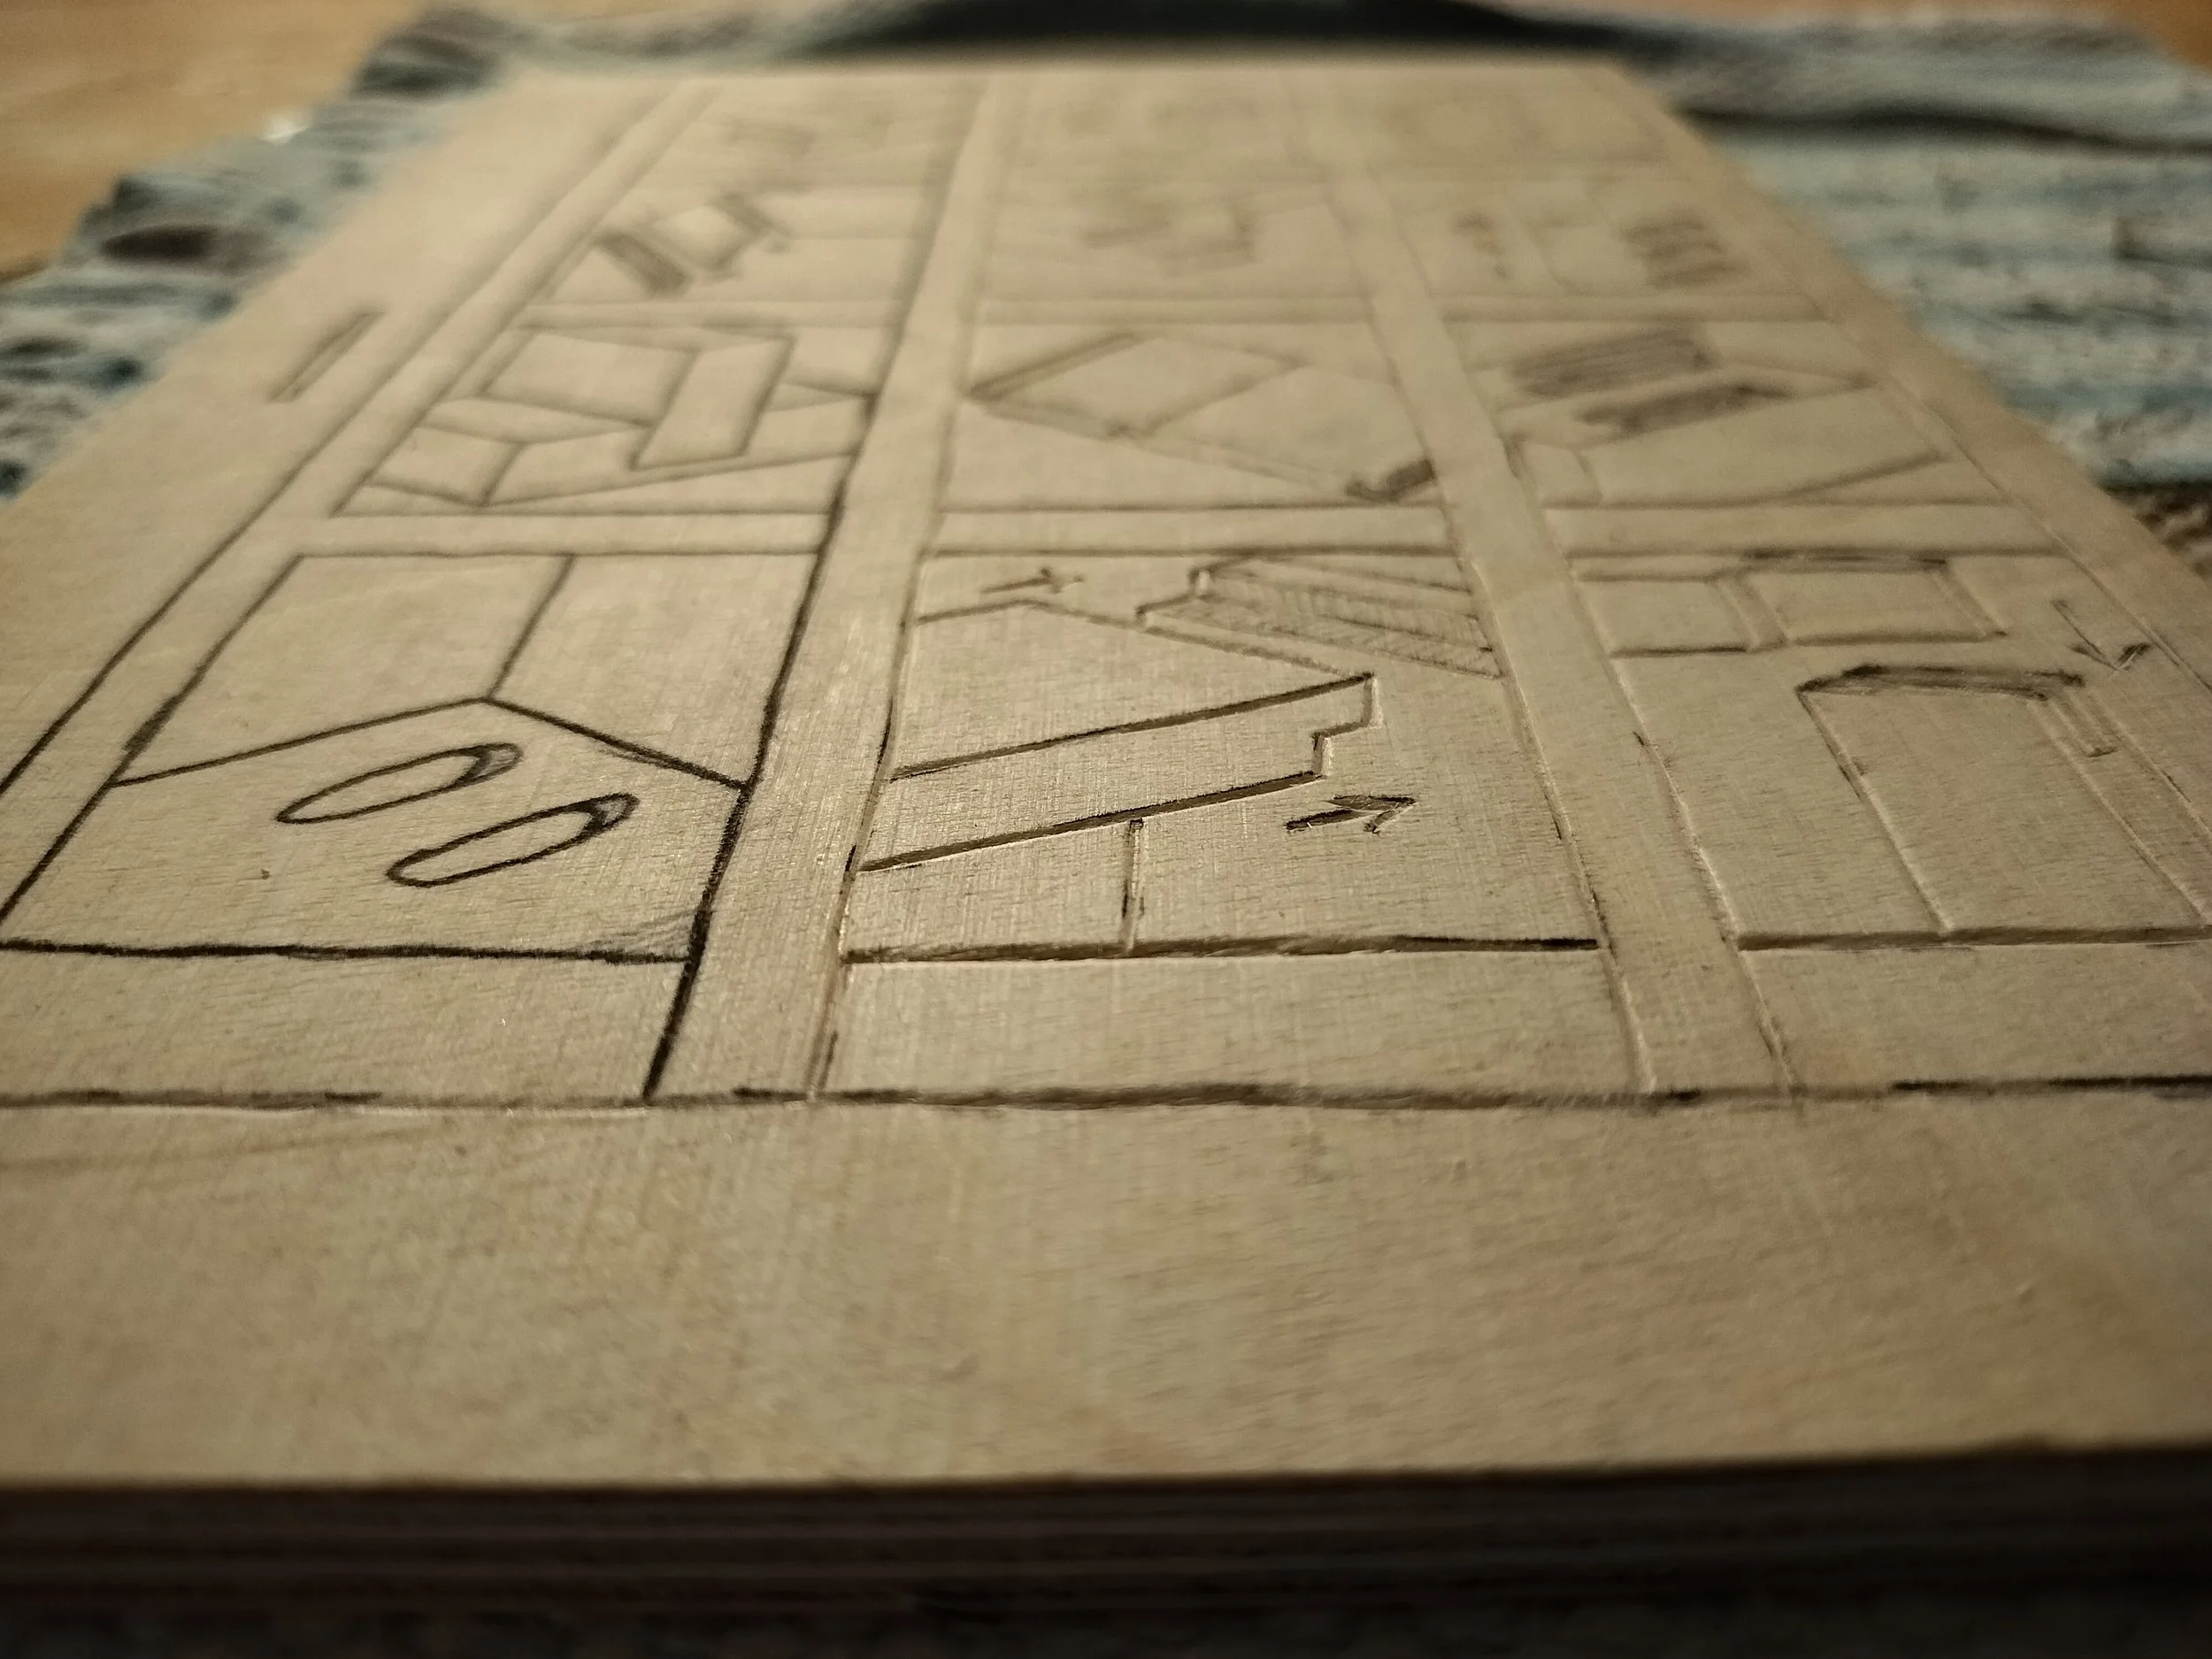
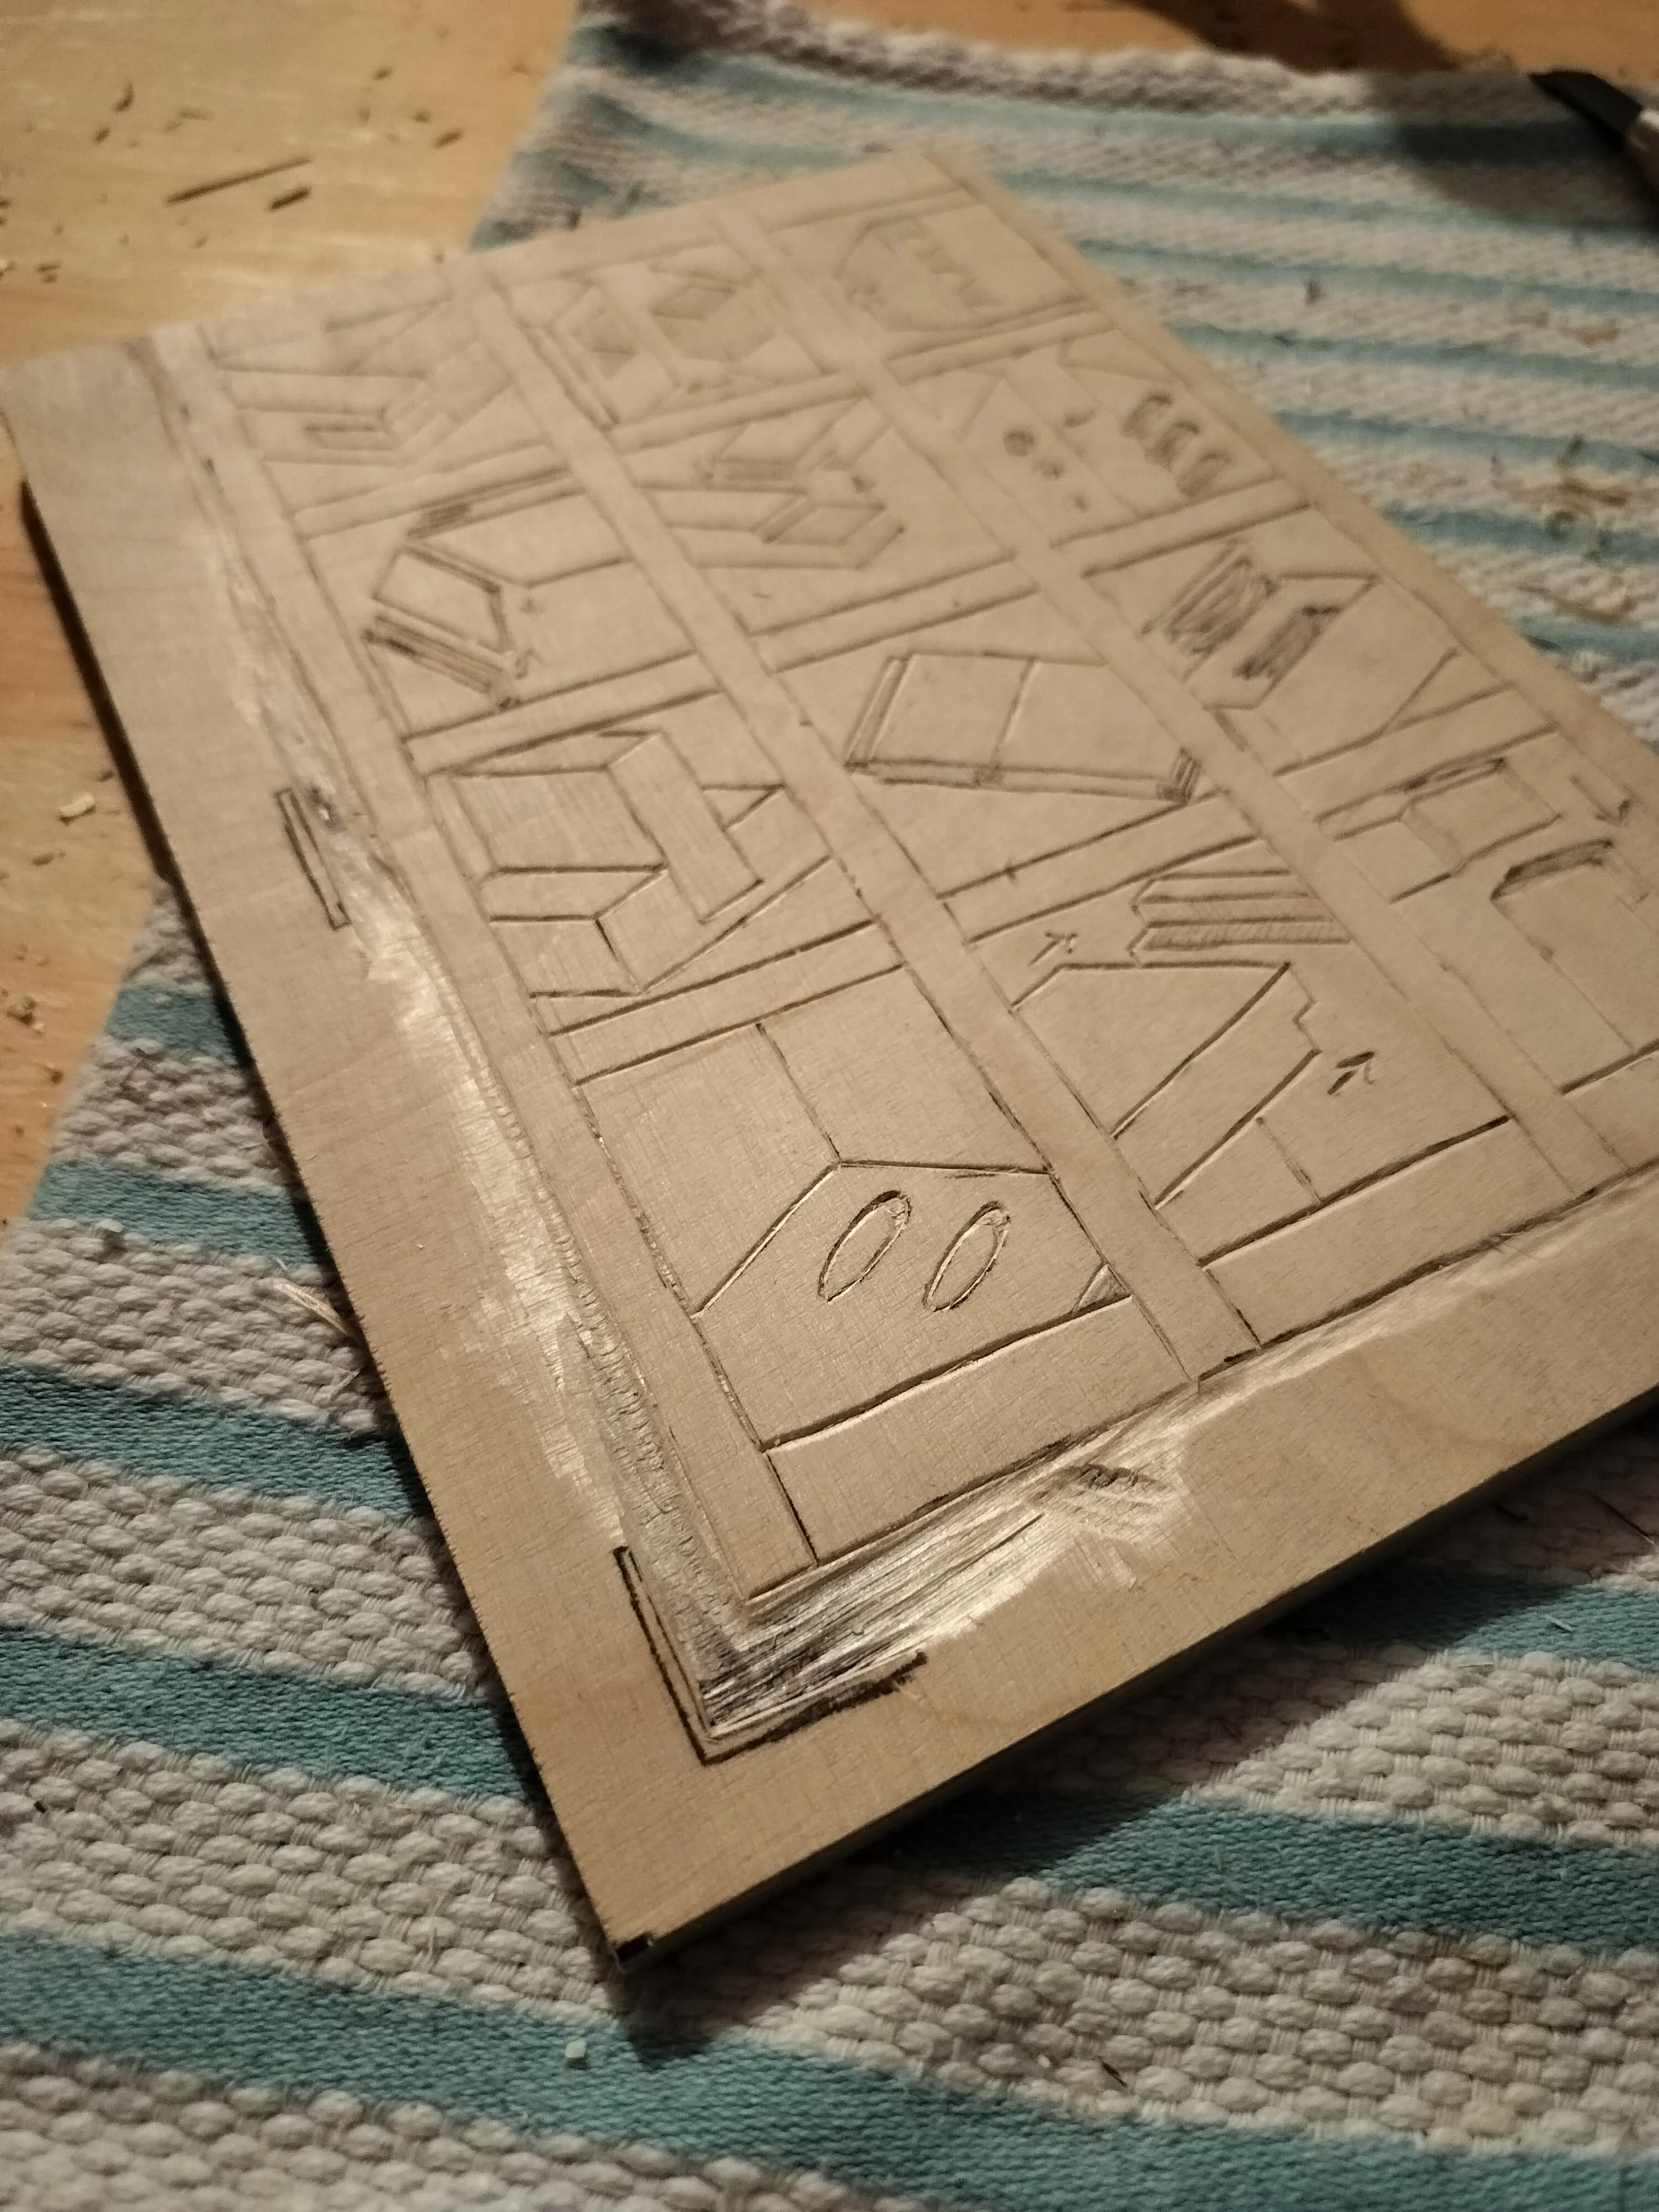
For fine lines like this I’ve actually done a sort of reverse on it. Usually with mokuhanga you want to keep the dark lines. Your first layer is your ’key block’ where you carve all the fine lines and outlines that will give your print definition. You remove all the blank spaces and just keep the lines. Then on other blocks you focus on colour layers with each block cut for each colour. However, my ‘black lines’ are inverted, so rather than keeping the lines and carving out the rest, I’m carving out the lines and keeping the rest.
Less carving for me, but that also means I have to be more precise with my carving of these very thin lines…
For these fine lines, I used a tool that is very much like a small knife or a scalpel, not a gouging tool. This scalpel tool only cuts into the wood, it does not take any of the wood away. With this is can get very fine lines.
How?
Basically my goal is to make a second outline of my lines. I started on the right side and made an incision at an angle and followed along the line. Then, once I got to the end of the line, I turned my block upside-down and did the same again but on the other side. Because the incisions were both at an angle, they actually meet in the middle which cuts the wood out. With the tip of the tool I then picked at the wood until it flicked out, or I used my finger to brush it out.
Then I did that for every line.
Did that explanation make sense? I have a short reel on Instagram of me carving if you want to check that out; I’m more of a visual learner so I know how visual demonstrations work better for some people.
Now I just have to print the block to see how the lines turn out and if I have to go back over them because they were too shallow or not.
Wish me luck!