
mokuhanga studies #3
Month Two of my print project.
I’m still not fully satisfied with the design I ended last month on. So, I’ve been tweaking it ever-so slightly.
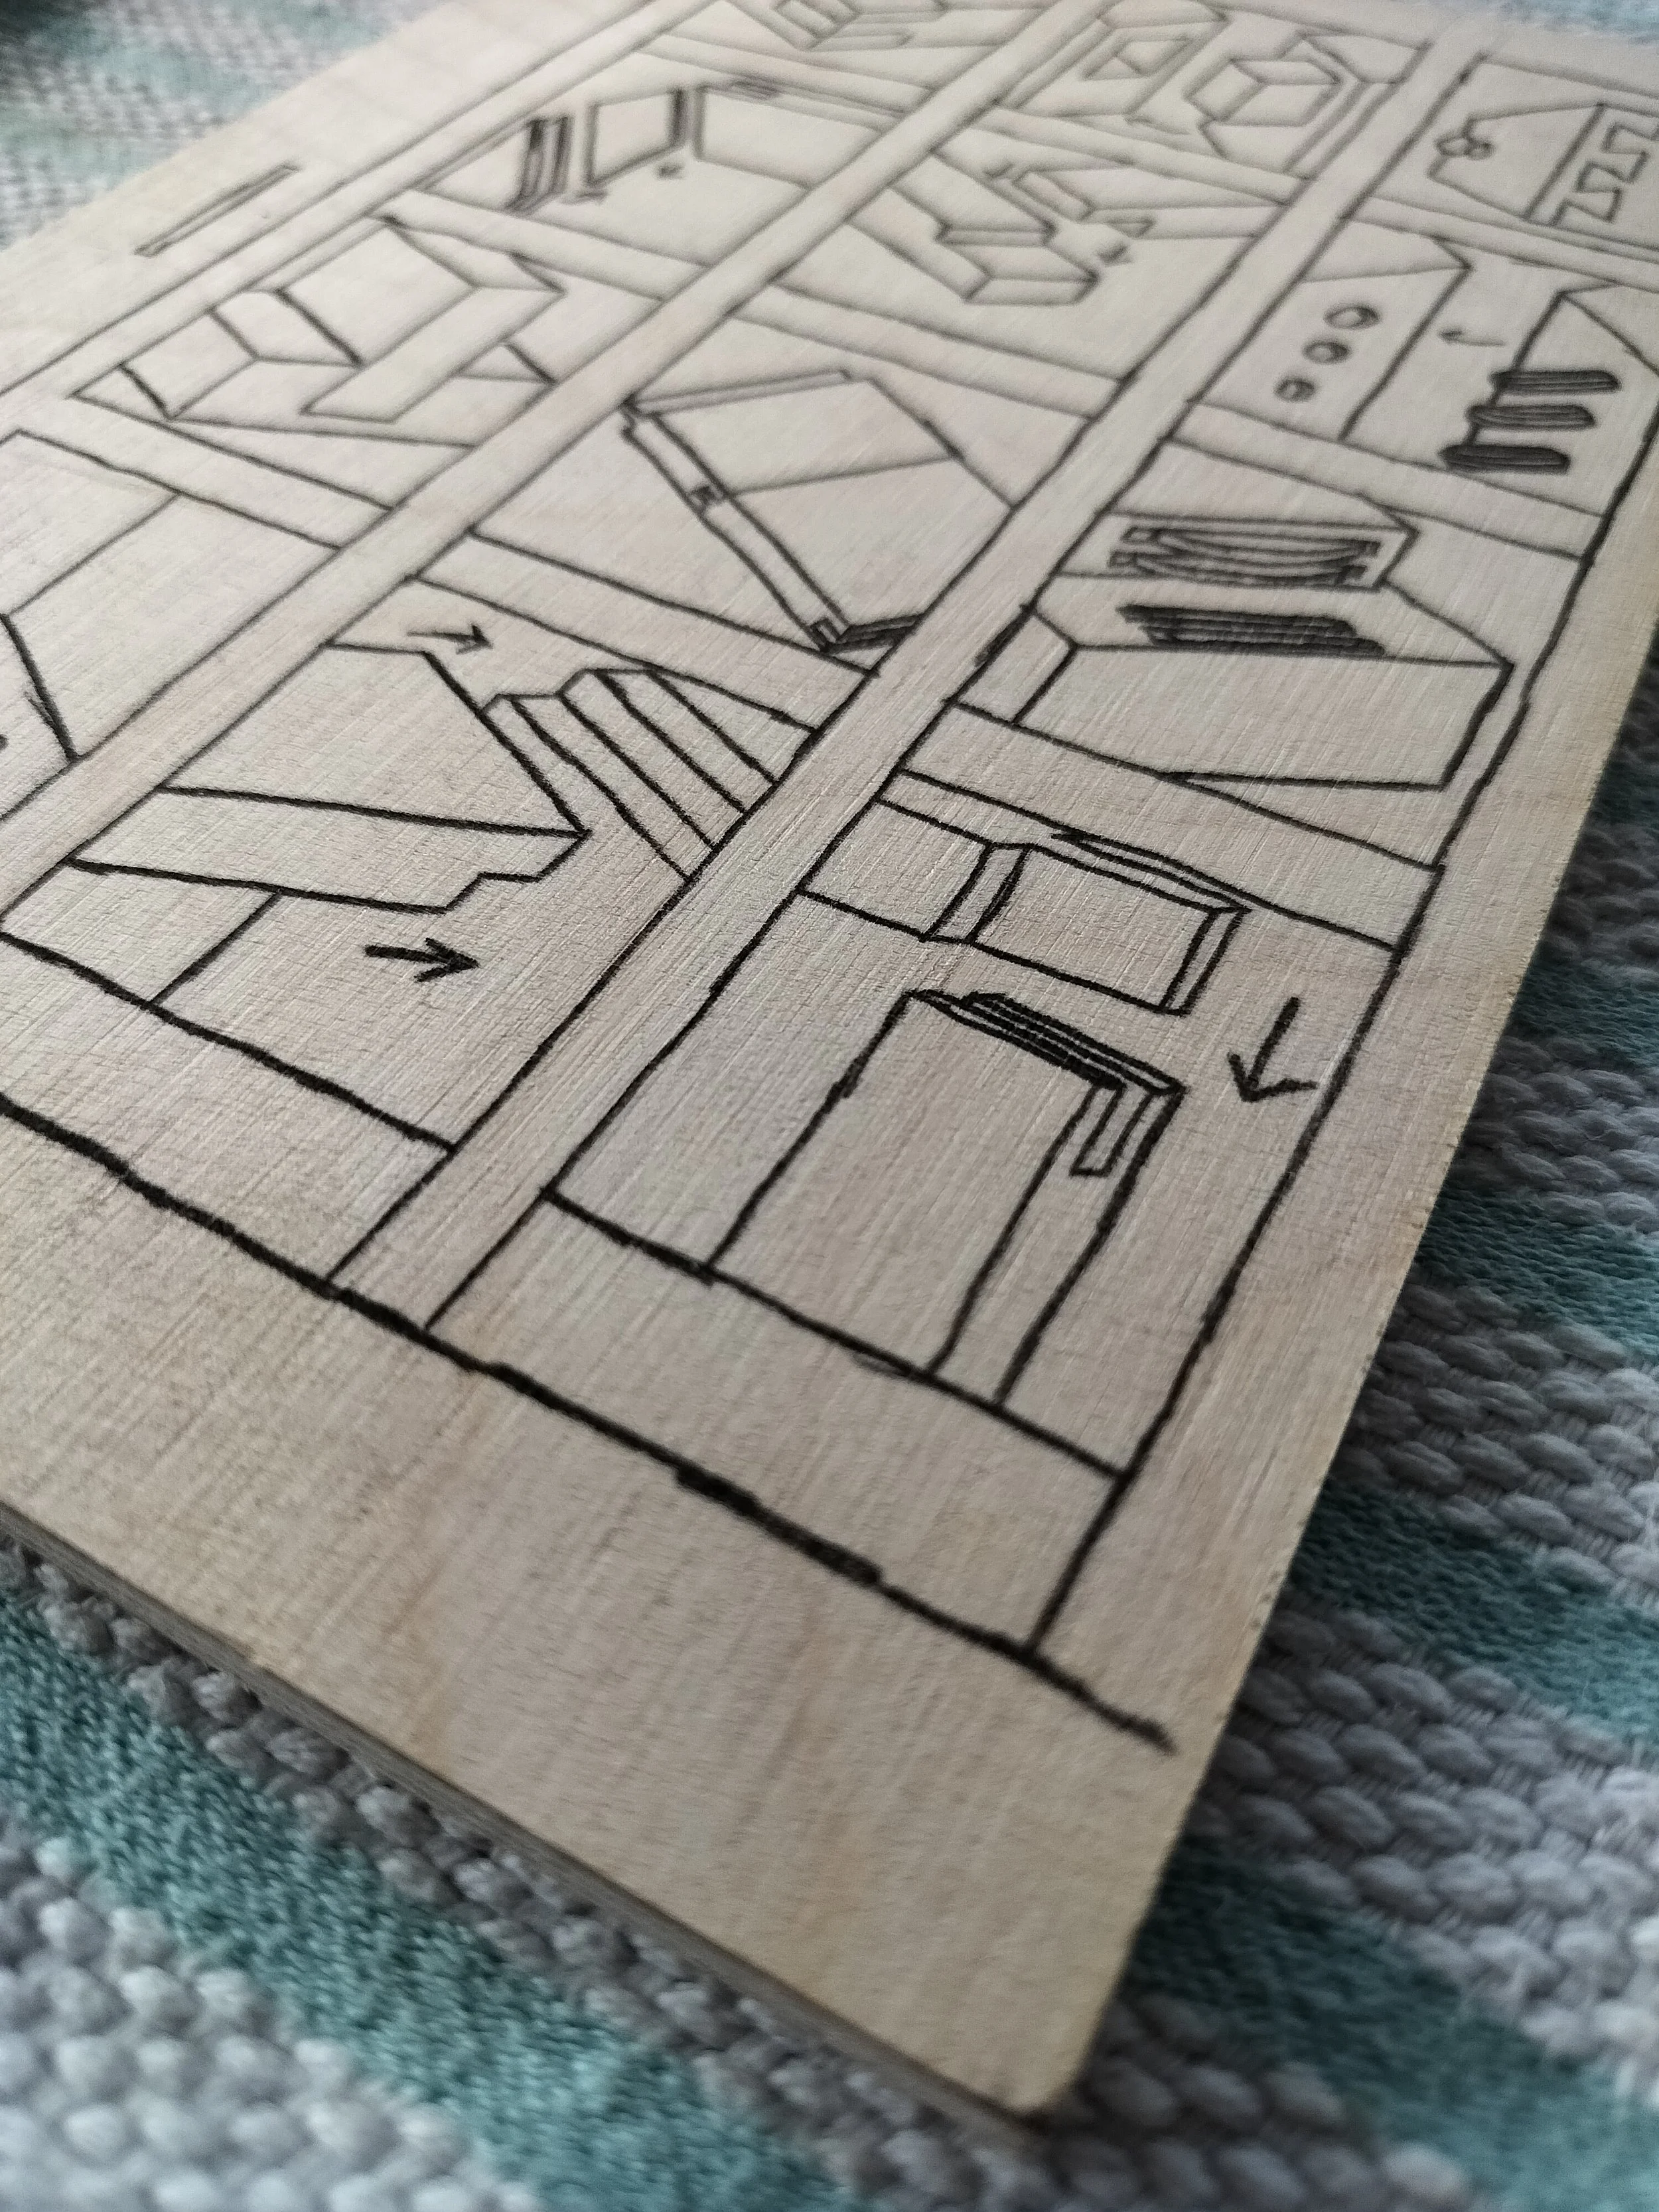
I think I’m starting to lean more towards the idea of not including the hand with the mallet and chisel and instead focusing on the joint sketches with the grid layout. But I also want to do a bit more with it. I thought maybe I could fill in the grid lines to make them bolder but then I got to thinking…
I originally had it in my head that the grid lines were made of strips of wood, like a shoji board… so they would be wooden… and then I started looking up images of woodgrains… and I am quite liking how the woodgrain looks separating the sketch boxes…
I think it’s doable, carving-wise.
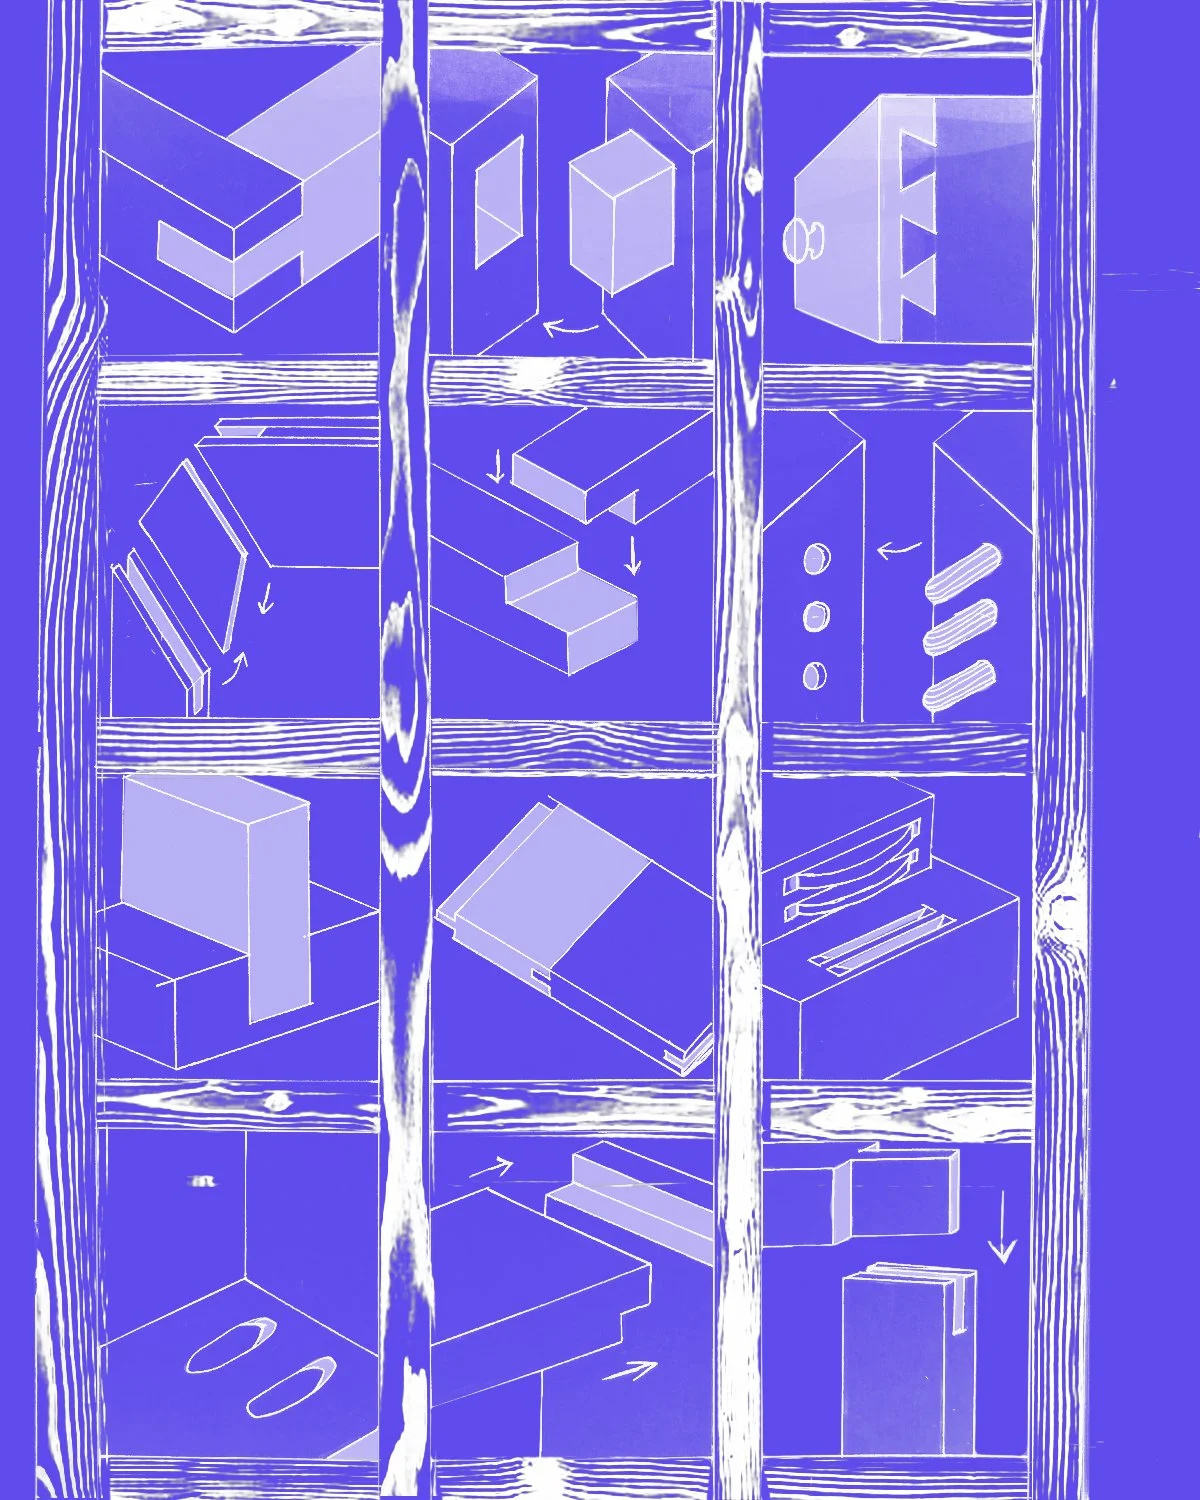
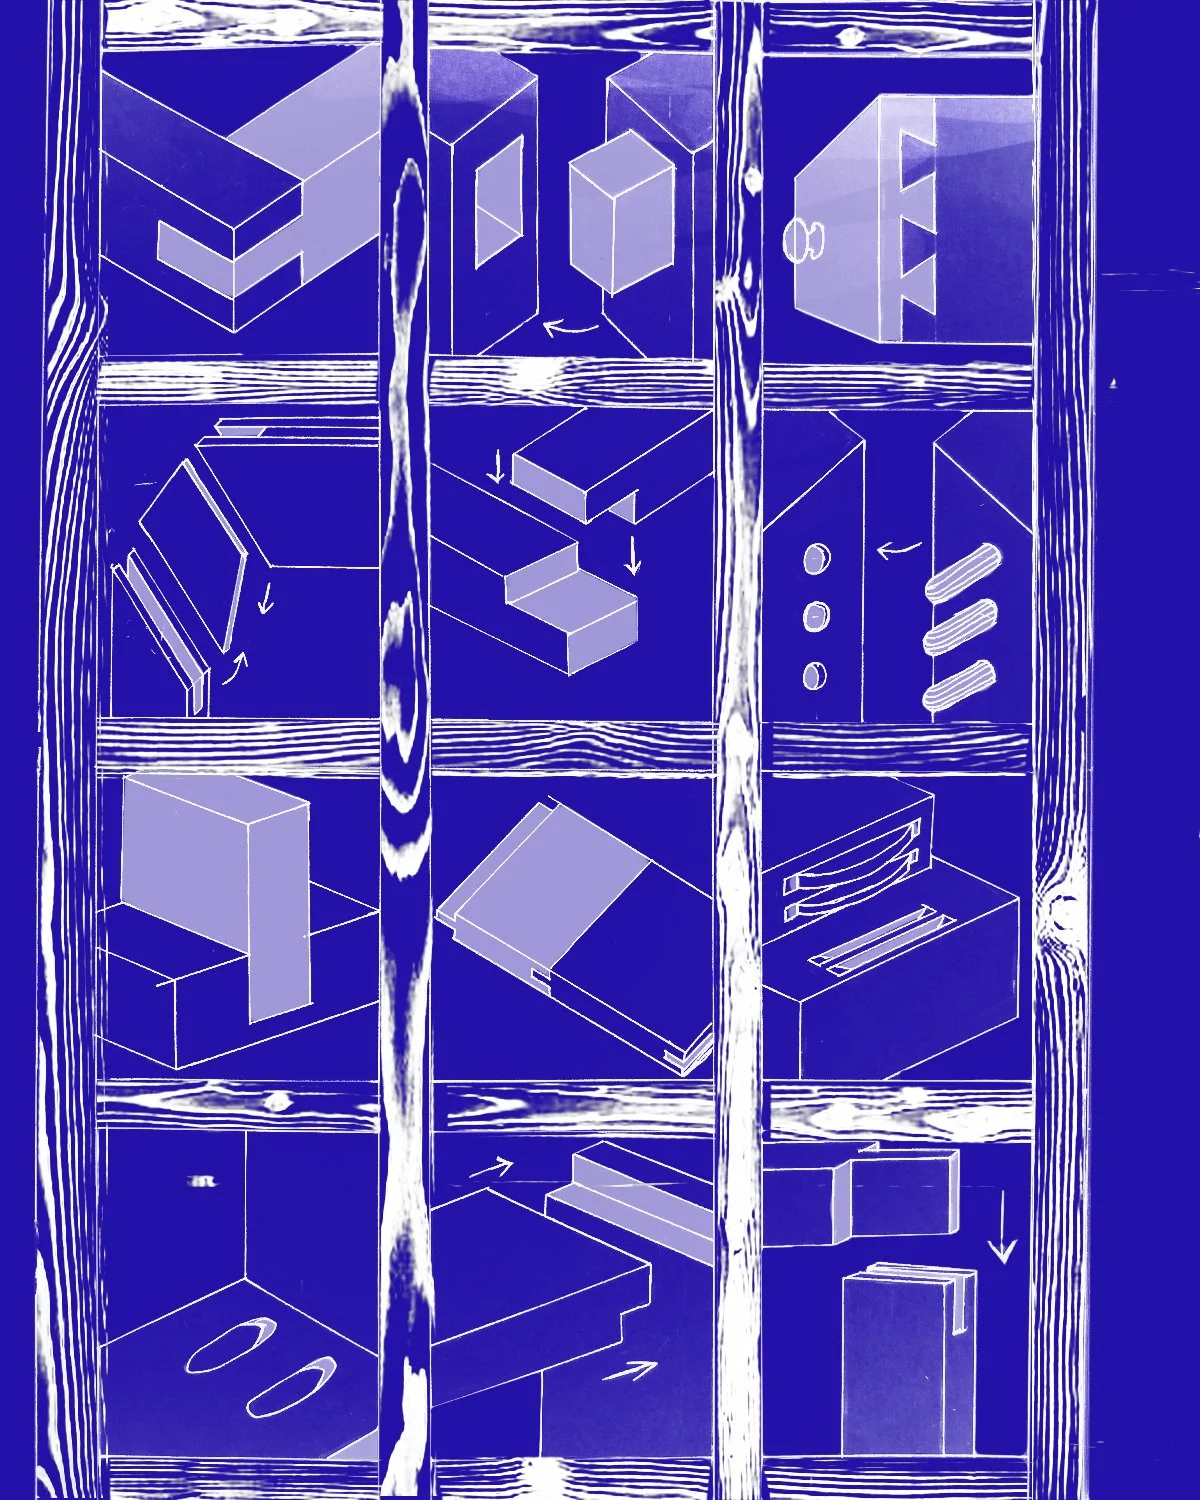
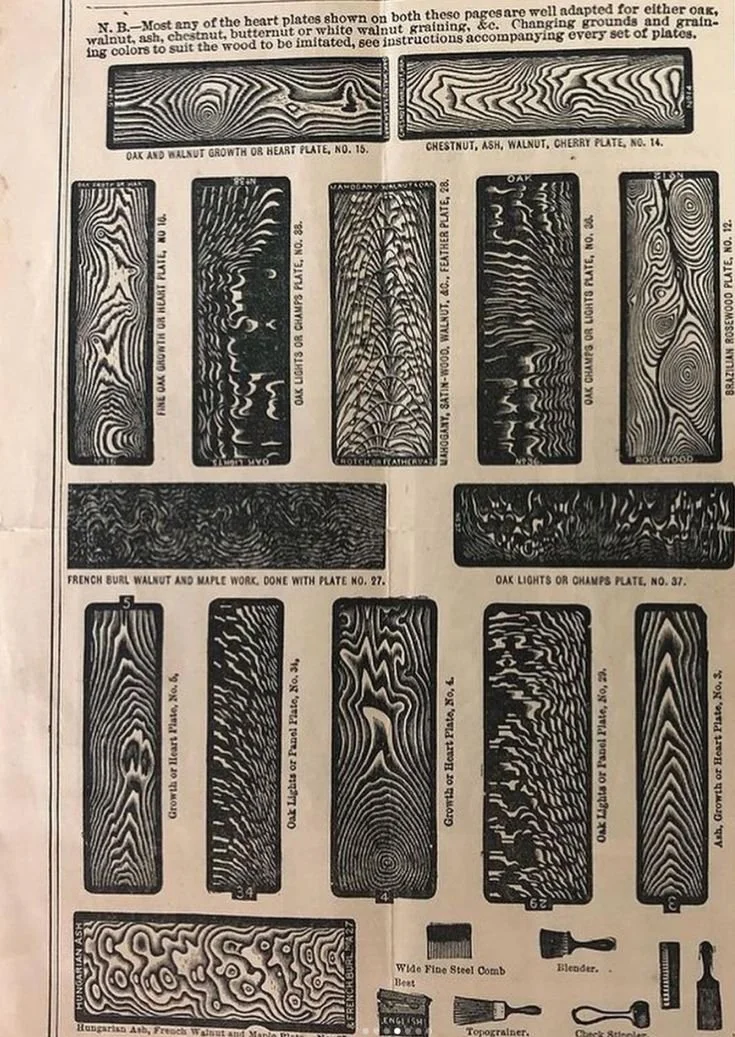
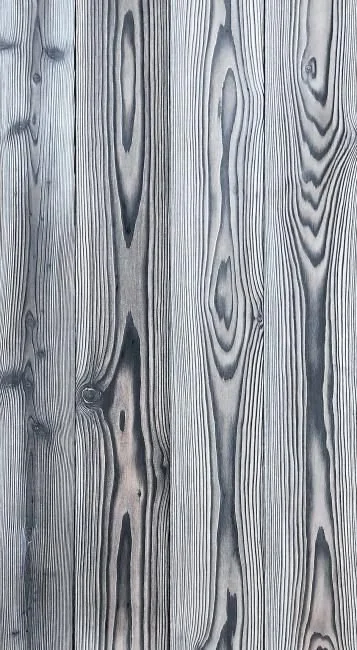
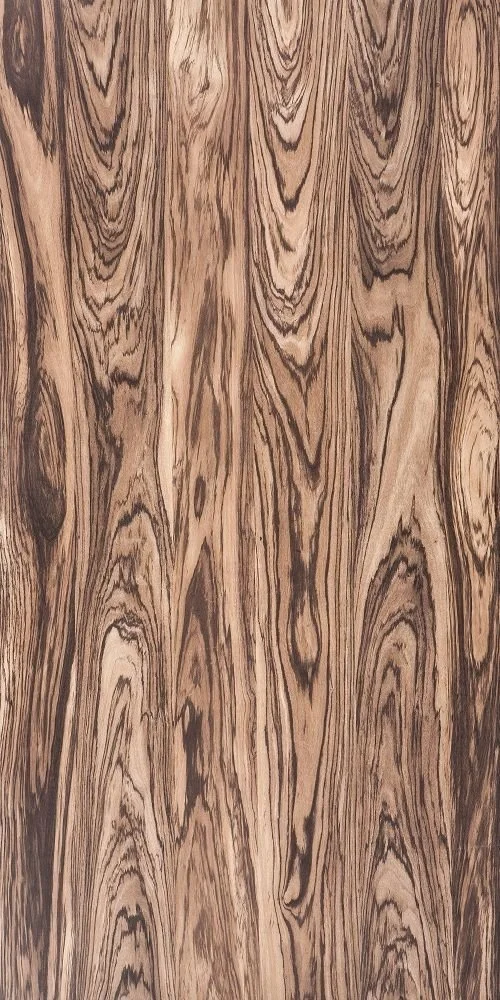
(The fist two images are my own work, the last three images which I do not own were taken from pinterest.)
But then again I think the natural grain of the wood might just do the job all on its own.
I’ll know more once I start carving and pull my first print.
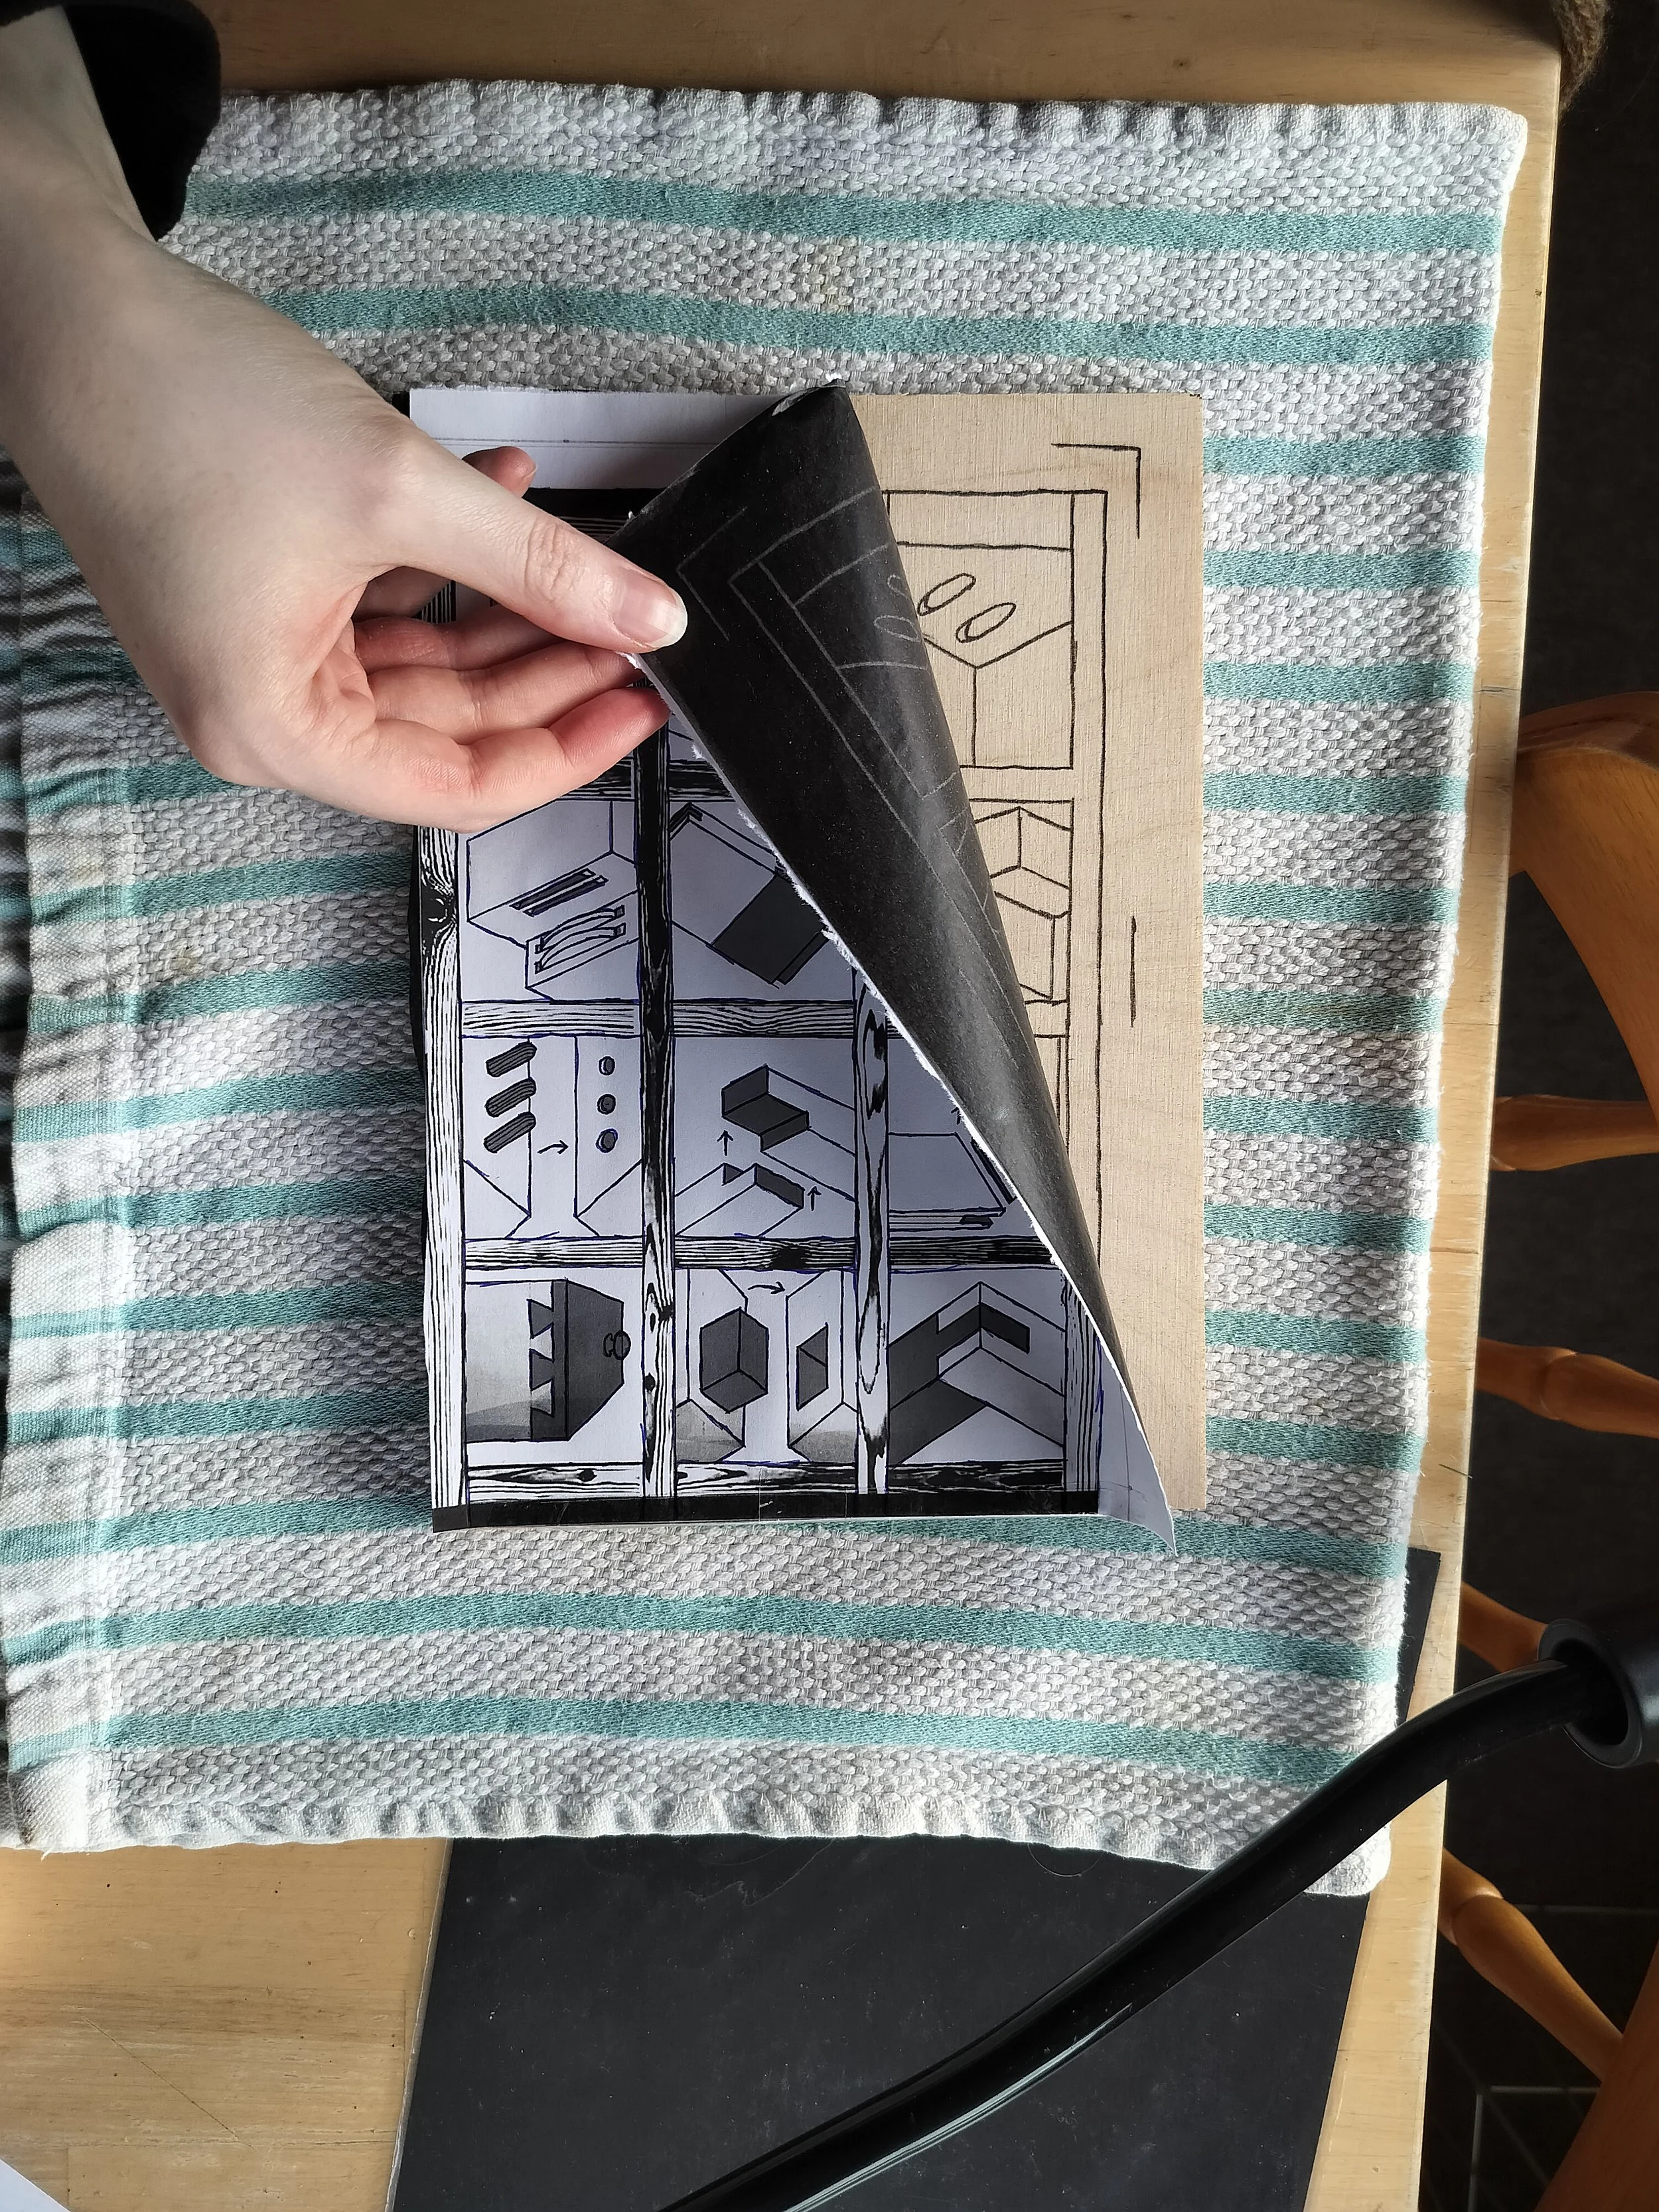
Traditionally, for mokuhanga, one would draw on gampi paper and then stick that paper onto the woodblock itself. Then one would carefully rub the paper away with the tips of their fingertips until only the black lines of the design remained. This is actually a skill of its own. If you rub too much then you risk erasing important lines of your design and you have to start all over again.
I however, do not have gampi paper so I use good ol’ carbon paper to transfer my design.
Although, even getting to this point has taken longer than I initially thought!
Story Time~
I hate my printer.
I had one thing, ONE thing, that I had to do before I could start carving which I had been putting off again and again. And that was just to print off my design from my computer.
Super easy, right? Turn on printer and hit print. But nooooooooo.
That would have been too easy.
No, what I had to do was jump through a lot of hoops just to get my printer to work.
You see, when I first bought my printer they were doing a deal that I could sign up to their ink subscription where, once the printer sensed that the ink was getting low, HP would send out a new set of ink cartridges so you never run out. A wonderful deal for those who print a lot, but as I found out, not for me as I don’t print things off nearly as often as that.
For one reason or another, I could not unsubscribe to this later on (page wouldn’t load) but that was fine because the card on the account had expired so they could not charge me and the subscription got cancelled automatically when no payment could be collected.
Happy days. I continued on with my life.
Until I ran out of ink and I had to switch out the cartridges.
Did you know HP has two different types of ink cartridges? Your regular kind and then their Instant Ink cartridges (the ones they send out to you with the subscription).
I had a set of colour and black and white cartridges they had sent me out previously, unopened, so I used those.
Error.
I had followed a YT tutorial on how to take out and replace the cartridges and yet: Error.
After a very long message conversation with HP’s customer service support (I got to talk to an actual person and not a bot!) I learned that if you are no longer part of the subscription then, even if you were sent cartridges during it, you can’t use them.
Your printer knows. (Technology is terrifying.)
Thankfully the customer service person was super helpful and taught me all of this and even told me which ink would work for my printer and where to get it and if I wanted them to order more for me. (I was so done with this printer that I decided to buy it another day.)
Later that week I trekked into town and got the right ink.
All of this just to print one bloody page. Gah.
Anwhoo….. It’s done now and I can finally start!